...
Your store should be running on Magento Edition version 2.0.0 and more.
Note that our QuickBooks Desktop Integration is compatible with all QuickBooks versions.
You only need to choose the QuickBooks Web Connector which is compatible with your QuickBooks version and download them here.
...
How to use
Step 1: Create and manage user for QuickBooks Web Connector
...
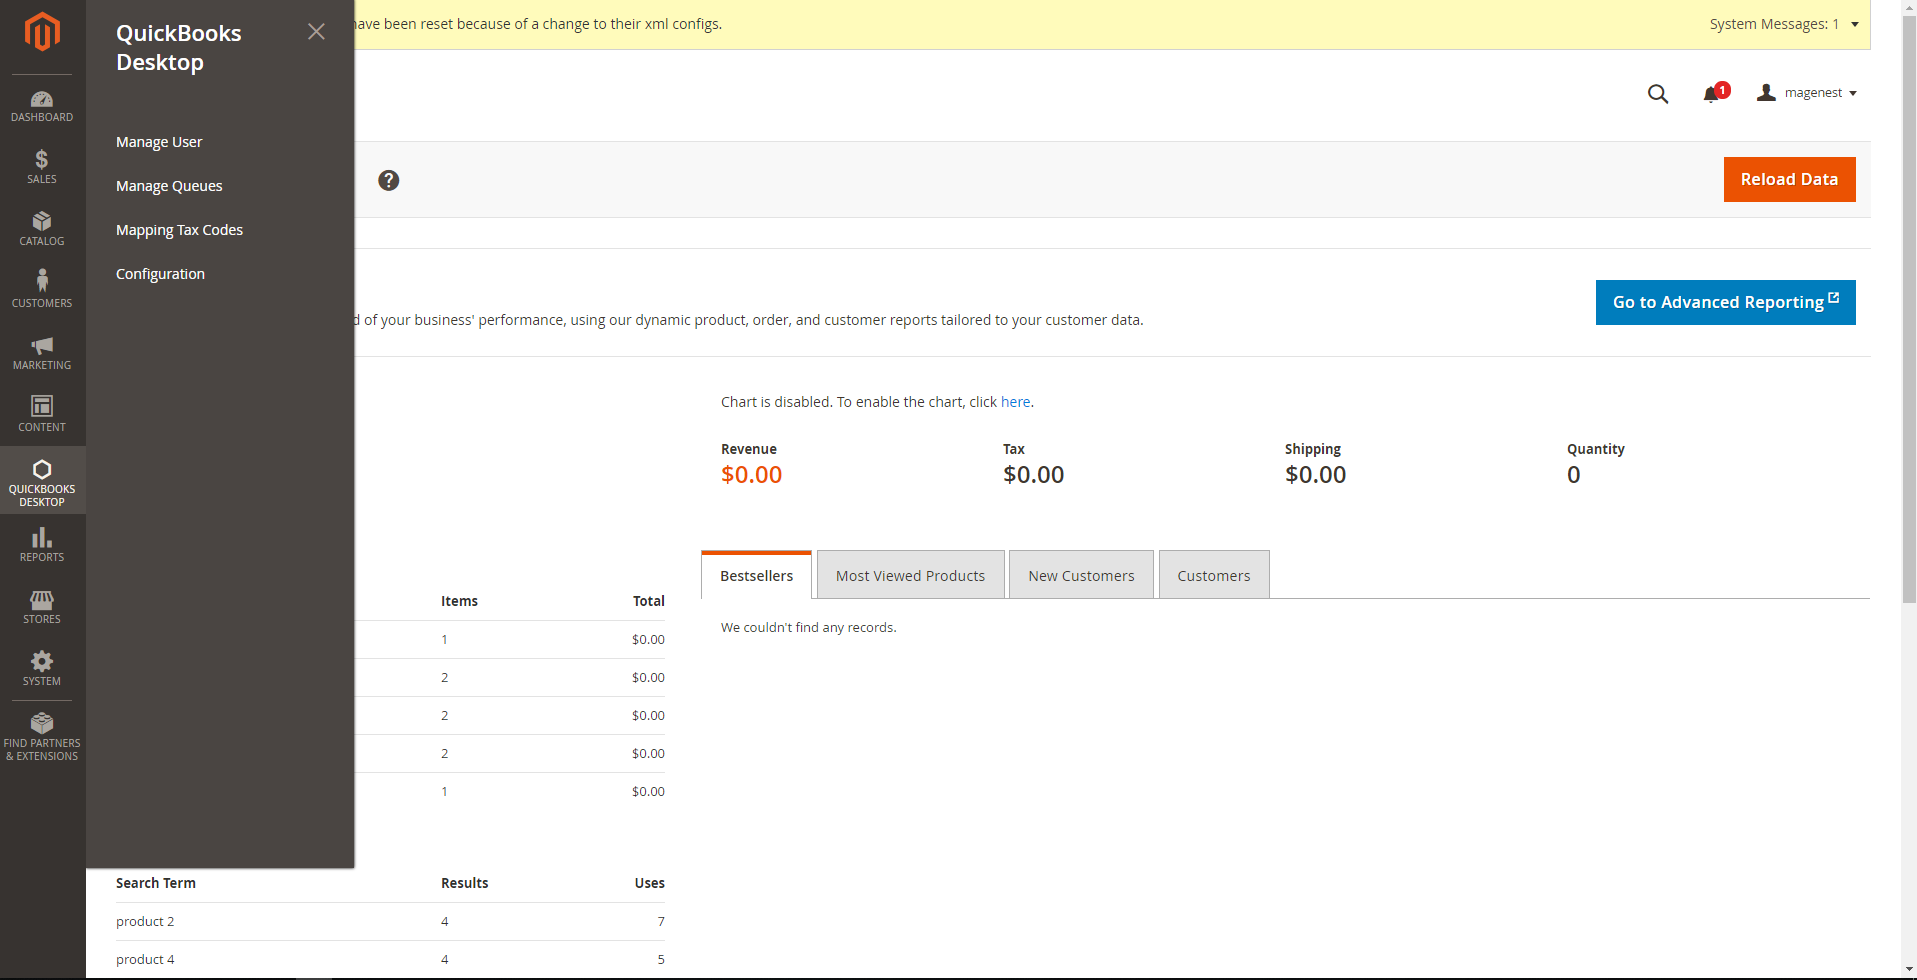
We created a QuickBooks Desktop Menu which allows admin to control all of the things related QuickBooks Desktop Integration extension.
...
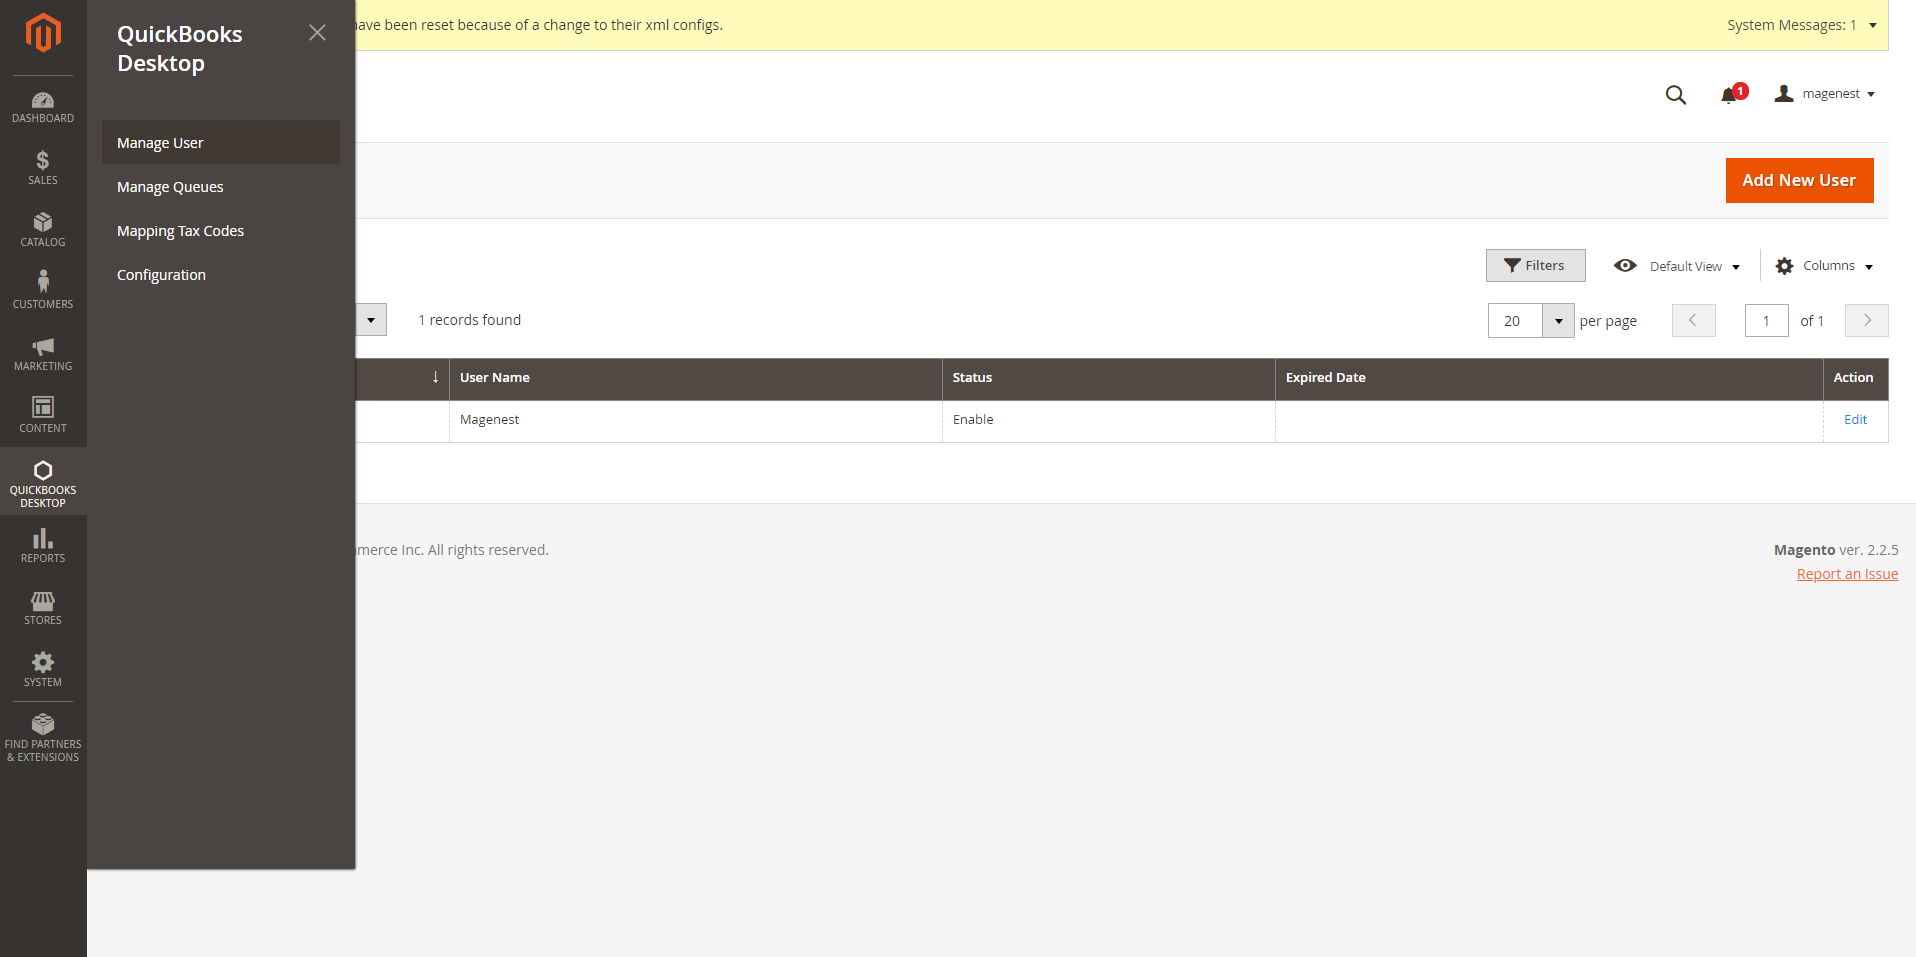
Firstly, admins need to create a new user to start using this extension by navigating QuickBooks Desktop > Manage User, click on Add New User button.
...
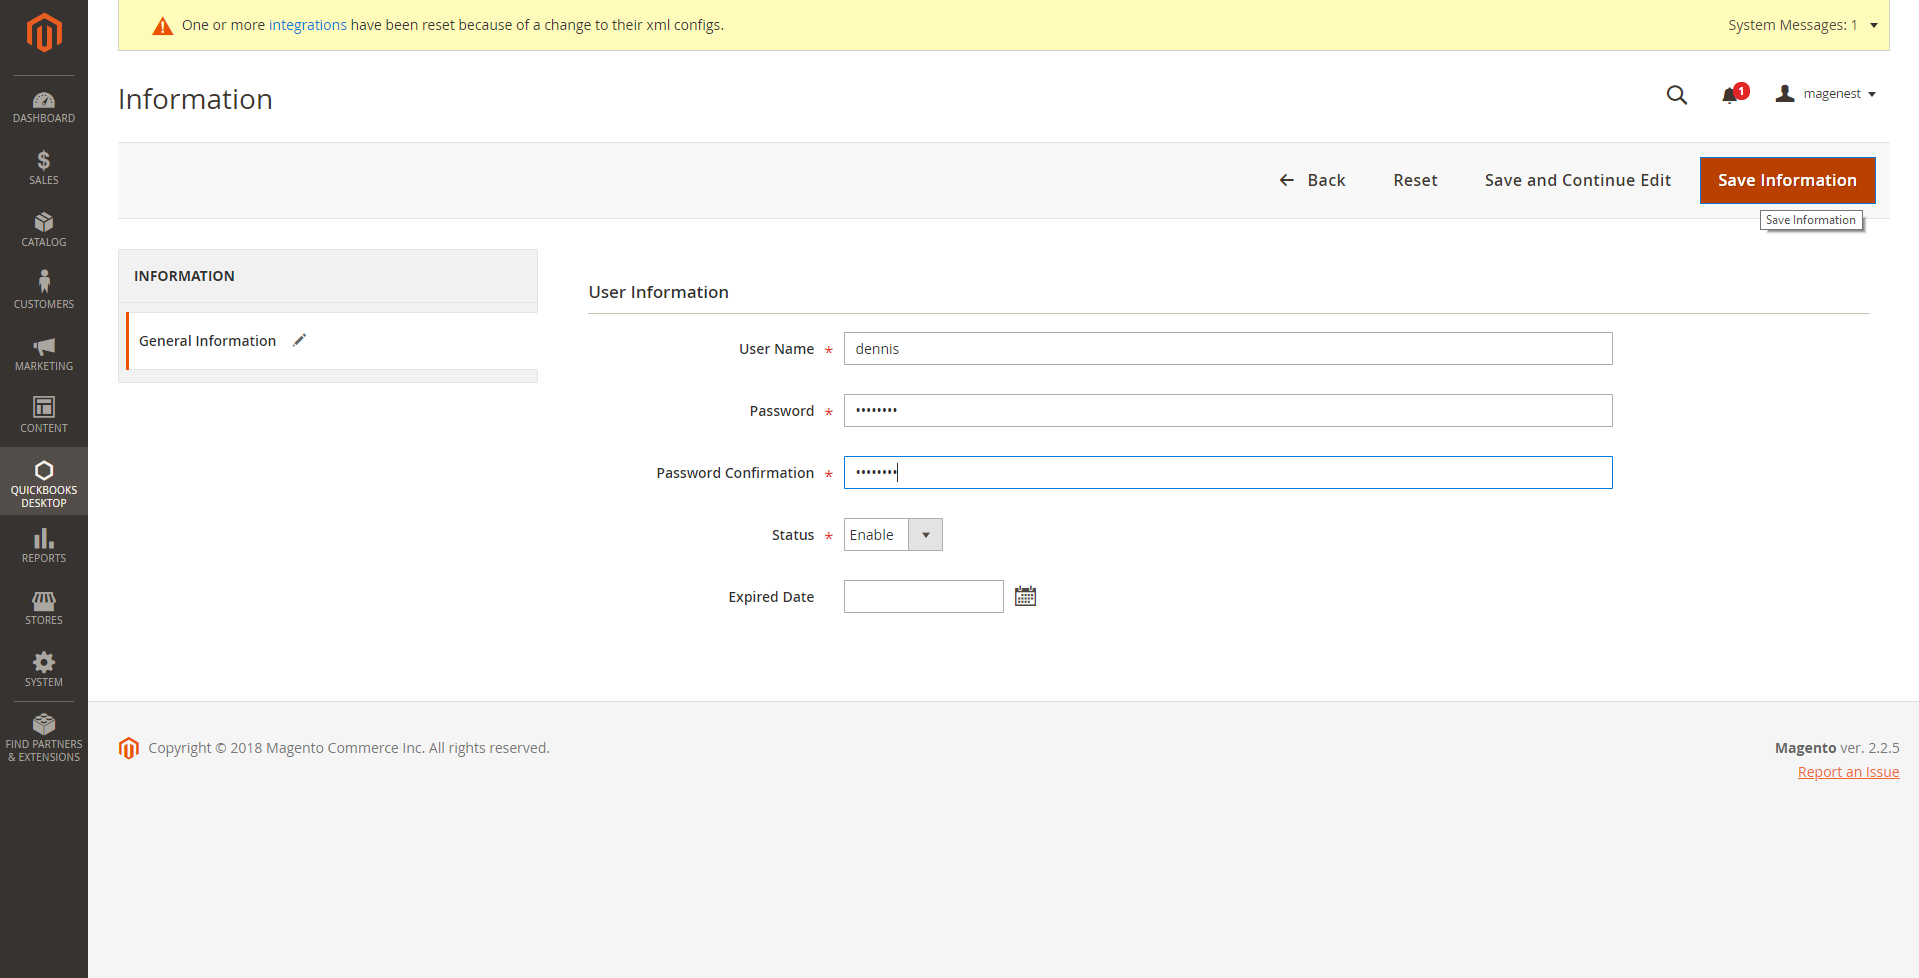
Fill all the fields then click on Save Information button to save the entered information.
Step 2: Setup Sales Taxes in QuickBooks
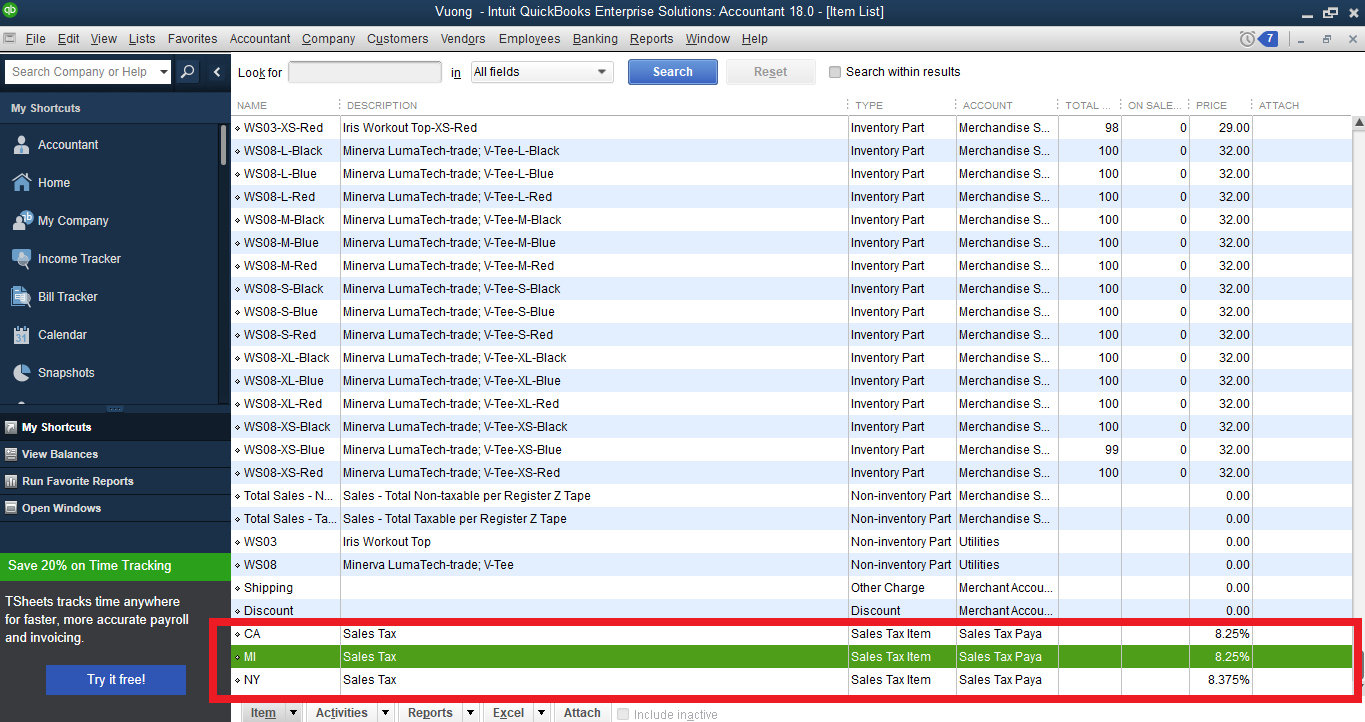
Go to your QuickBooks Desktop and setup all the sales taxes, including Item Sales Tax and Sales Tax Codes (Canada version). These Taxes will be used to map with each tax rate in your Magento Site with our table Mapping Tax Rates.
Step 3: Set configuration
...
After completing a new user and setting up Taxes in QuickBooks, admins need to set configuration to integrate with QuickBooks.
Go to QuickBooks Desktop > Configuration > QuickBooks Desktop, there are two sections which are required to set before using the extension.
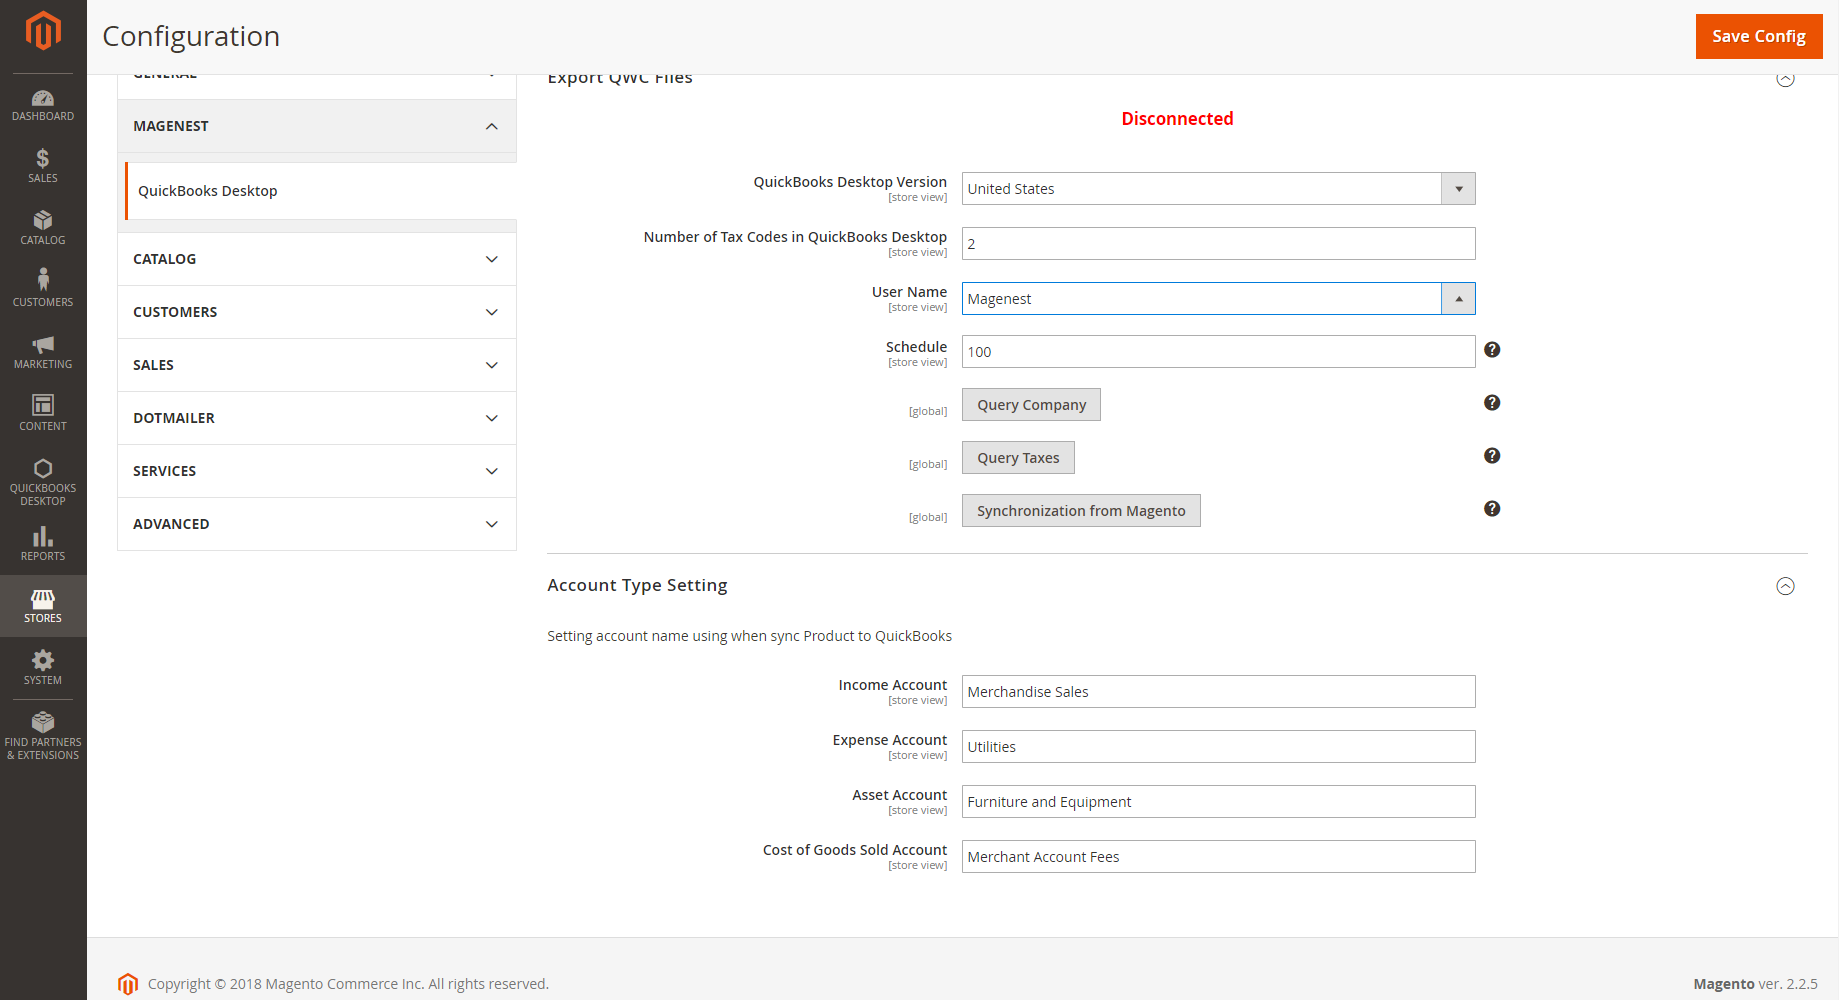
![]() Export QWC Files:
Export QWC Files:
- QuickBooks Desktop Version: Select the Country of your QuickBooks Desktop version
- Number of Tax Codes in QuickBooks Desktop:
Input the total number of all:
Sales Tax Items if yours is US version
Sales Tax Codes if yours is CA version
- Select User: the user will be used to connect with Web Connector, which was created in the previous step: Create and manage user for QuickBooks Web Connector
- Scheduler: Time for Web Connector to automatically run the Update (in minutes)
![]() Account Type Settings:
Account Type Settings:
In order to know how to enter exactly 4 fields, include:
...
![]() Cost of Goods Sold Account
Cost of Goods Sold Account
--> Please open the QuickBooks Desktop software and go to Lists > Chart of Accounts, find the exact name of the account and input it into each field.
...
Finishing the Configuration by clicking Save Config
Step 4: Query the Company admin are using in QuickBooks to Magento 2
| Note |
|---|
Only do this step when admins use this extension for the first time or when admins want to change the company in the QuickBooks Desktop application |
...
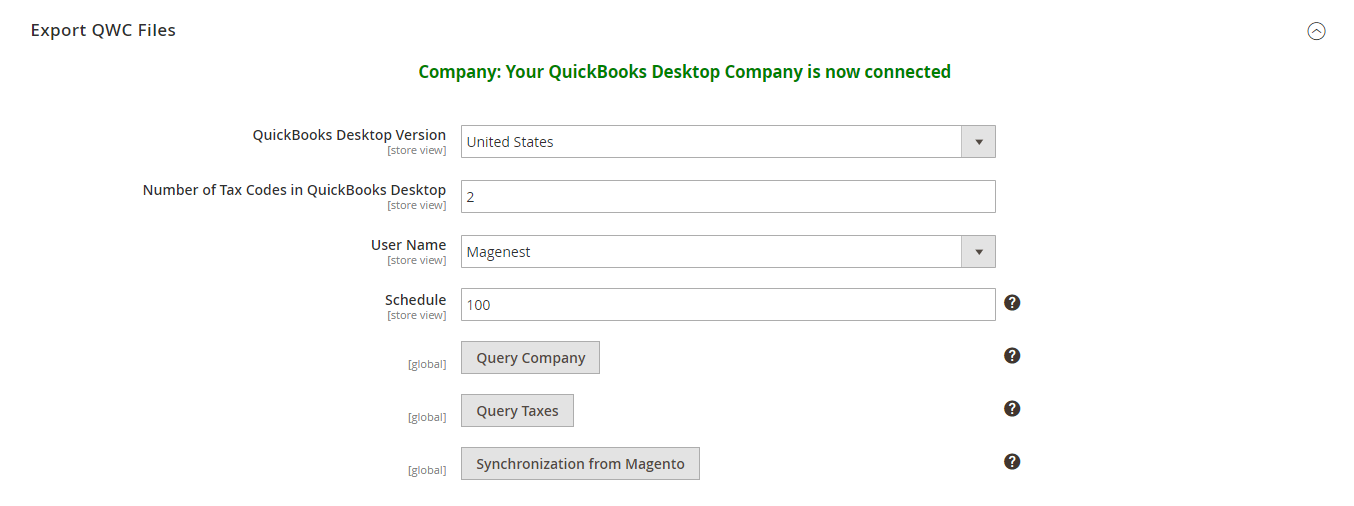
After the process is complete, go to QuickBooks Desktop > Configuration > QuickBooks Desktop again, you will see the company is now connected.


Finally, you can remove this Query Company application in Web connector by clicking Remove button there
| Note |
|---|
Note: If admin wants to use other Company in QuickBooks Desktop application, create a company with a different name first then query the company again with QuickBooks Web Connector. |
Step 5: Mapping Taxes
- Click the button Query Taxes to export the tax.qwc file

- Open the QuickBooks Web Connector software application.
- Click on Add an application button and choose the tax.qwc file above.
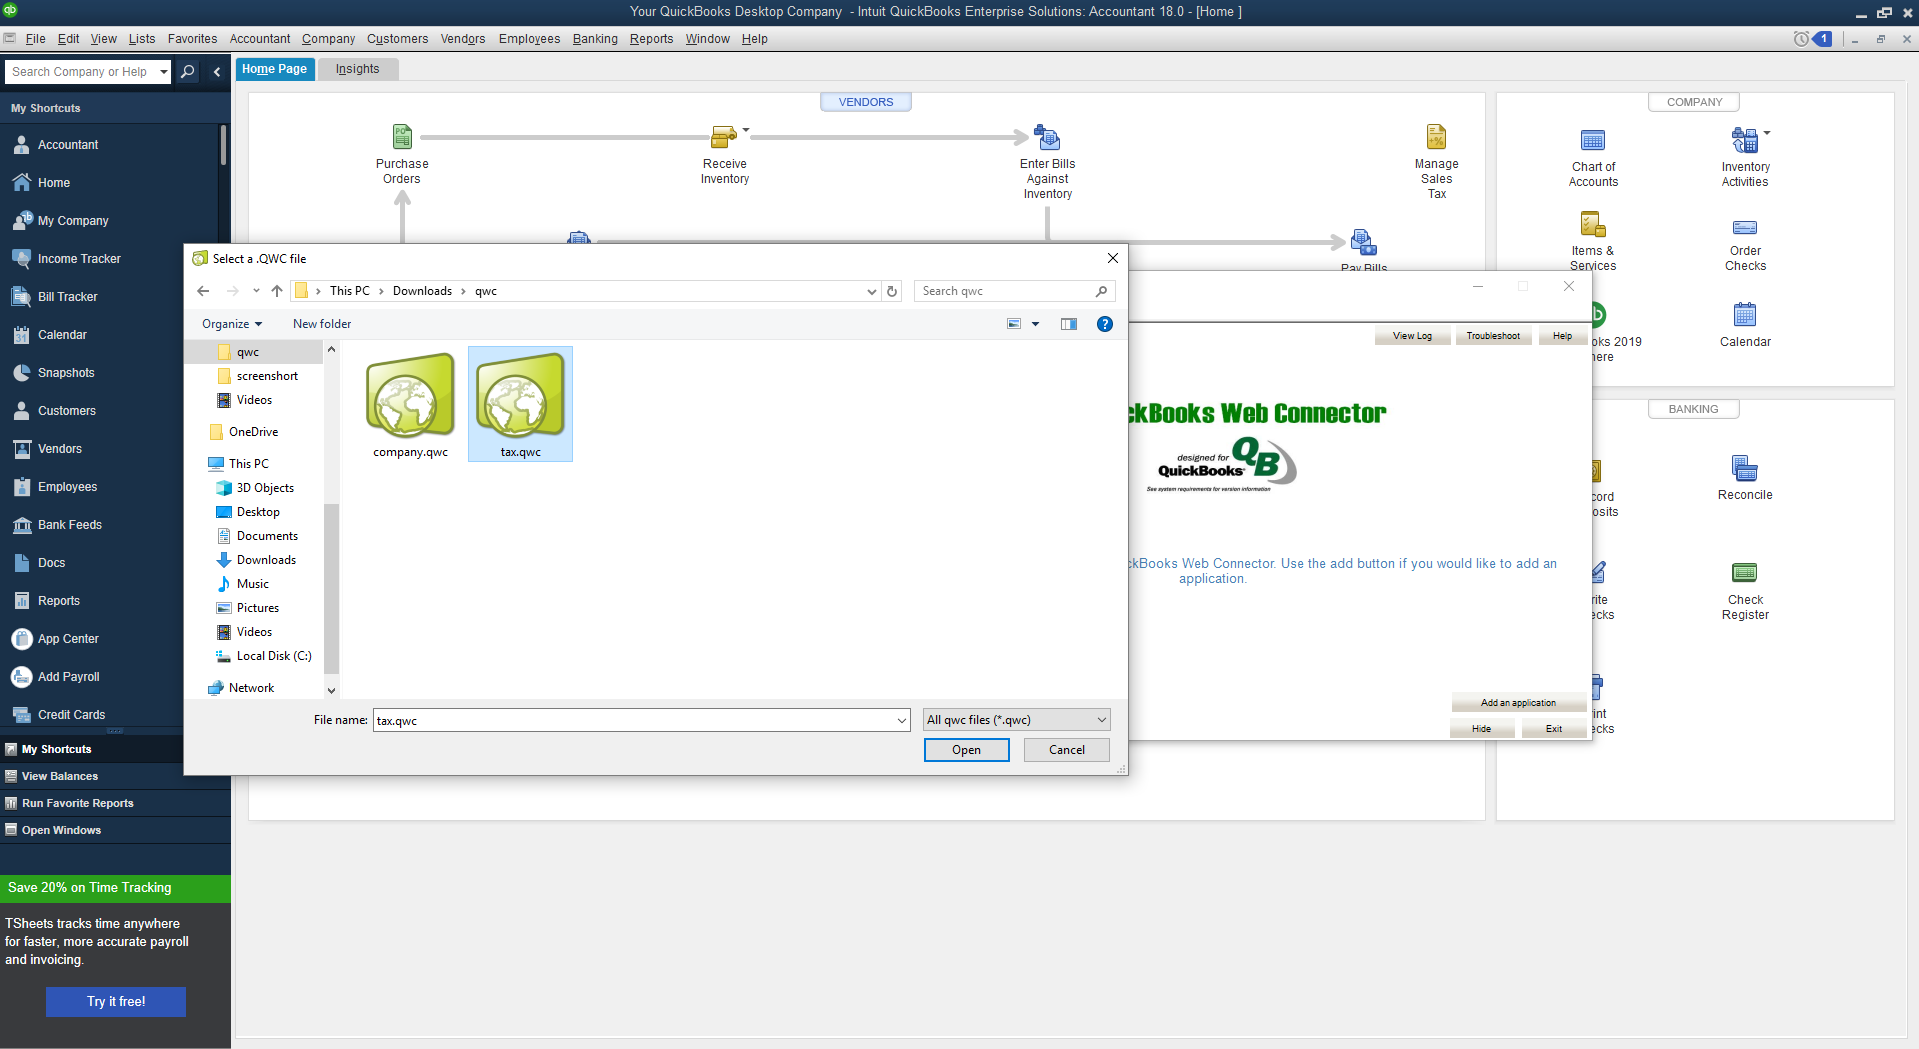
- Enter the password of the User you select in Configuration.
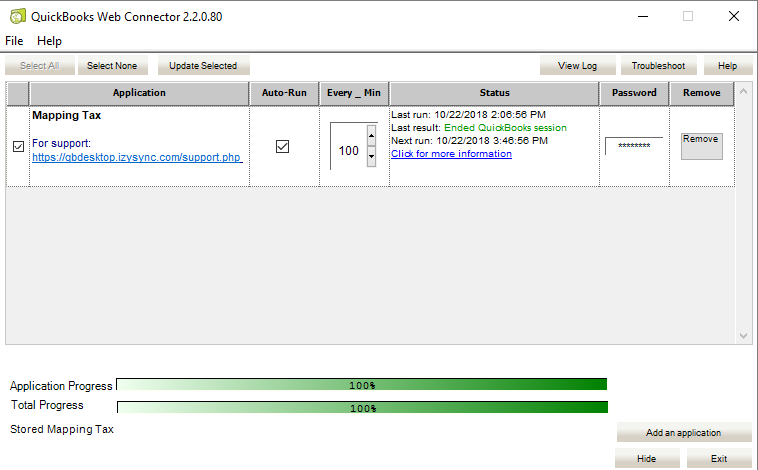
- Tick the checkbox
- Click on Update Selected button to complete.
...
Finally, you can remove this Query Taxes application in Web connector by clicking Remove button there
Step 6: Sync Magento Data to QuickBooks Desktop
...
- Click the button Synchronization from Magento to export the connect.qwc file
...