Thank you for purchasing our extension. If you have any questions that are beyond the scope of this document, do not hesitate to leave us an email via [email protected]
Updated: 31/01/2019 | By: Magenest | Support Portal: http://servicedesk.izysync.com/servicedesk/customer/portal/48
| Table of Contents | ||||
|---|---|---|---|---|
| ||||
...
Highlight Features Features
- Create/Edit one or multiple popuppopups
- 25+ default popup templates
- 4 popup triggers: Exit-intent popup, after users spend X seconds on the page, after users scroll X% of the page, after users view X pages on the website
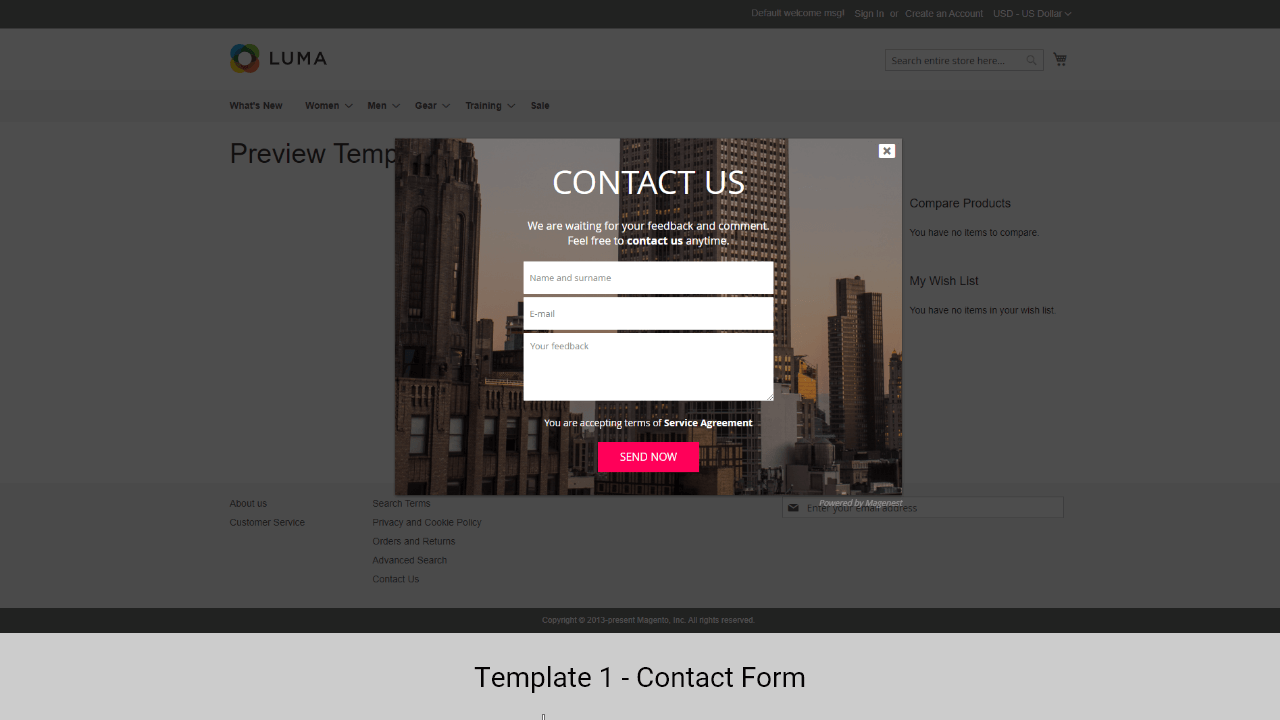
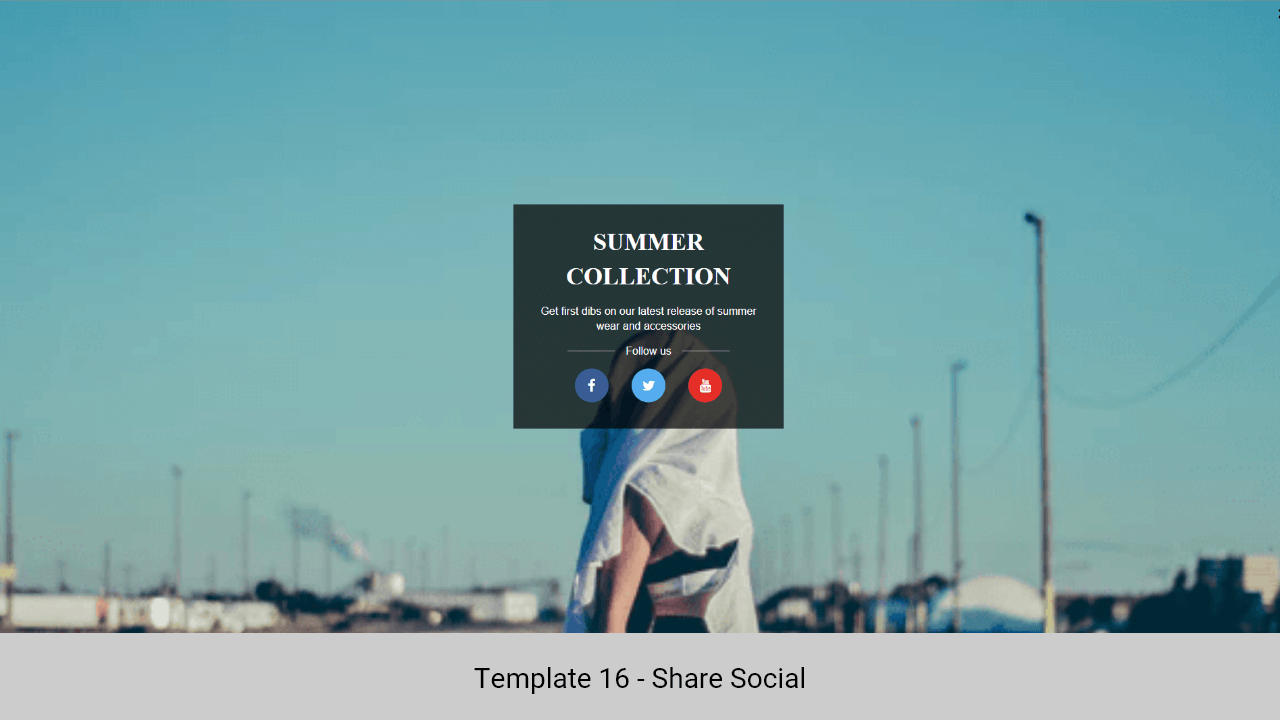
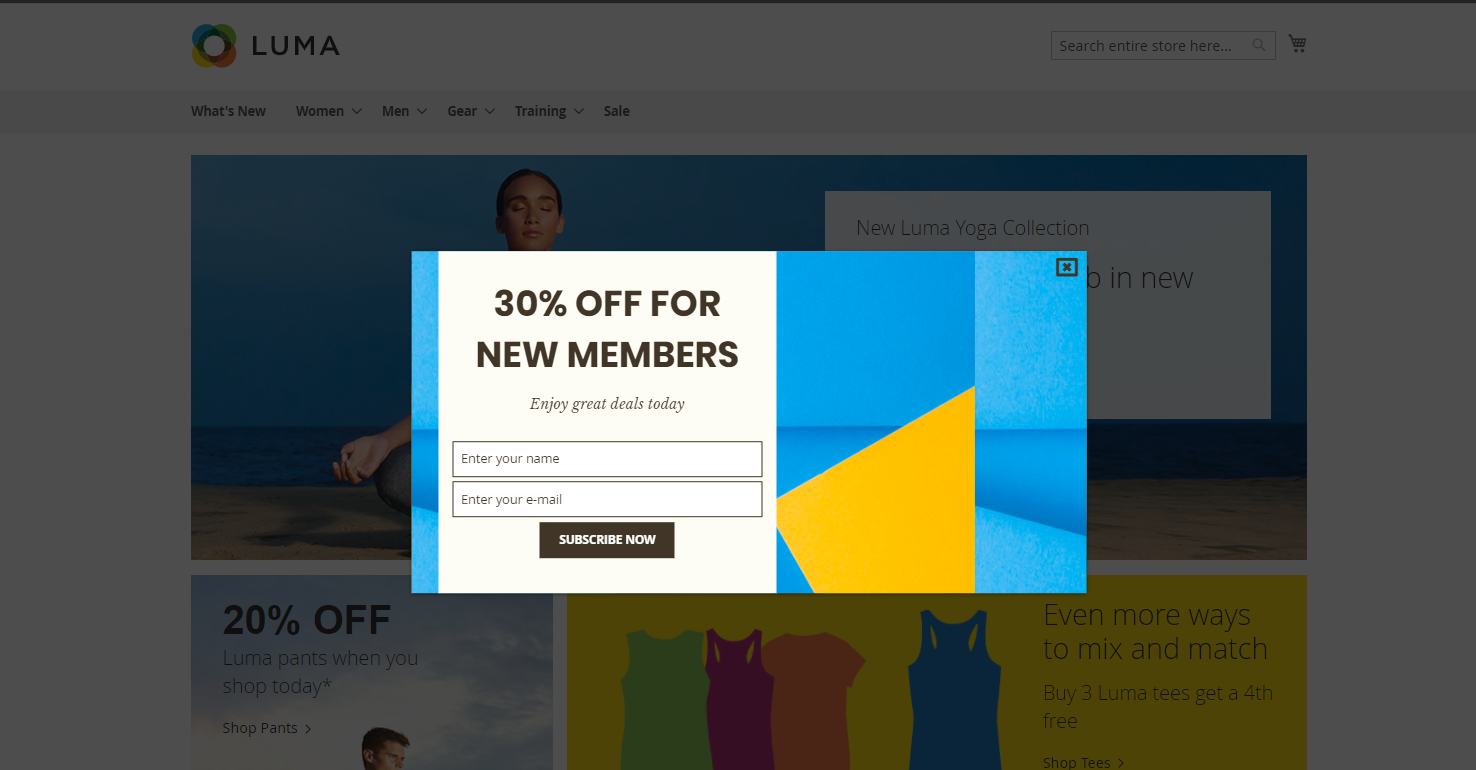
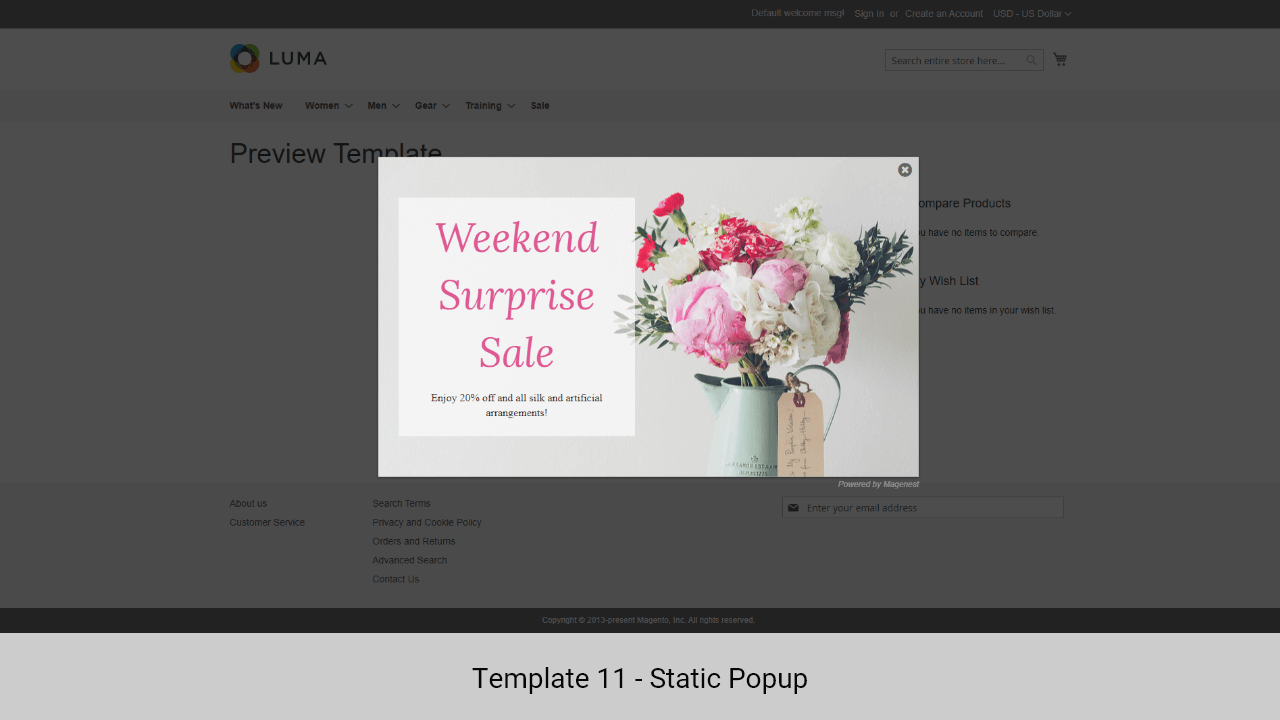
- 5 popup types: Yes/No button, Subscribe Form, Social Sharing, Contact Form, Static Popup
- 6 popup types
- Assign a Assign template to each popup
- Display popup on any page
- Full-screen popup
- Use WYSIWYG editor to edit the content of the popup
- Use CSS to style the popup
- Report of on popup performance
System Requirements
Your store should be running on Magento 2 version 2.1.x.; 2.2.x; 2.3.x
...
Configuration
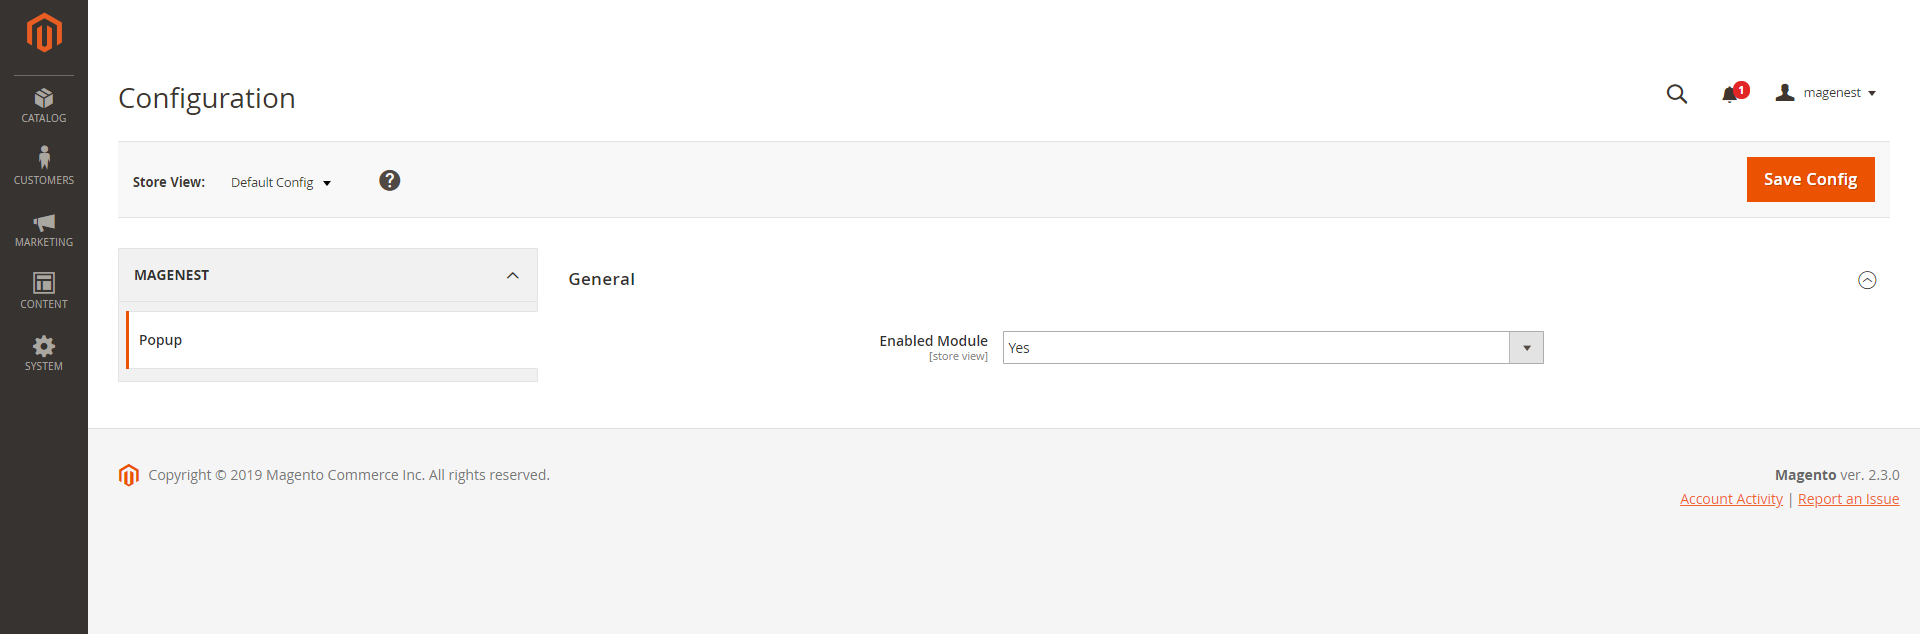
First, you have to ![]() To enable the extension in , go to Stores > Configuration > Magenest > Popup
To enable the extension in , go to Stores > Configuration > Magenest > Popup
Add New Popup Template
In ![]() In Magento 2 backend, go to Content > Magenest Popup > Manage Template. On this page, you can manage all popup templates, on the Action column, you can select to edit, delete, or preview the template.
In Magento 2 backend, go to Content > Magenest Popup > Manage Template. On this page, you can manage all popup templates, on the Action column, you can select to edit, delete, or preview the template.
...
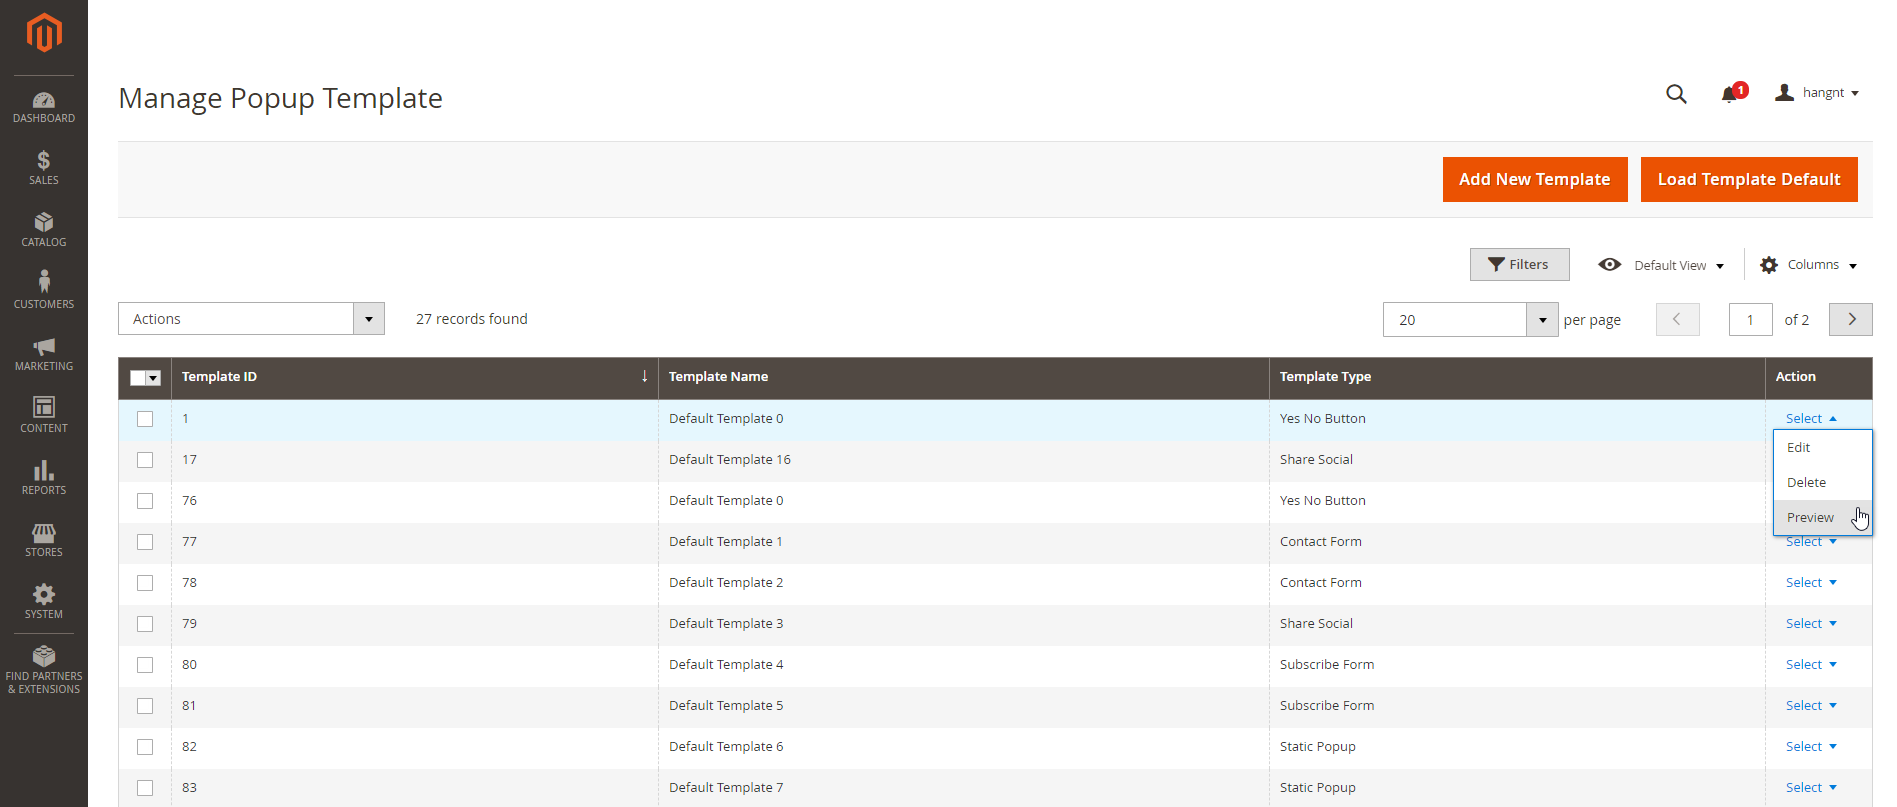
You ![]() You can add default templates (25 26 at once) by clicking on on the Load Template Default button.
You can add default templates (25 26 at once) by clicking on on the Load Template Default button.
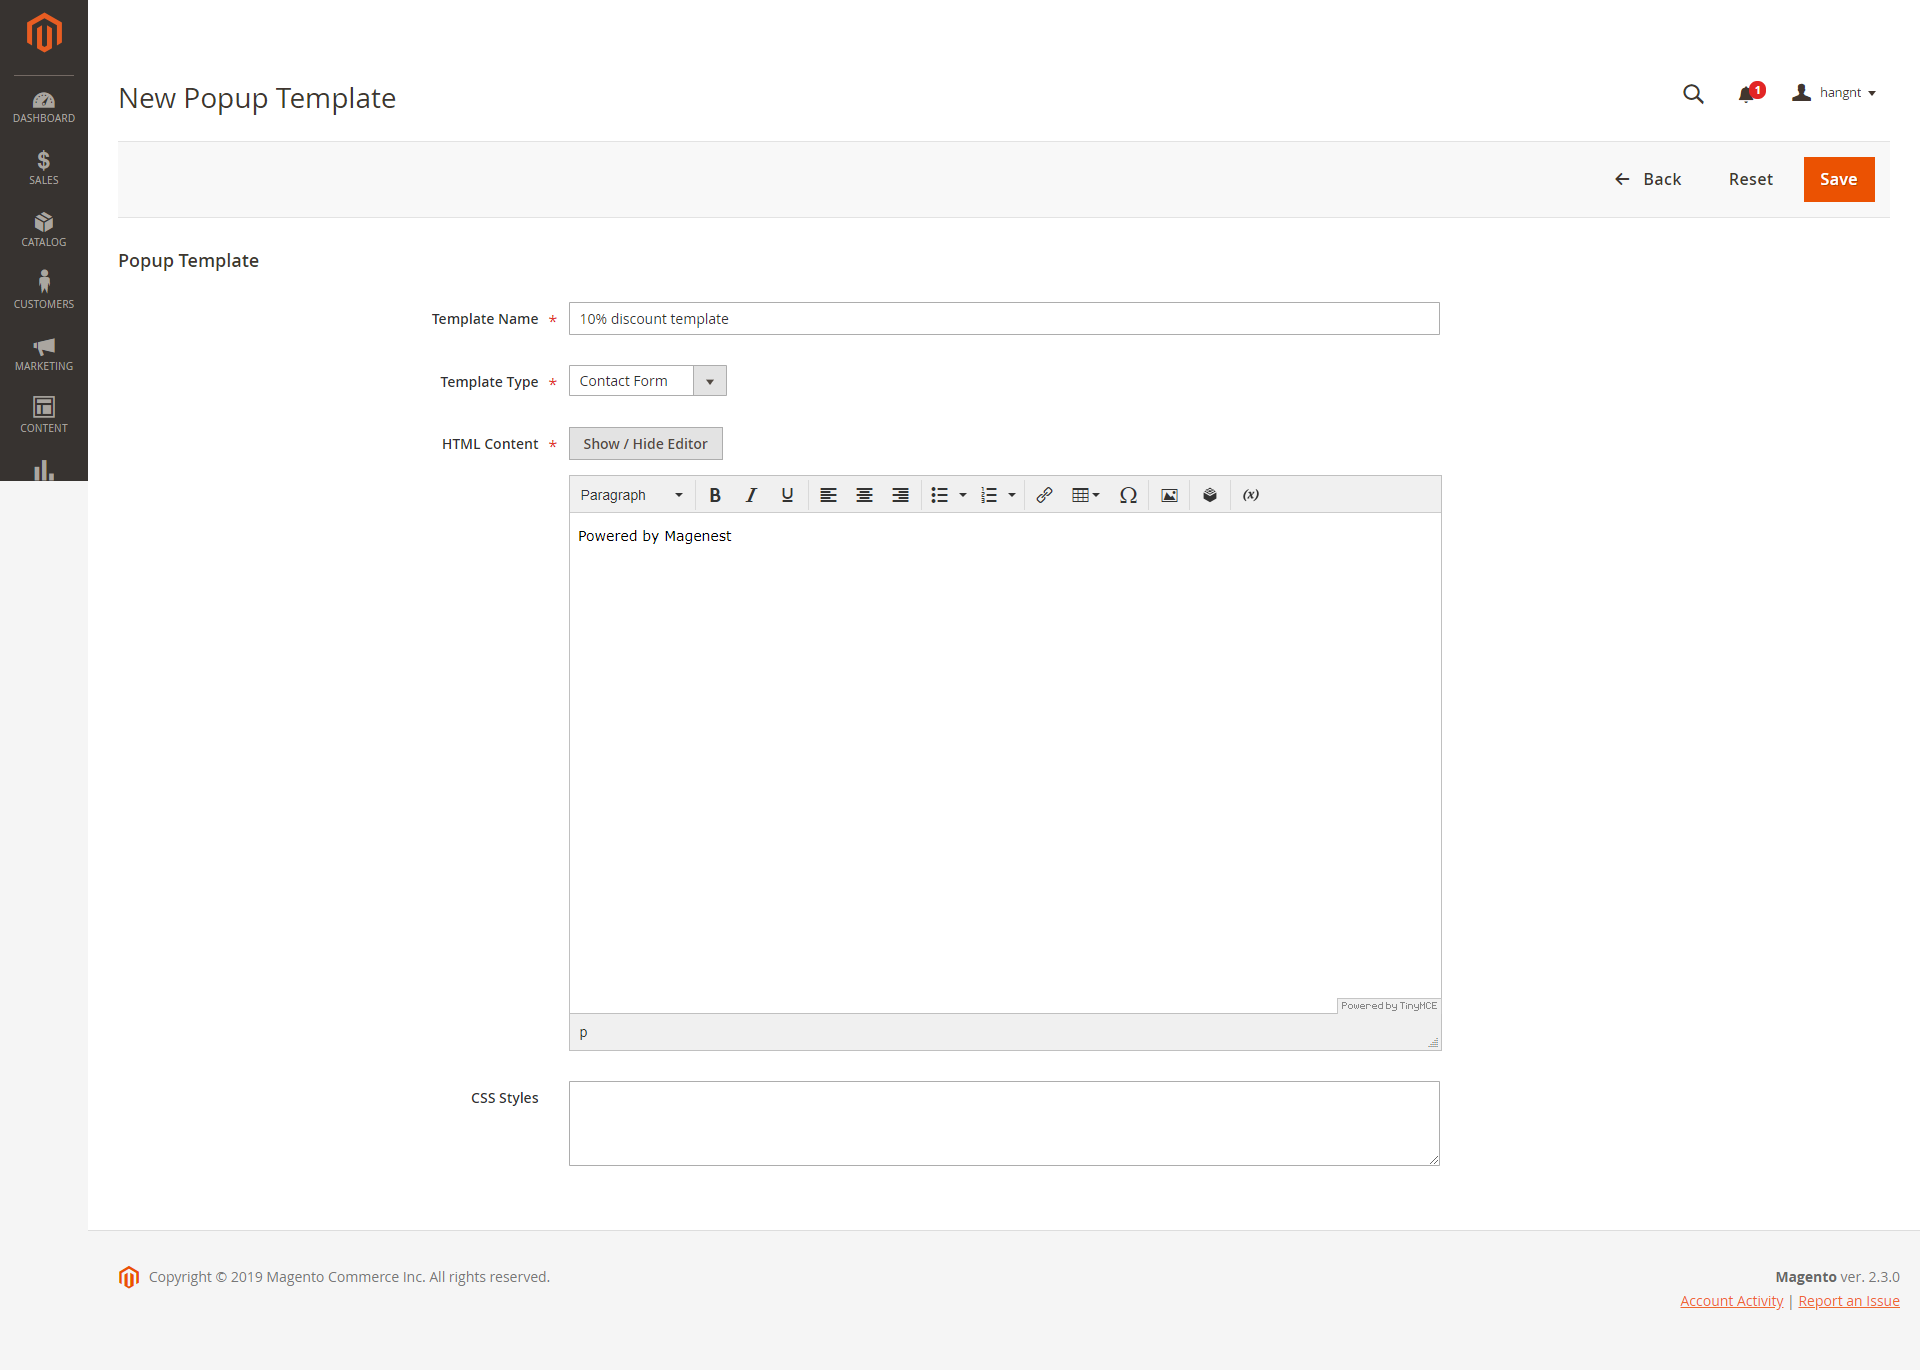
You ![]() You can create a new popup template by clicking on the Add New Template button.
You can create a new popup template by clicking on the Add New Template button.
- For a new popup template, you can name the template
...
- You can choose the popup template type from
...
- 6 available types. The available template files ar
- Yes/No button
- Contact Form
- Social Sharing
- Subscribe Form
- Static Popup
- Hot Deal
- You can customize the content and style the popup with HTML and CSS.
...
Add New Popup
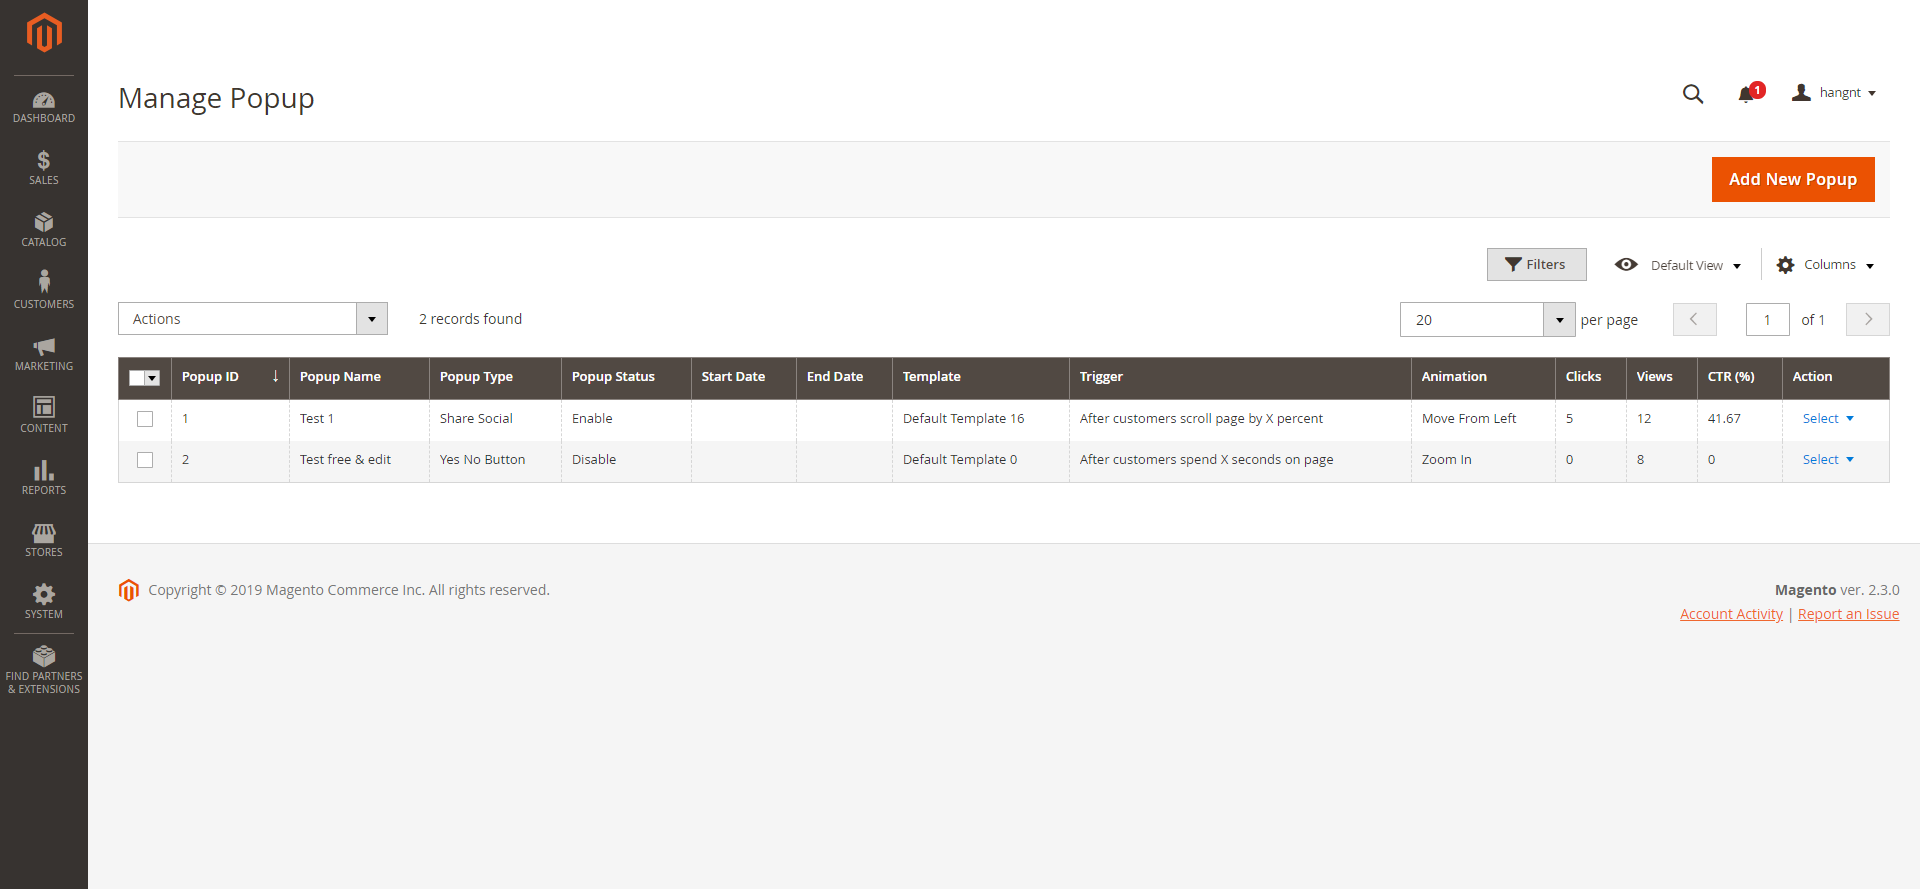
Go ![]() Go to Content > Magenest Popup > Manage Popup, you can view and manage all the available popups.
Go to Content > Magenest Popup > Manage Popup, you can view and manage all the available popups.
You can create a new popup by clicking on the Add New Popup button on the right side.
...
You can Disable, Enable, or Delete an available popup

General Settings
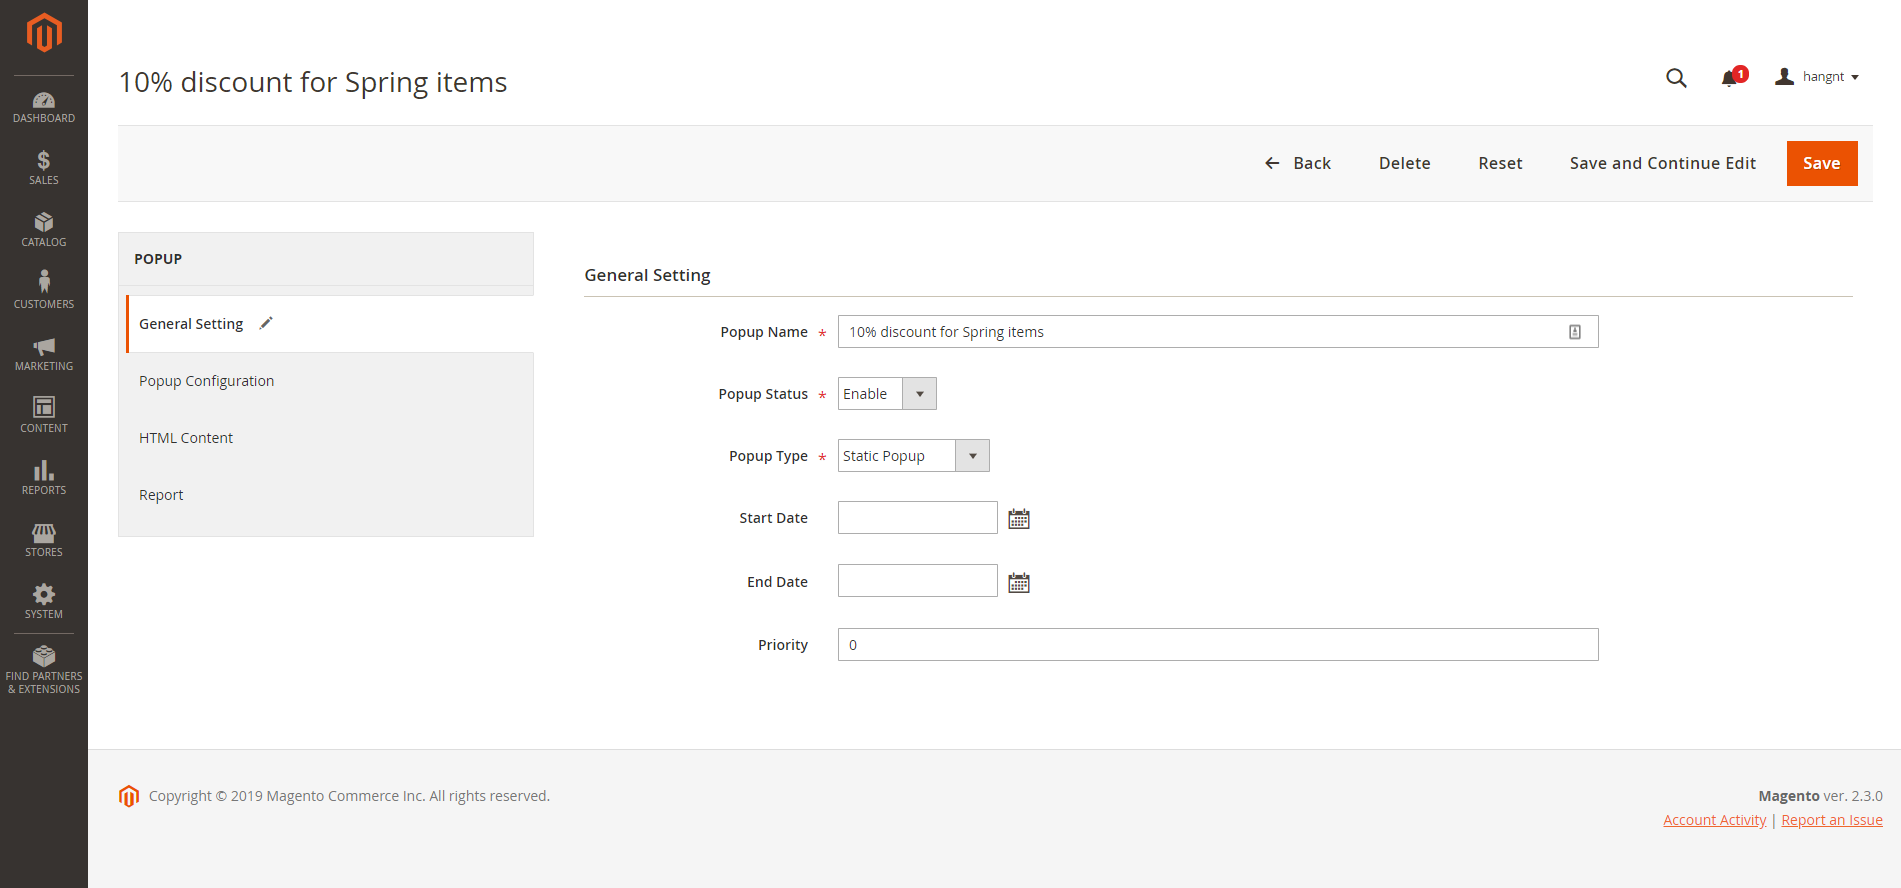
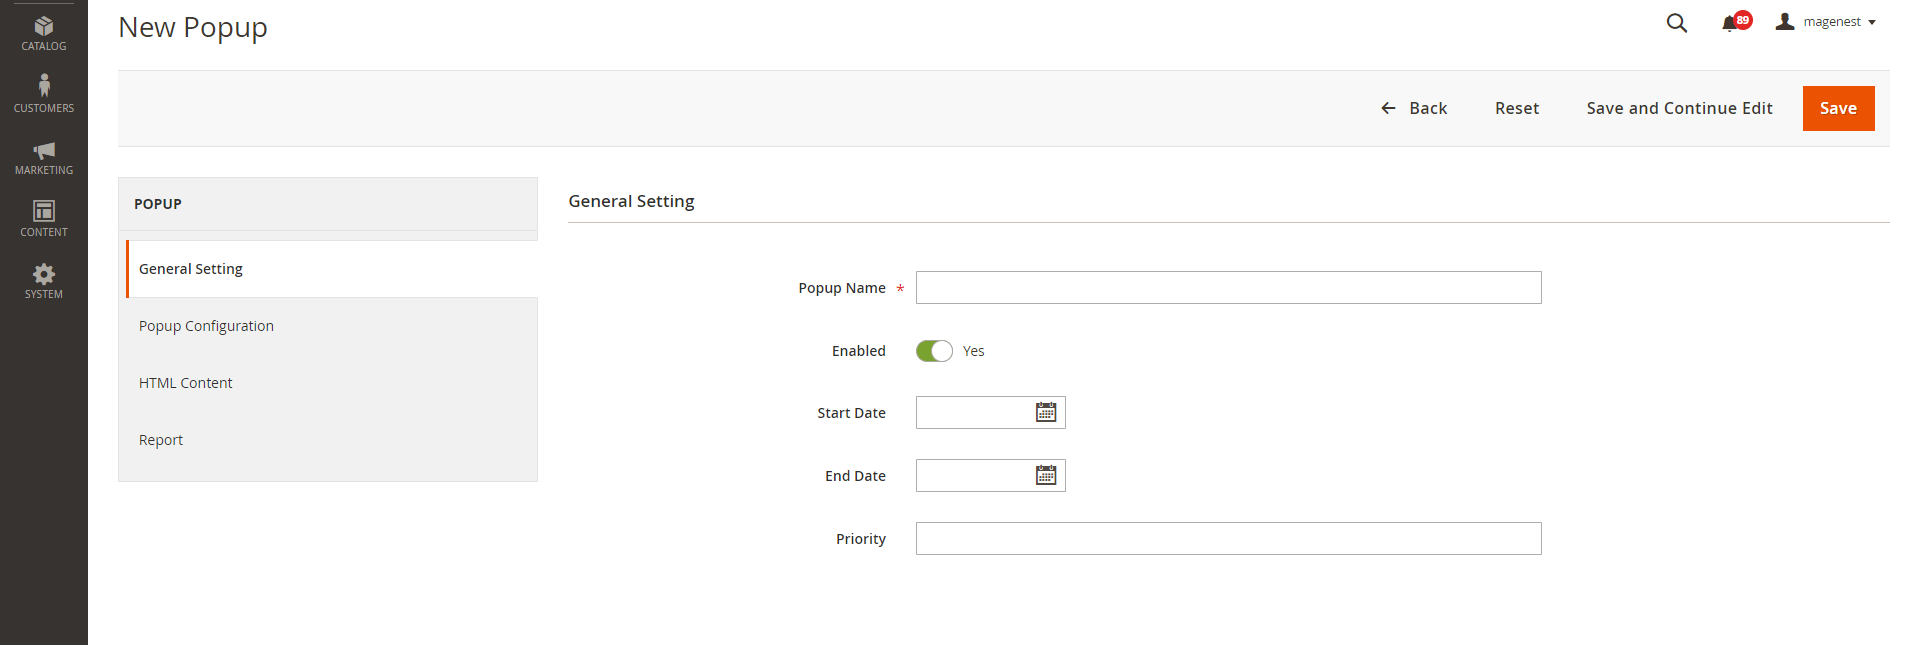
![]() In General Settings, you can name the popup, choose the popup type enable/disable popup, active time (Start Date - End Date), and set priority.
In General Settings, you can name the popup, choose the popup type enable/disable popup, active time (Start Date - End Date), and set priority.
...
Popup Configuration
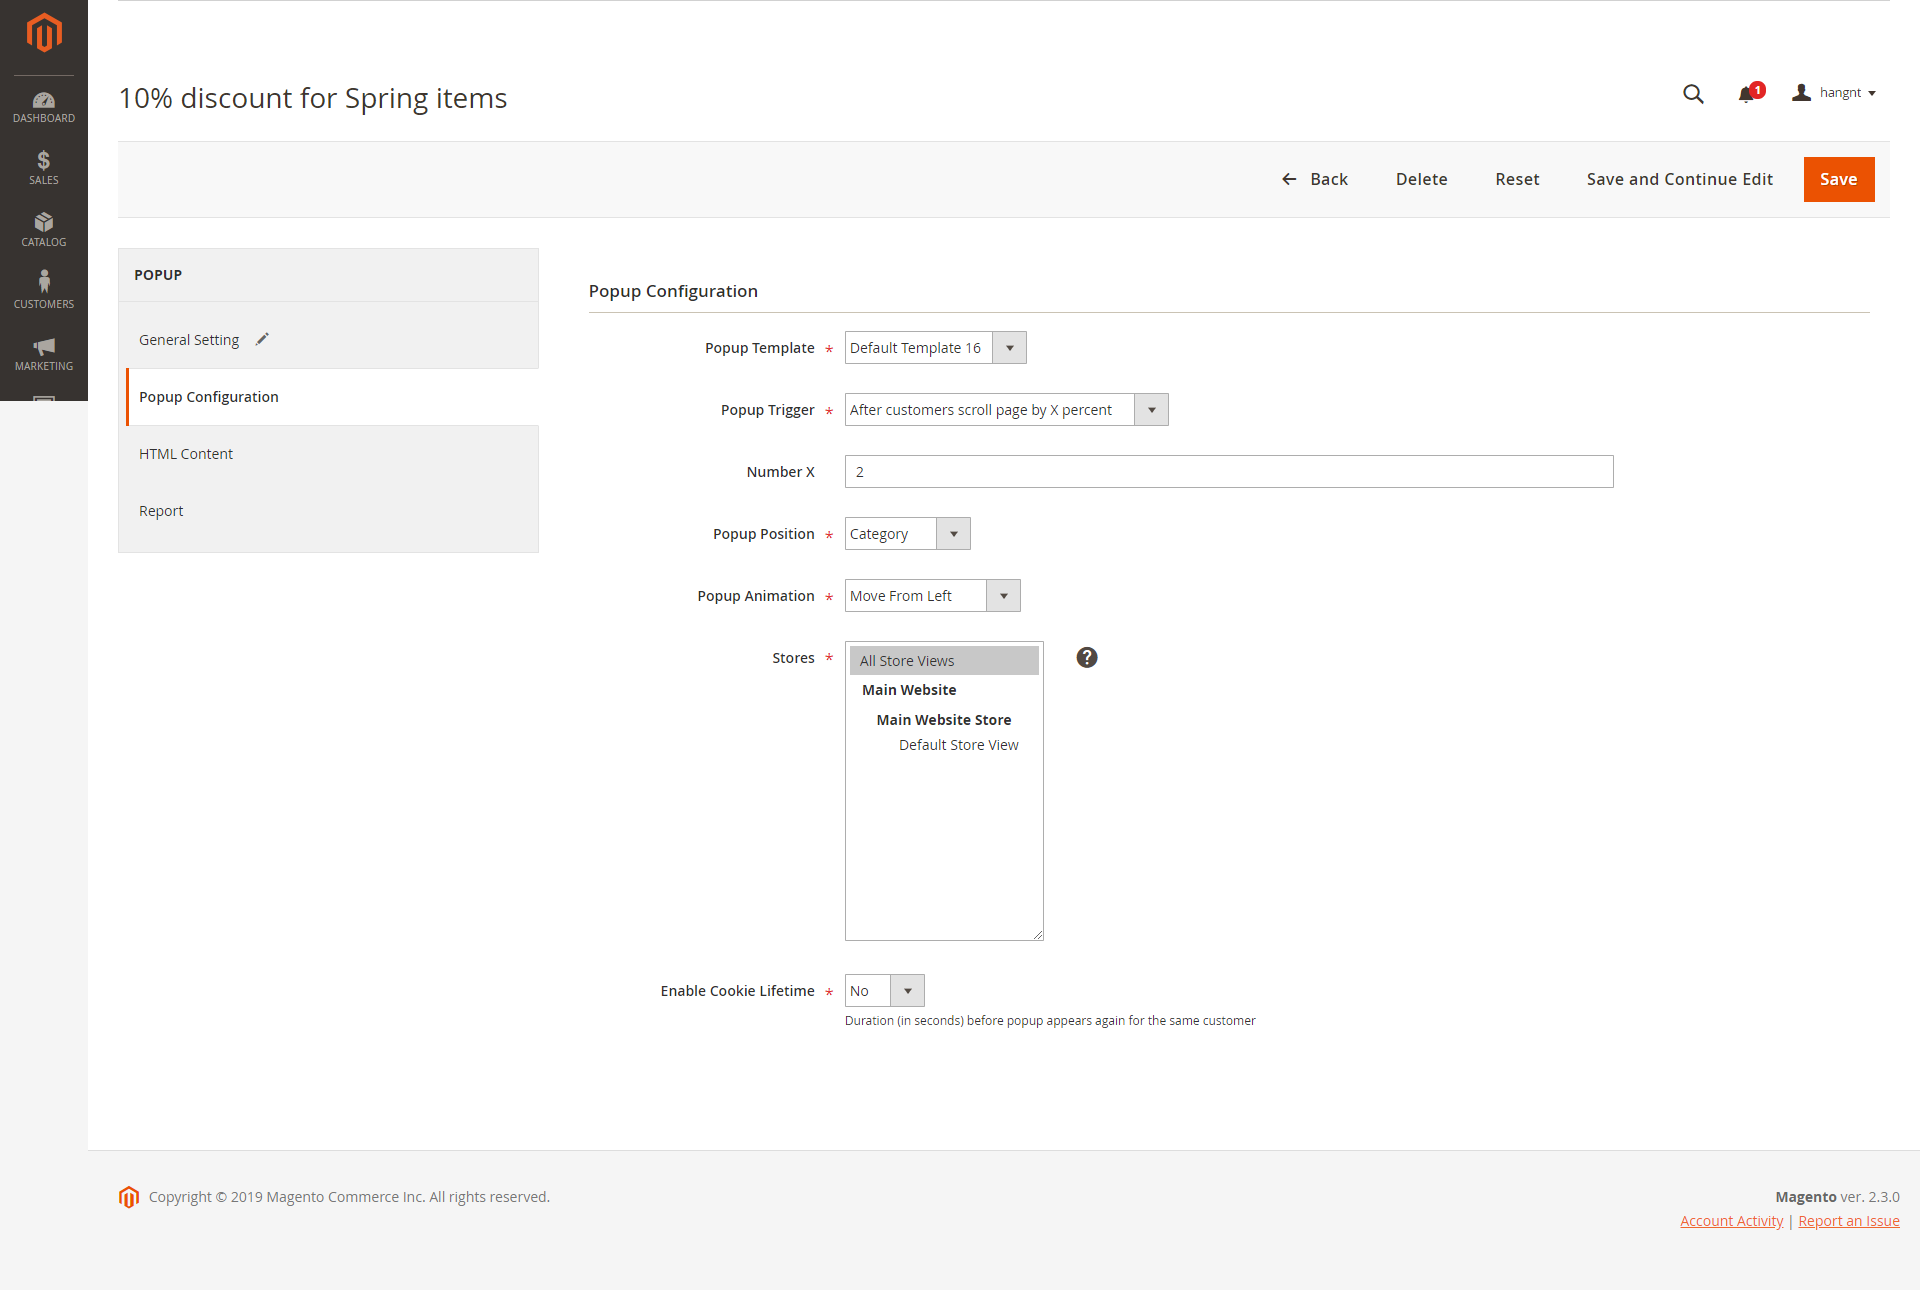
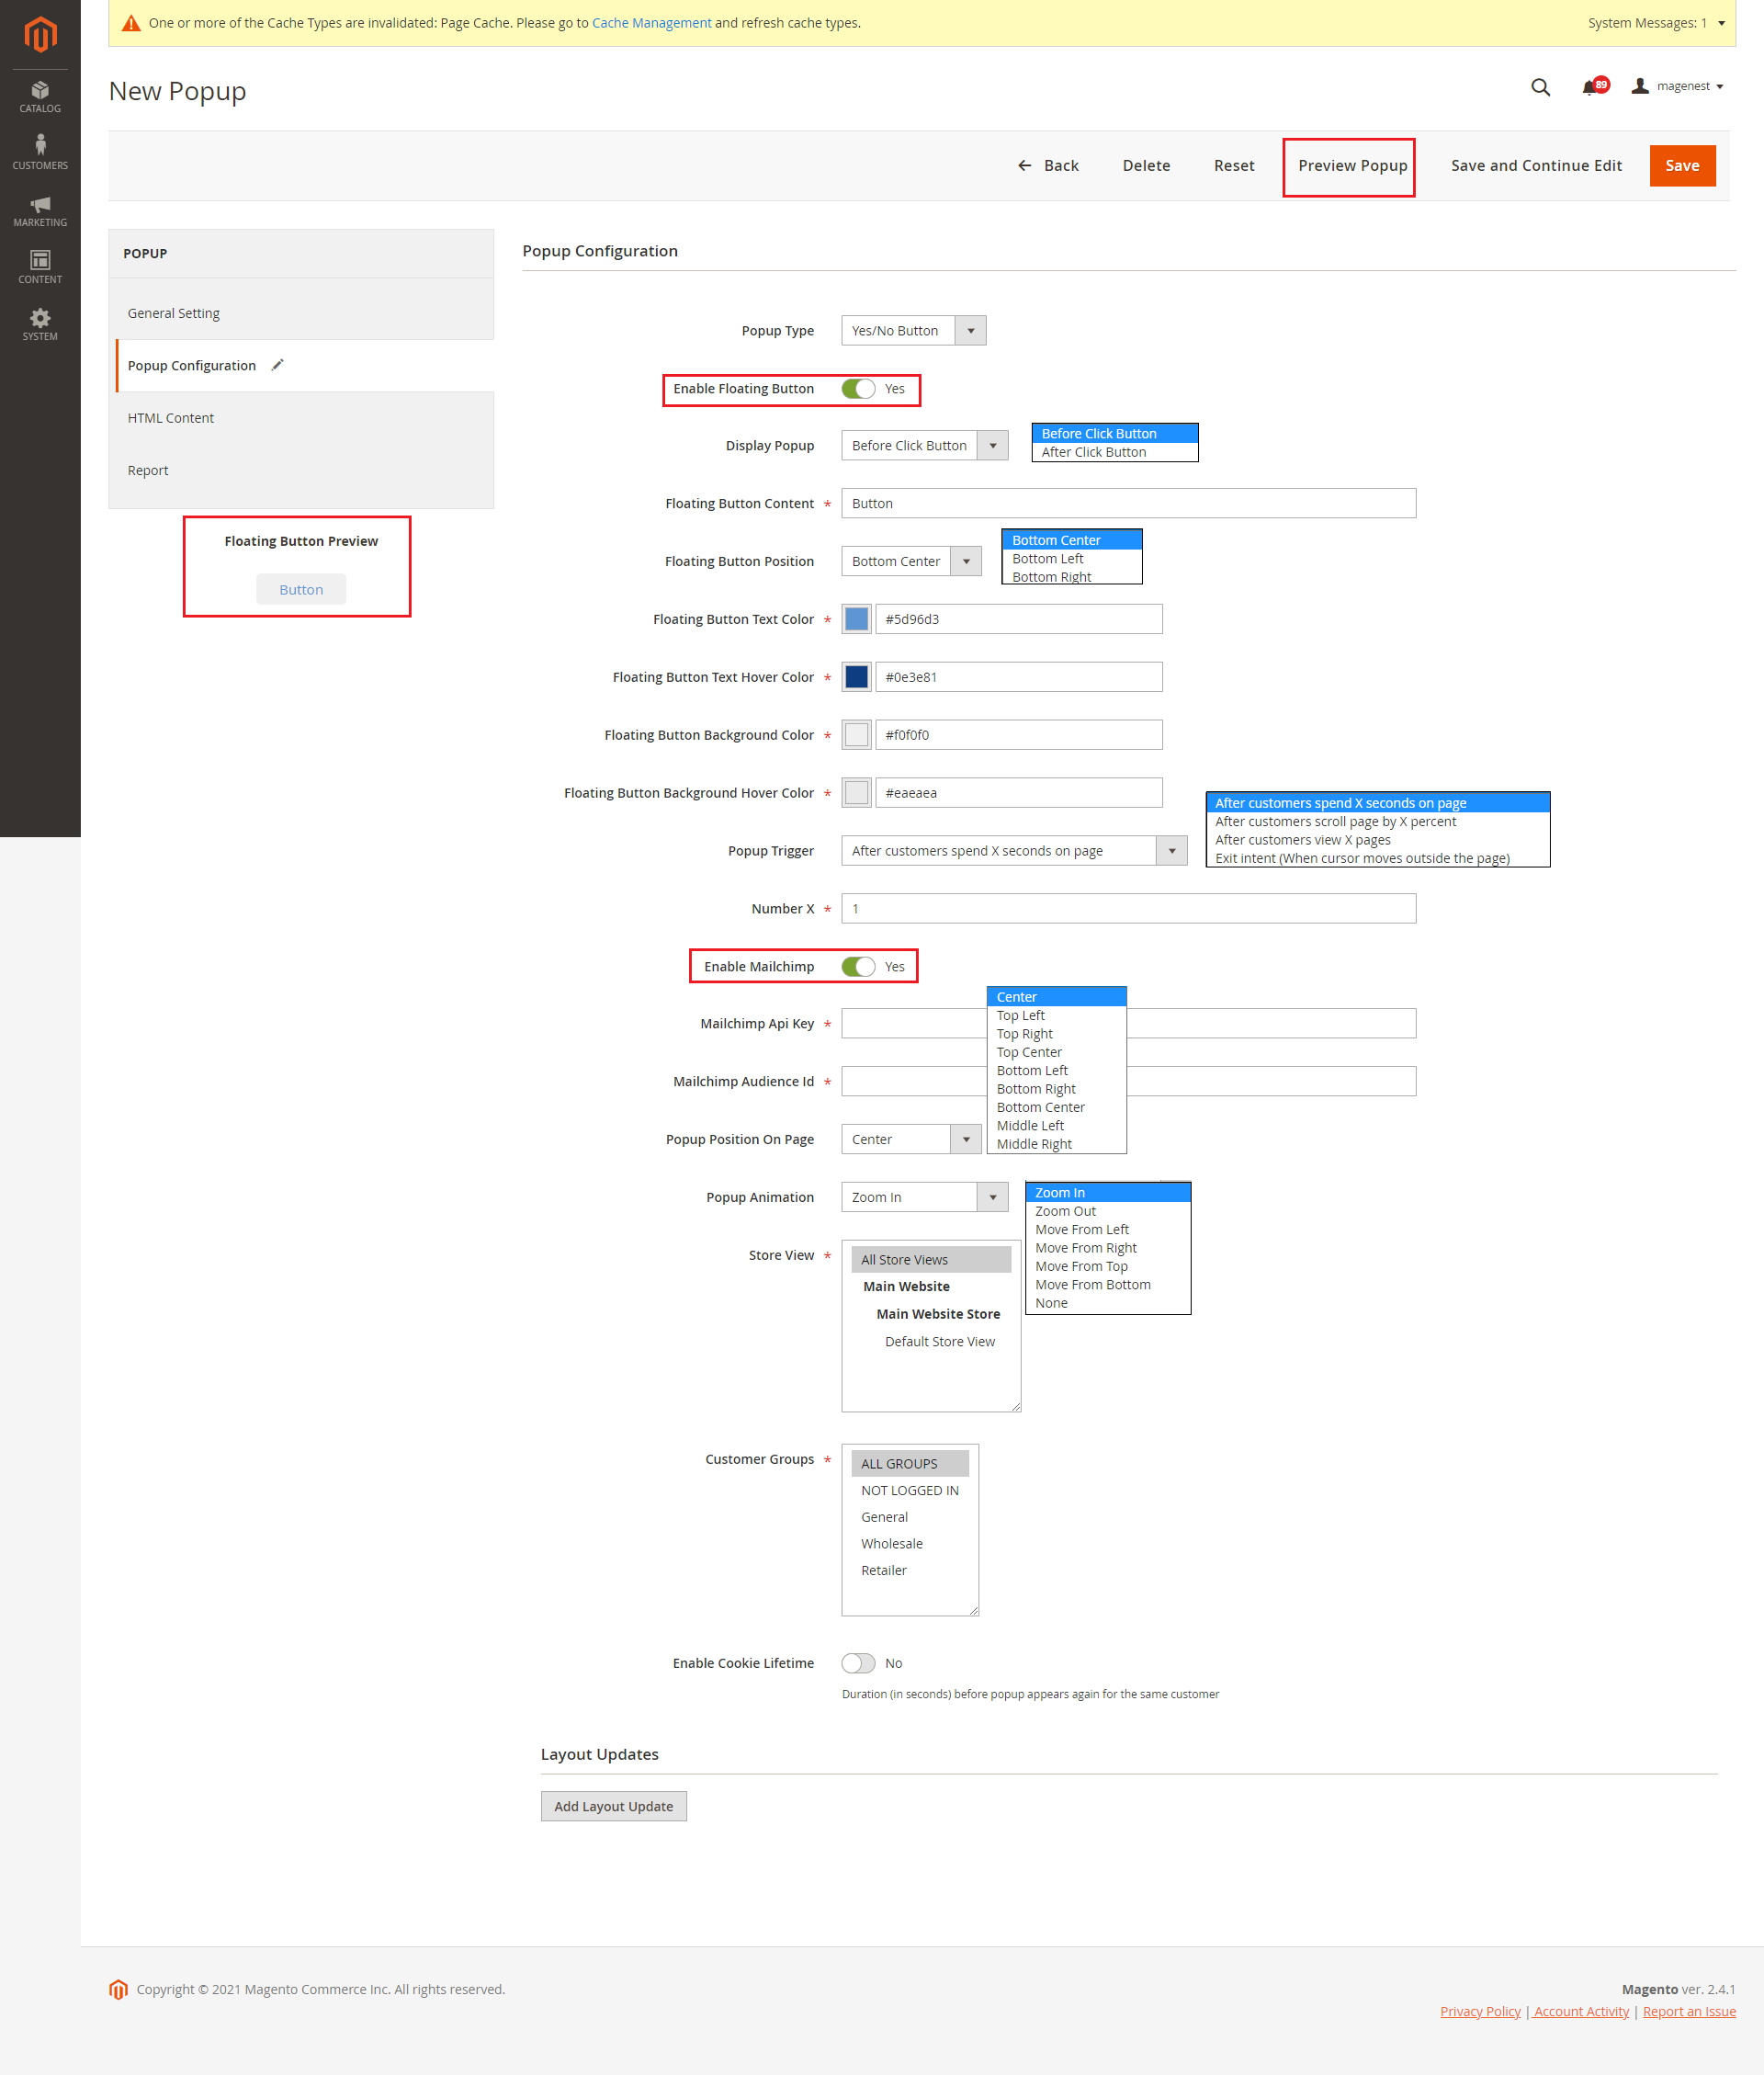
![]() In Popup Configuration, Popup configuration page
In Popup Configuration, Popup configuration page
- Popup Type: Corresponding to each popup type, you can select popup default template compatible.
- Enable Floating Button: Select Yes to enable the floating button to trigger the popup.
Once you enable it, you will see a floating button preview [new]
- Display Popup: Choose to display the popup before or after clicking on the floating button.
- Floating Button Content: Enter the name of the button.
- Floating Button Position: Select a position to display the button on the storefront.
- Floating Button Text Color: Select a color for the button text in the color scheme.
Floating Button Text Hover Color [new]: Select a color for the button text when users hover it
- Floating Button Background Color: Select a color for the button background in the color scheme.
Floating Button Background Hover Color [new]: Select a color for the button background when users hover it
- Popup Trigger: Select a popup trigger method.
- Number X: Define the X value in the Popup Trigger setting.
Enable Mailchimp: In case you have selected the Contact Form and Subscribe Form popup type. Choose Yes to enable the MailChimp.
Mailchimp API Key: To find your API Key, follow these steps
Copy an existing API key or click the Create A Key button. Paste this into Mailchimp API Key.
Click the Extras menu and choose API keys.
Click your profile name to expand the Account Panel and choose Account.
Mailchimp Audience Id: To find your audience ID, follow these steps
In the Audience ID section, you’ll see a string of letters and numbers. This is your audience ID.
Click the Settings drop-down and choose the Audience name and defaults.
Click View Contacts.
If you have more than one audience, click the Current audience drop-down and choose the one you want to work with.
Navigate to the Audience tab.
- Popup Position on page: You can customize the popup position in various areas on the storefront.
Popup Animation: Set animation when a popup displays
Store View: Set the store view to display the popup
Customer Groups [new]: Set customer groups can see popup
- Popup Template: Assign the template to this popup. You can add more template on Manage Template page
- Popup trigger: Choose 1 from 4 popup trigger to display popup
- Number X: For popup triggers as After customers spend X seconds on the page; After customers scroll X% of the page, After customers view X pages on the website, you can define the X in this setting
- Popup Position: You can display the popup in All pages, Homepage, All CMS Pages, All Category Pages, Product pages
- Stores: Set the storeviews to display popup
Enable Cookie Lifetime:Duration (in seconds) before the popup appears again for the same customer
.
Layout Updates: Select a page to display the popup.
HTML Content
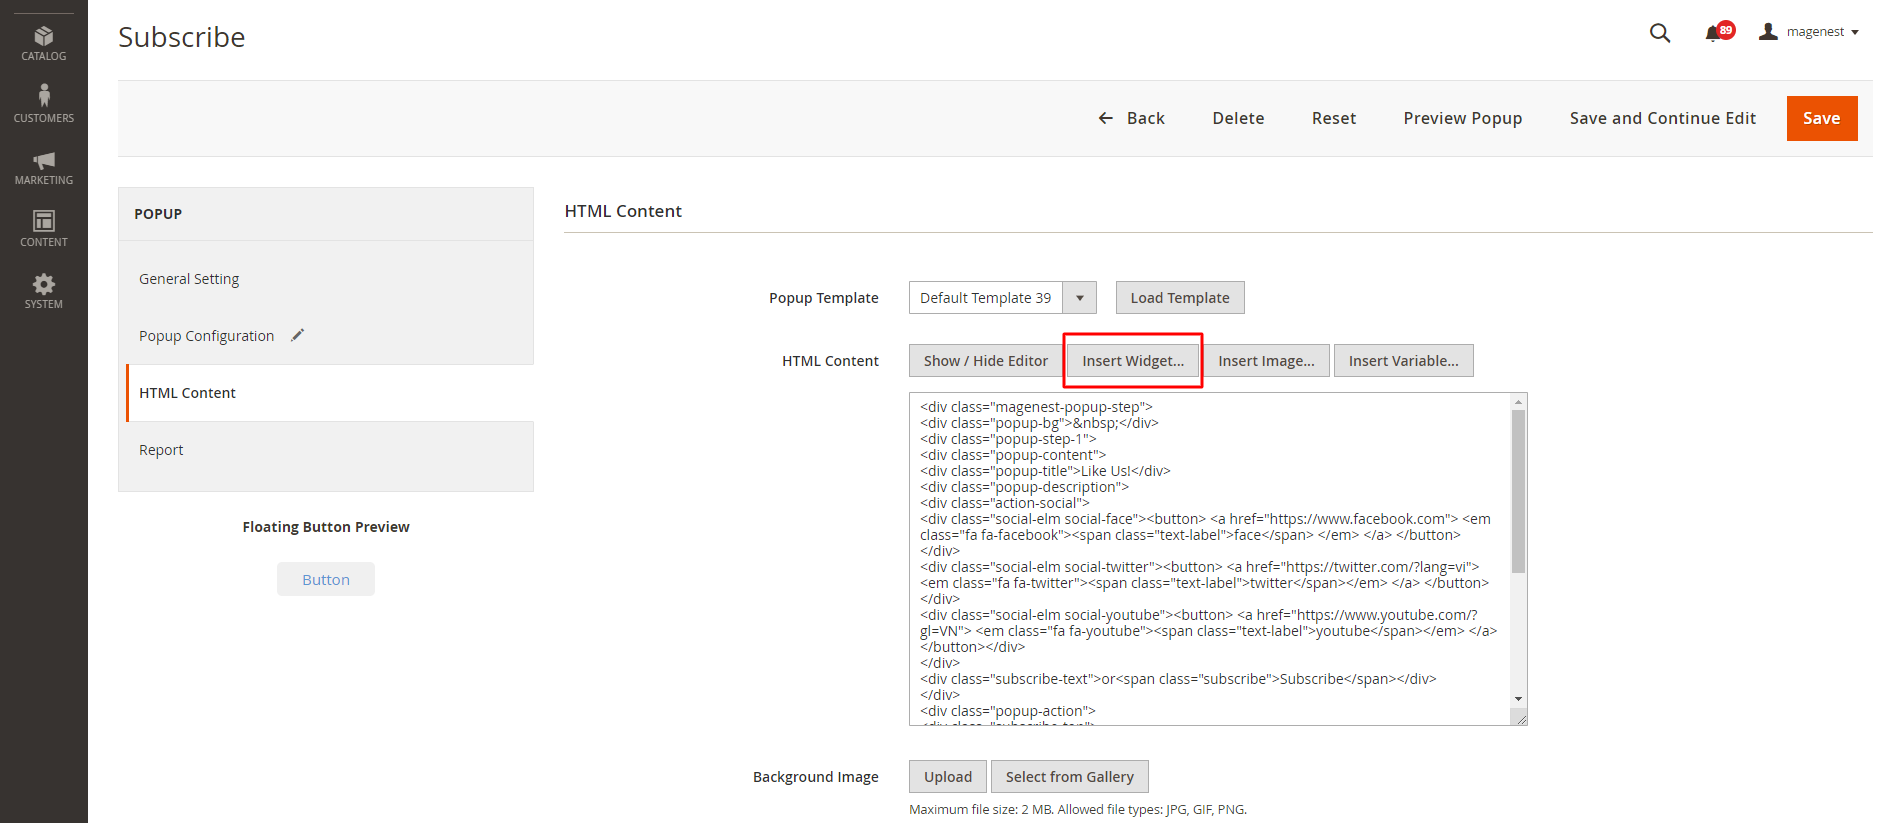
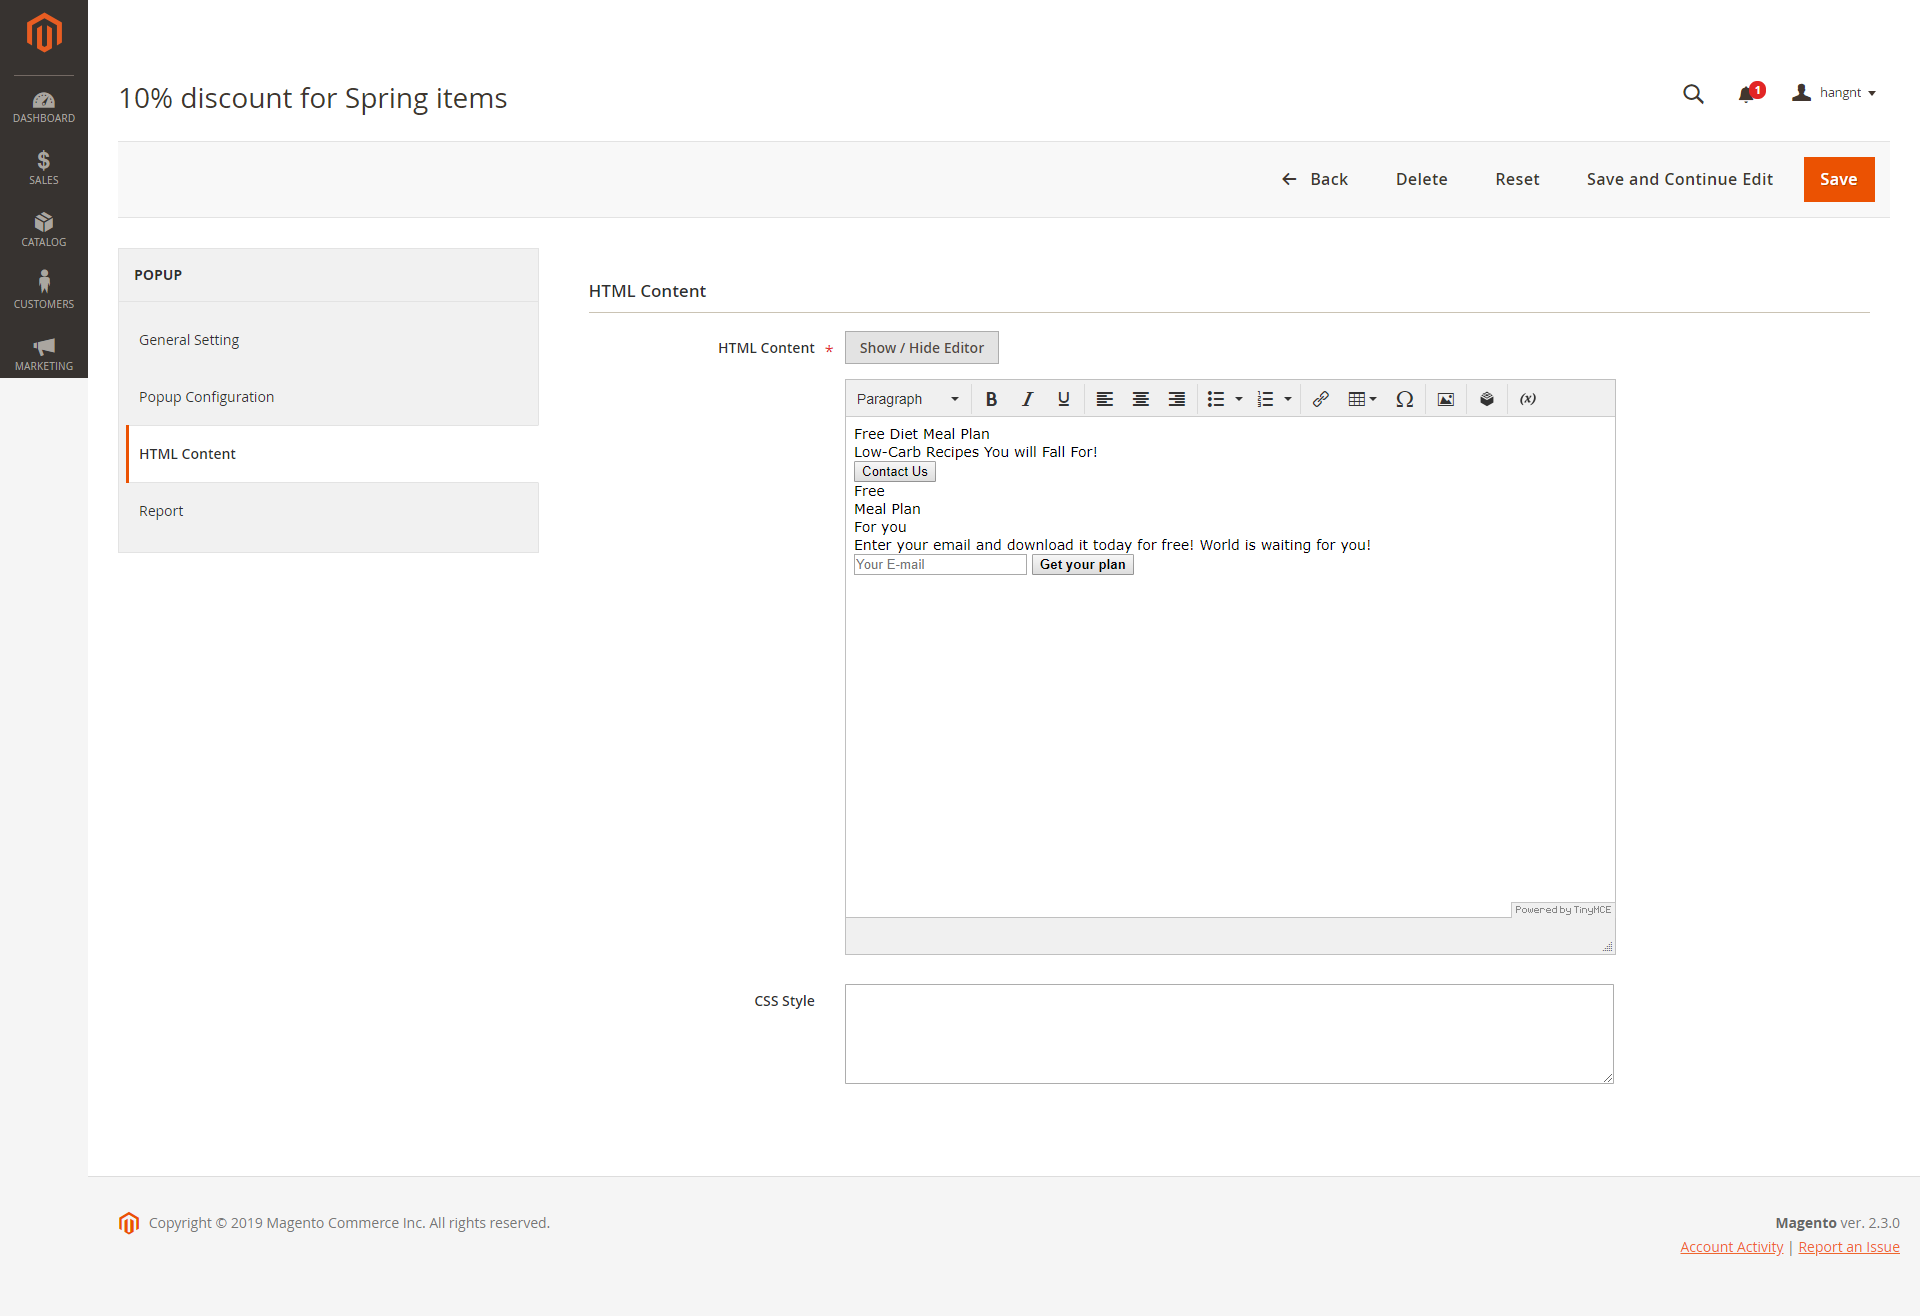
![]() You can customize the content and style of the popup using the WYSIWYG editor.
You can customize the content and style of the popup using the WYSIWYG editor.
- Popup Template: Assign the template to this popup. You can add more templates on the Manage Template page
- Load Template Button [new]: Load default template content
- HTML Content: Contain popup HTML content,
- you can customize the content and style of the popup
- using the WYSIWYG editor.
- Background Image [new]: Upload background popup
- CSS Style: You can also select an additional background image to add to the popup
- For the Hot Deal popup only, you can add the products to the popup.
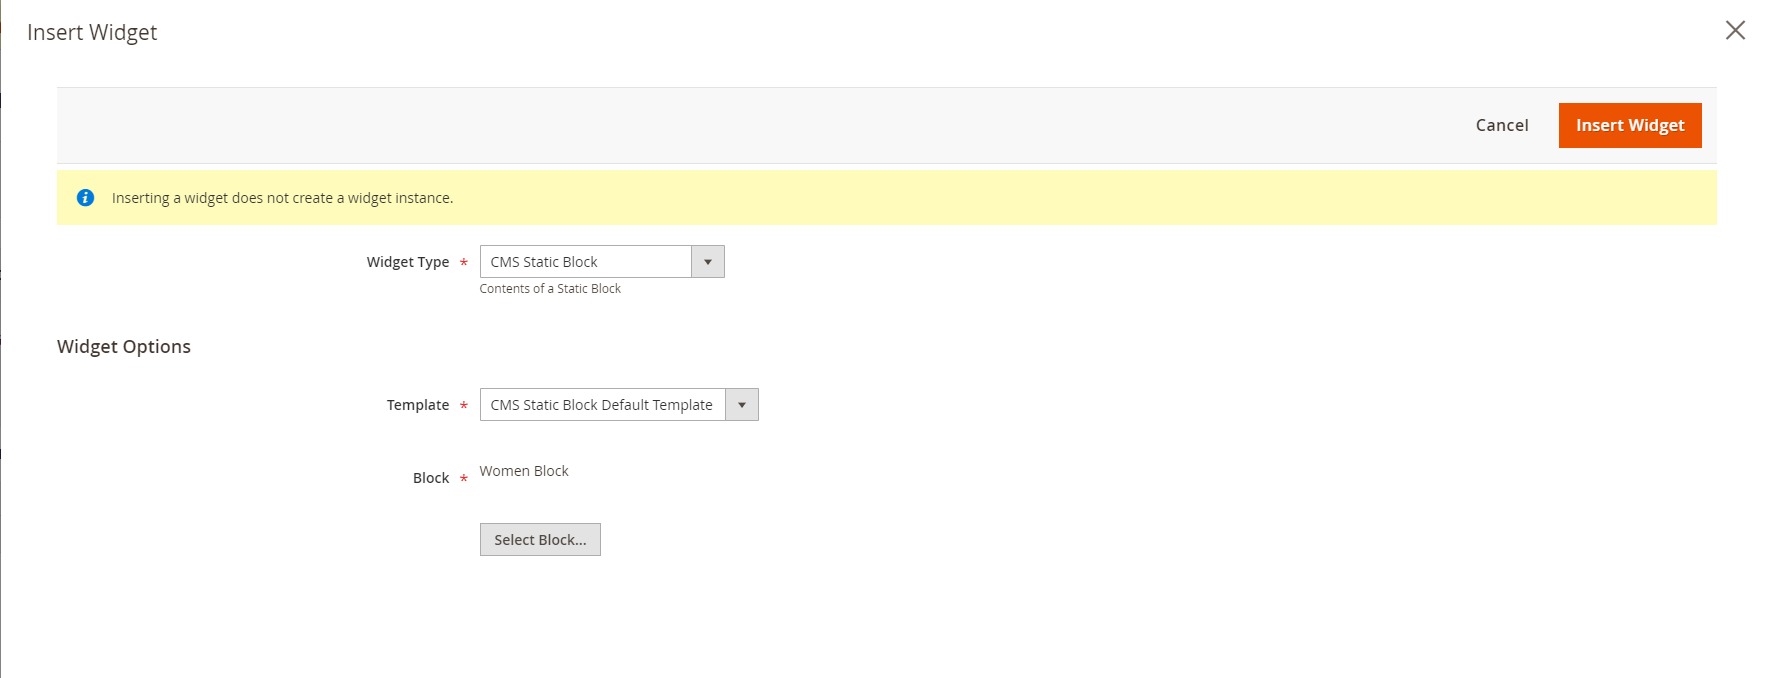
- In order to add the products, you can place your blinking cursor between <div class="popup-product"> and the </div> tag.
Click on the Insert Widget button.
Select the Catalog Product List.
Report
![]() In the
In the
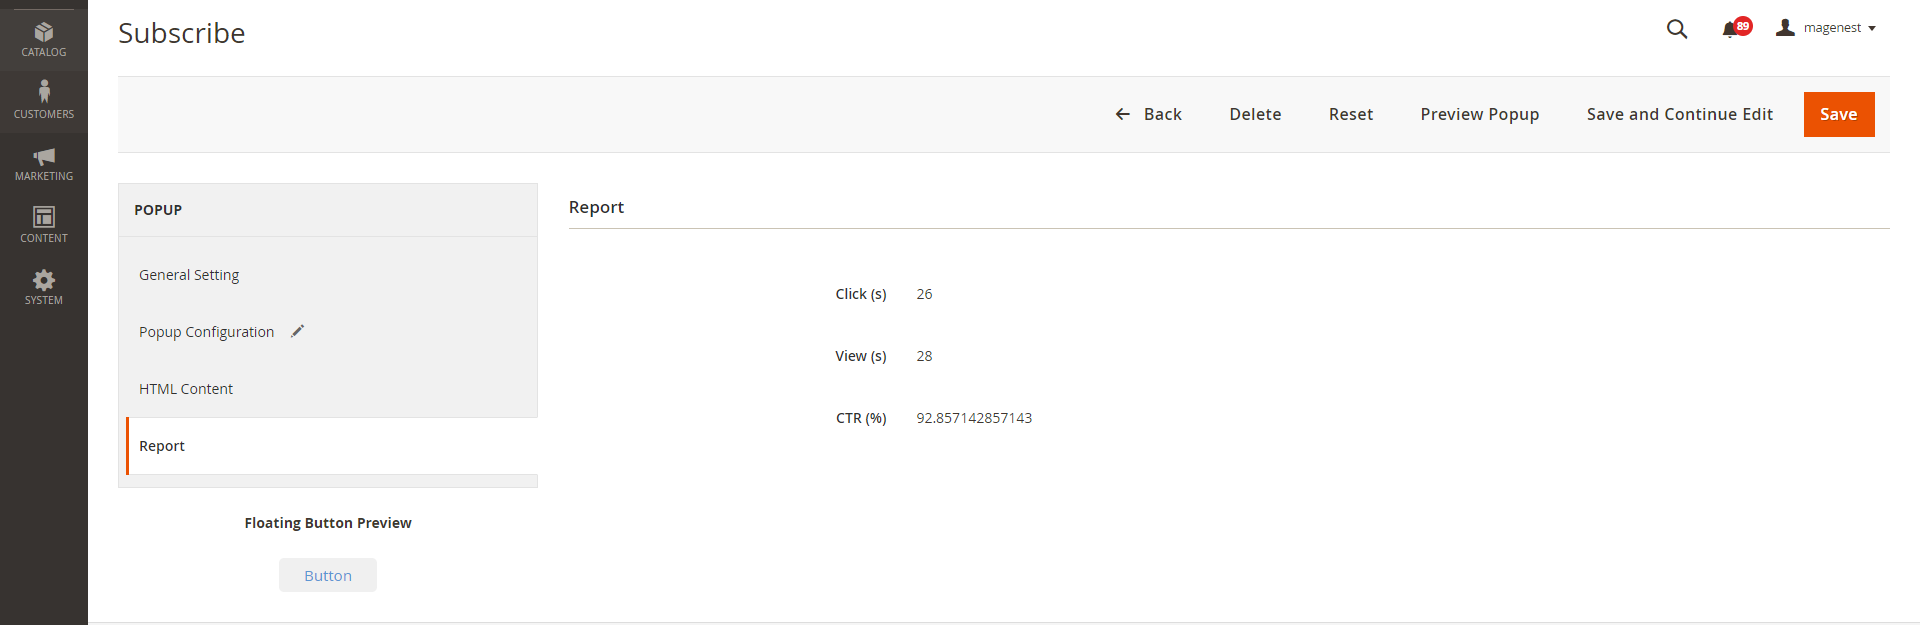
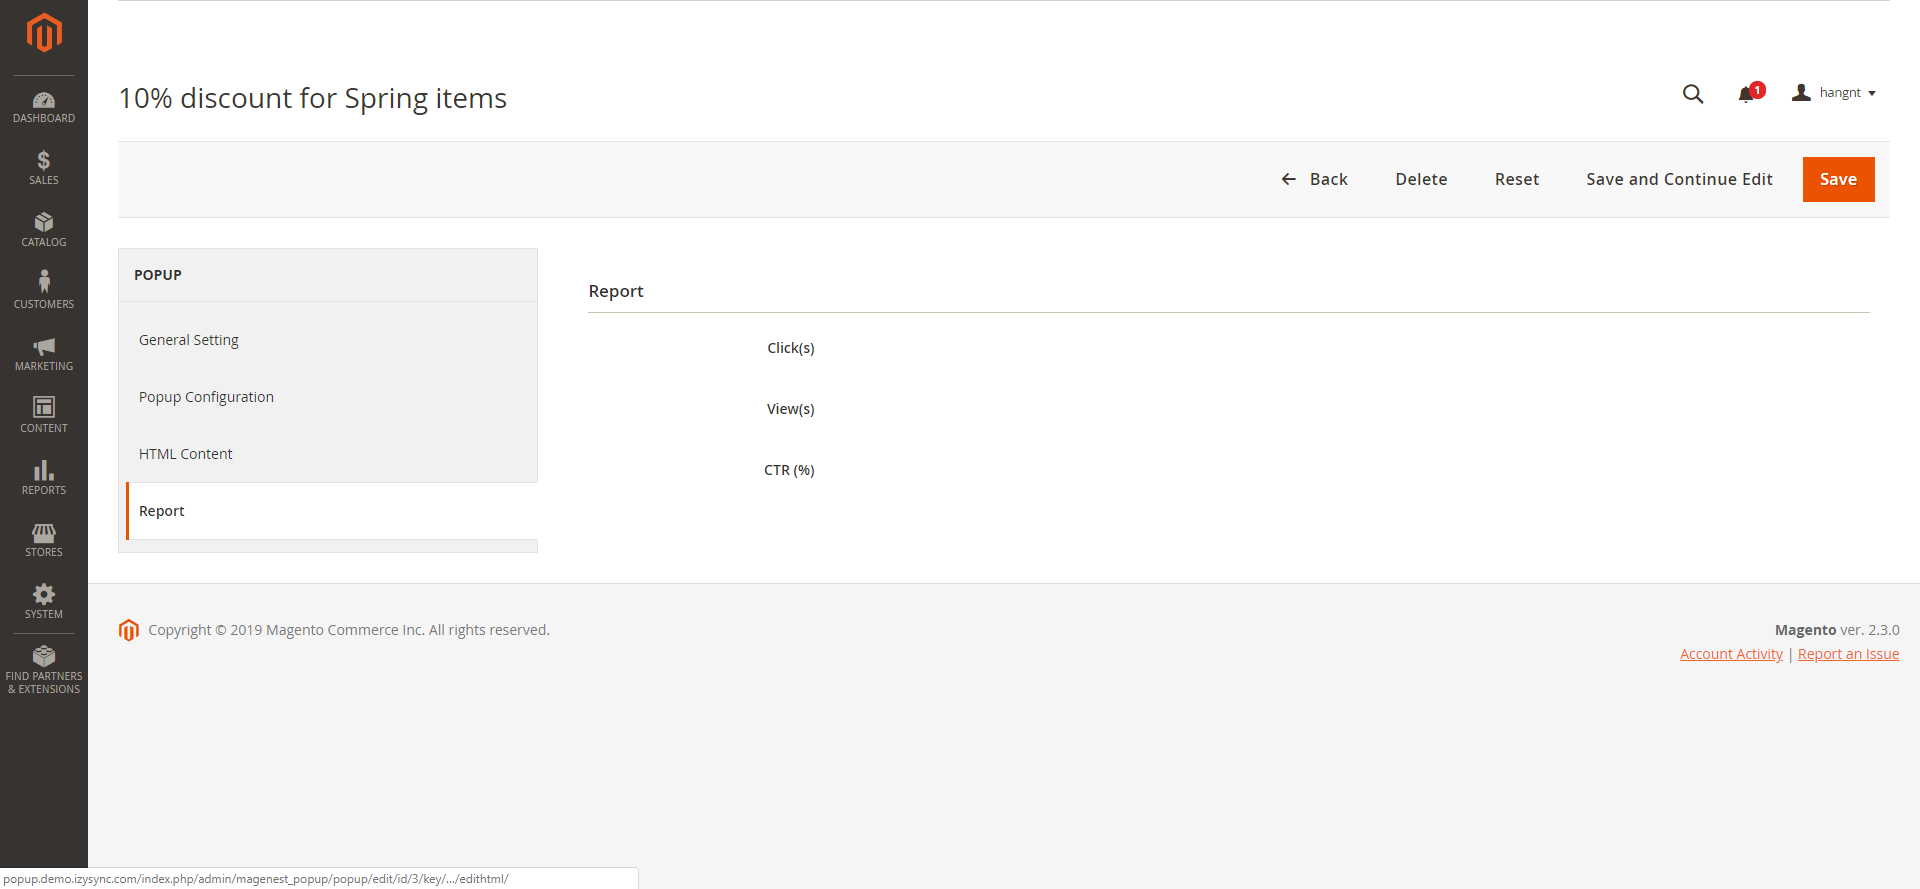
![]() In Report tab, you can see the popup performance with the number of clicks, views, and the CTR (Click-through rate)
In Report tab, you can see the popup performance with the number of clicks, views, and the CTR (Click-through rate)
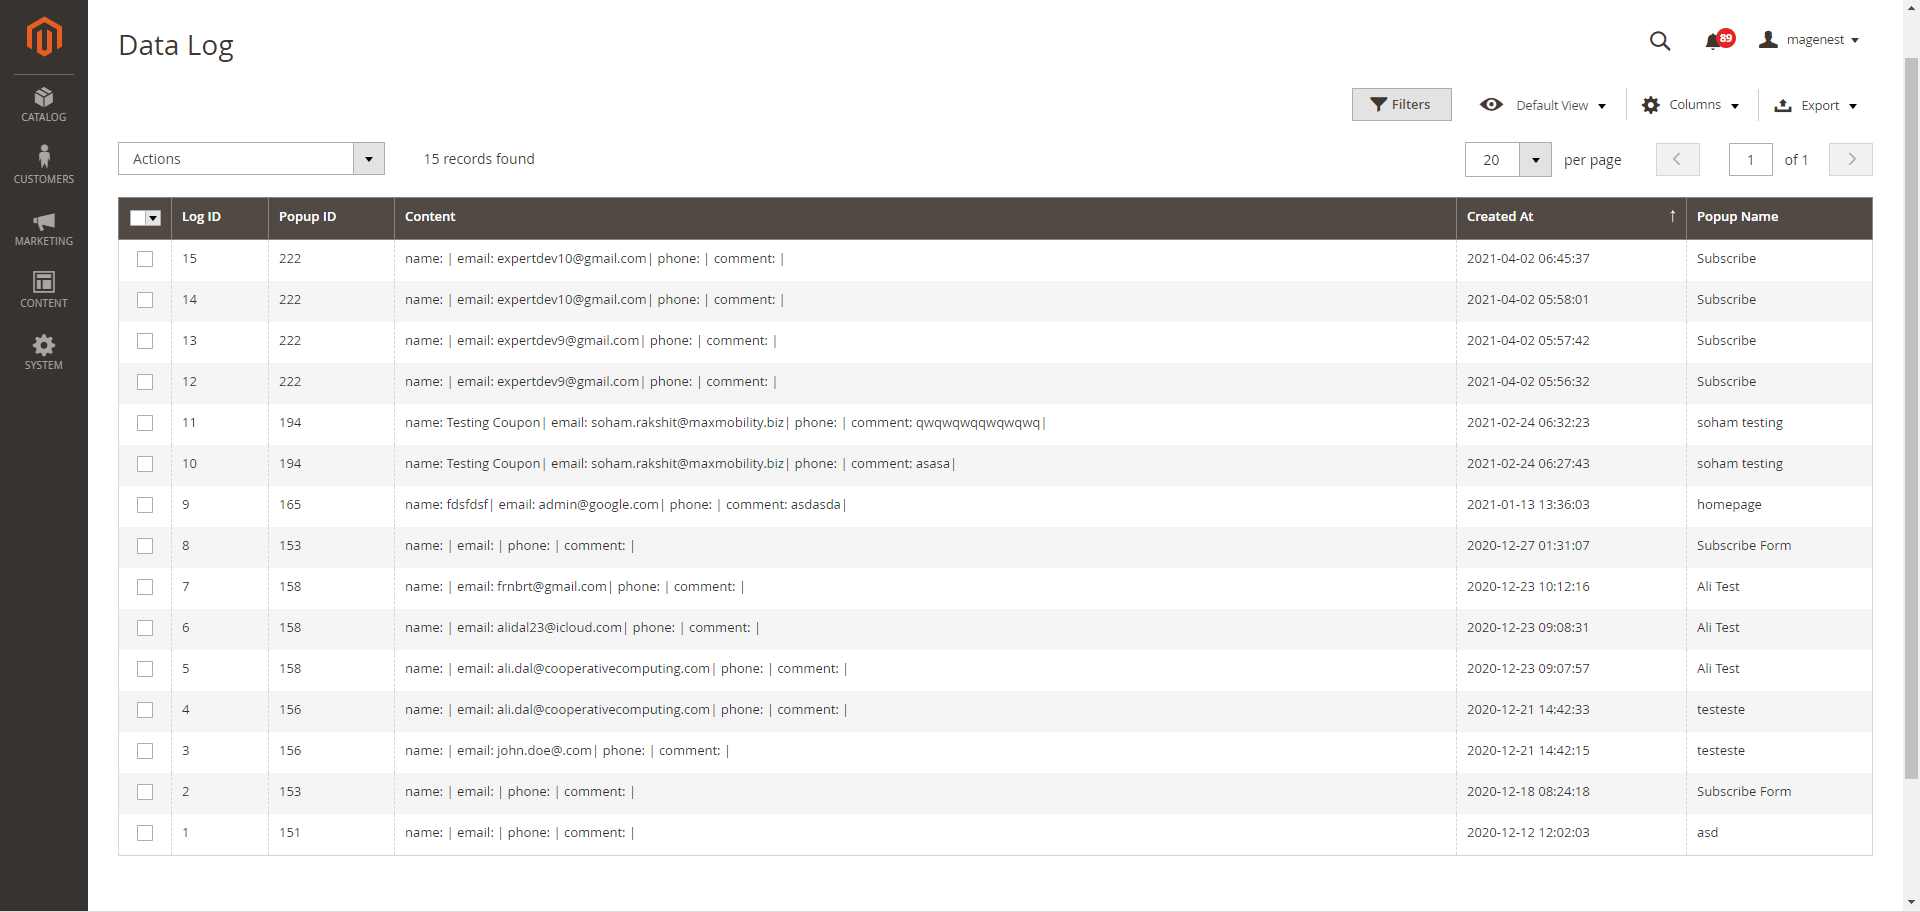
Data Log
On the Magento 2 backend, you can view the data that customers fill in the popup (form) in Content > Magenest Popup > Data Collection.
Storefront Display
![]() After finishing all the configuration, you can see the popups displayed on the storefront correctly as the requirements.
After finishing all the configuration, you can see the popups displayed on the storefront correctly as the requirements.
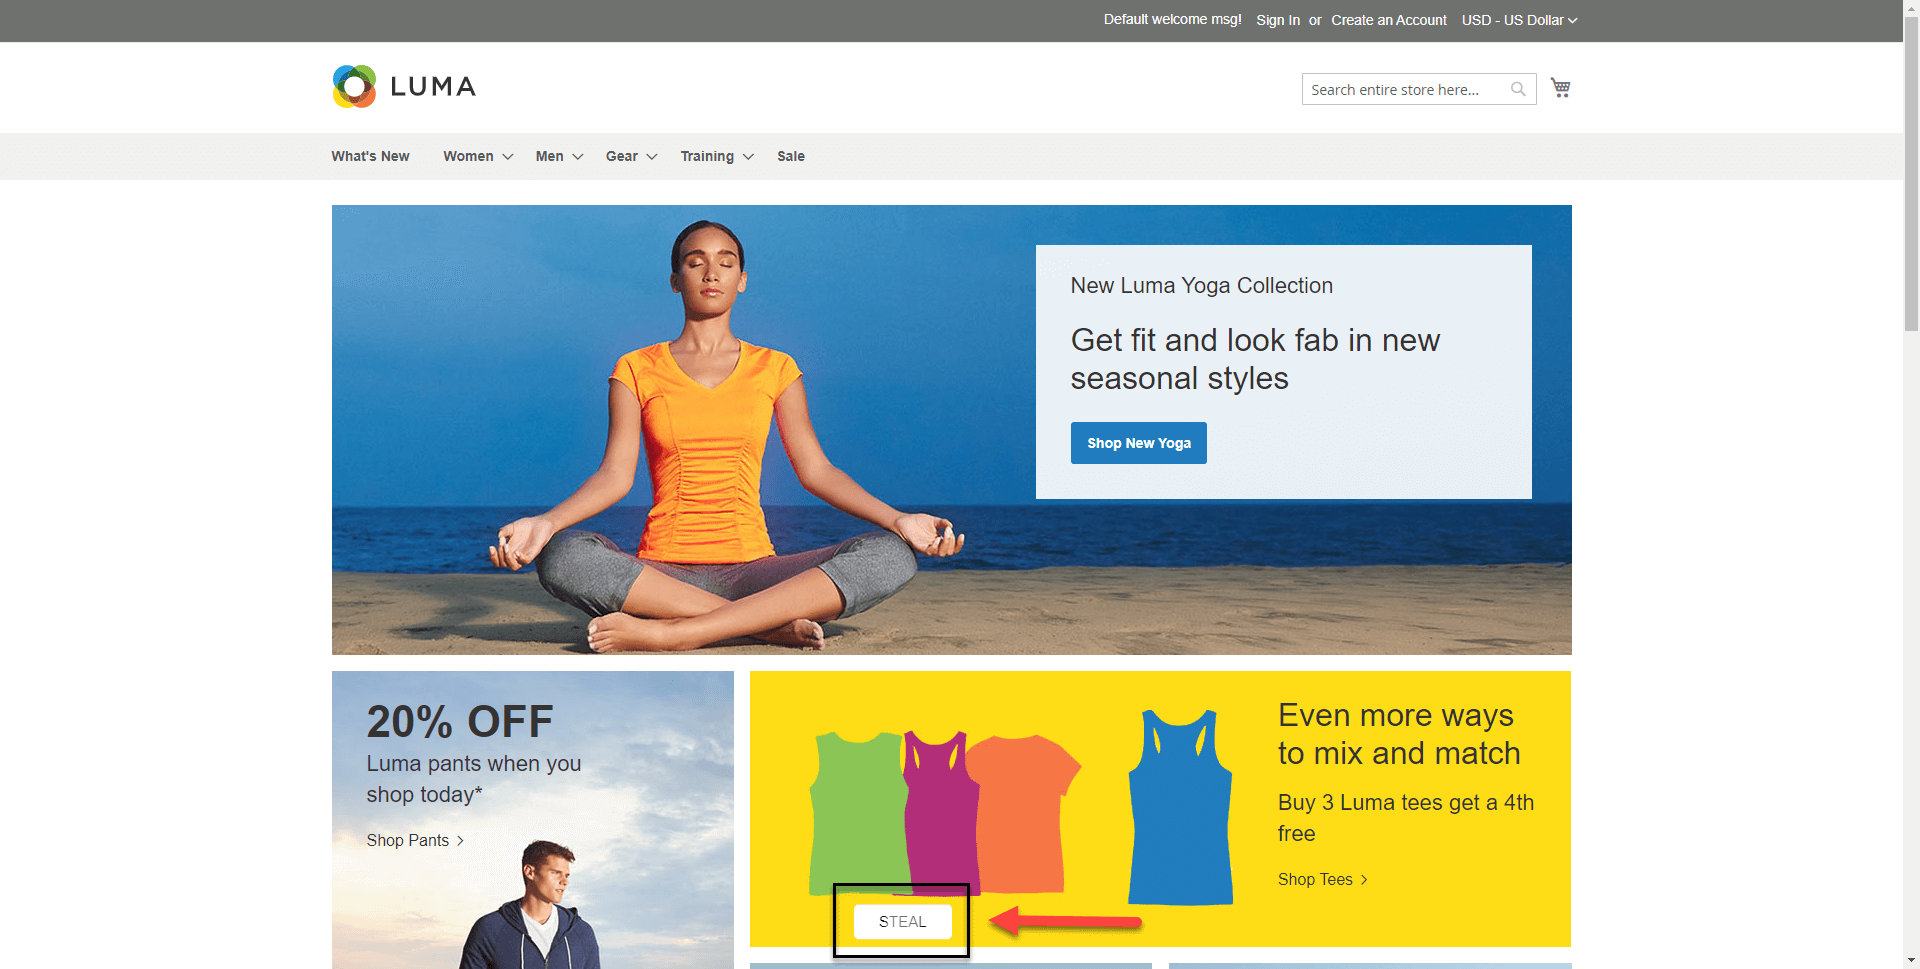
- The floating button
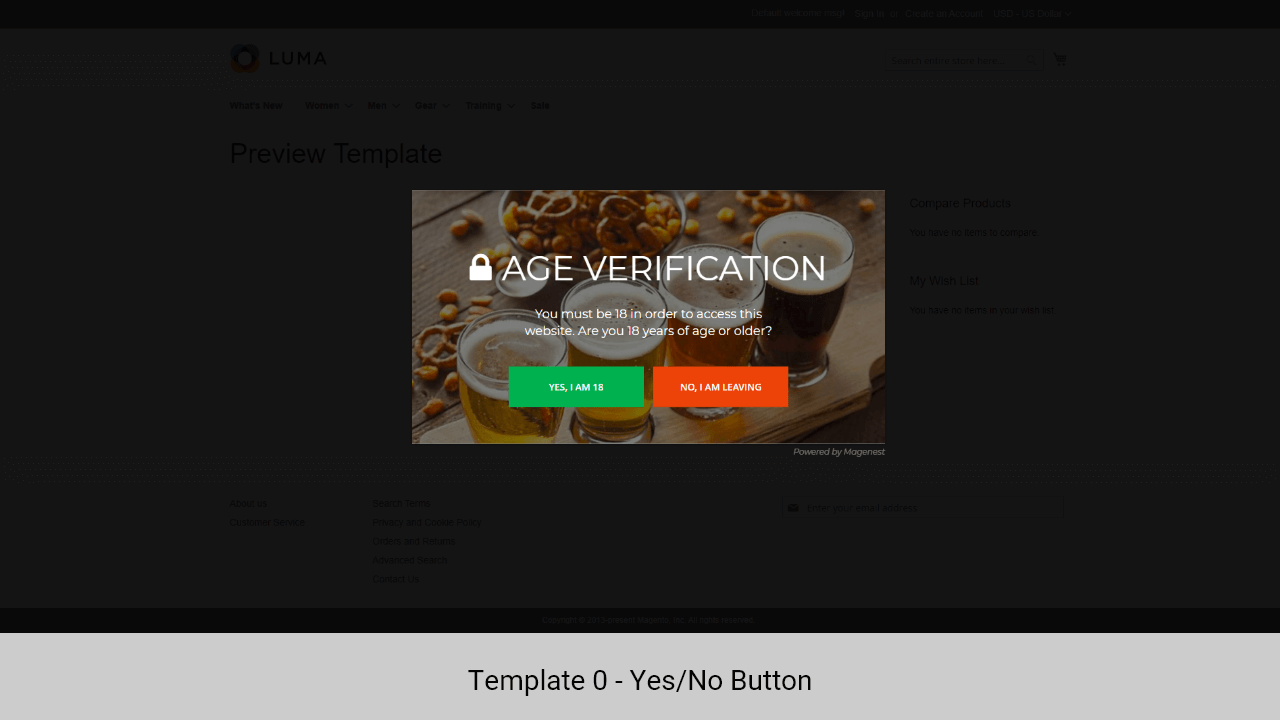
- Popup - Yes/No button
- Popup - Contact Form
- Popup - Social Share
- Popup - Subscribe Form
- Popup - Static Popup
- Popup - Hot Deal
Default template 41

Default template 42

Default template 43

Default template 44

Update
- When a new update is available, we will provide you with a new package containing our updated extension.
- You will have to delete the module directory and repeat the installing installation steps above.
- Flush the config cache. Your store and newly installed module should be working as expected.
...
...
Support
- We will reply to support requests within 2 business days.
- We will offer offer a lifetime free update and 6 months of free support for all of our paid products. Support includes answering questions related to our products, bug/error fixing to make sure our products fit well in your site exactly like our demo.
- Support DOES NOT include other series such as customizing our products, installation, and uninstallation service.
...
...
Once again, thank you for purchasing our extension. If you have any questions relating to this extension, please do not hesitate to contact us for support.