Thank you for purchasing our extension. If you have any questions that are beyond the scope of this document, do not hesitate to leave us an email via our email address below.
Created: 20/12/2016 | By: Magenest | Support Portal: http://servicedesk.izysync.com/servicedesk/customer/portal/17
![]()
Magento 2 Quickbooks Online Integration is an extension developed by Magenest, which provides a QuickBooks integrated manager solution for merchants using Magento 2.
Extension's page: Quickbooks Online Integration
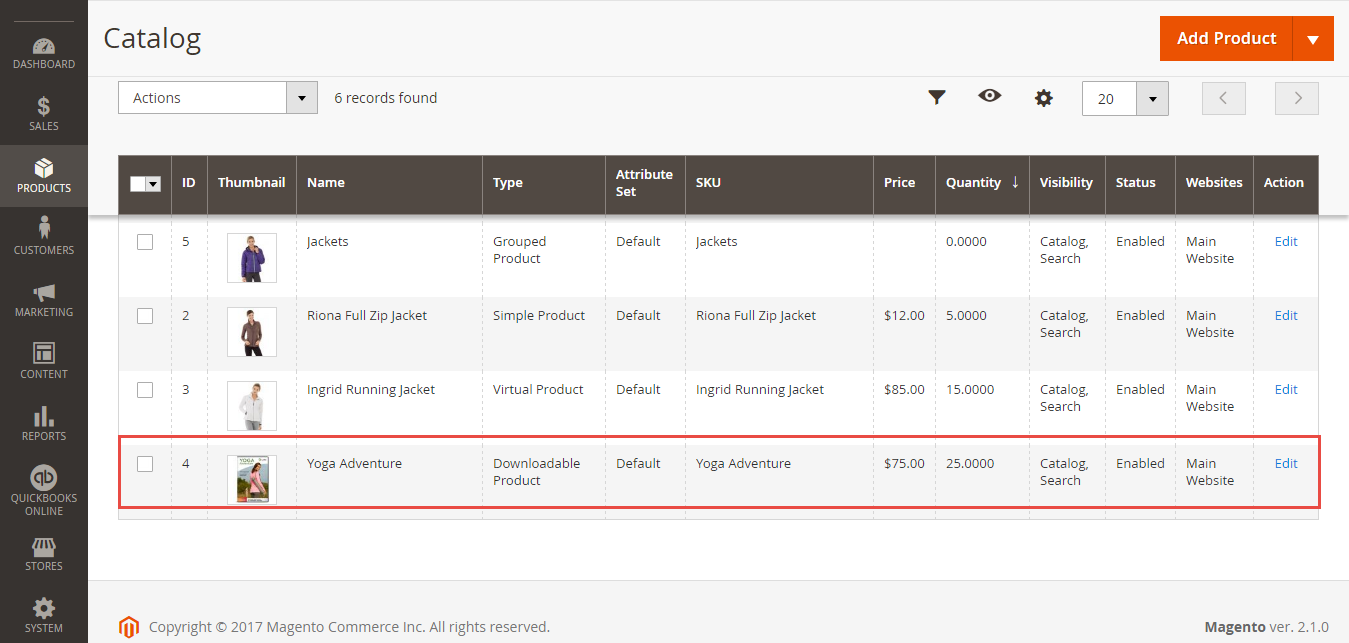
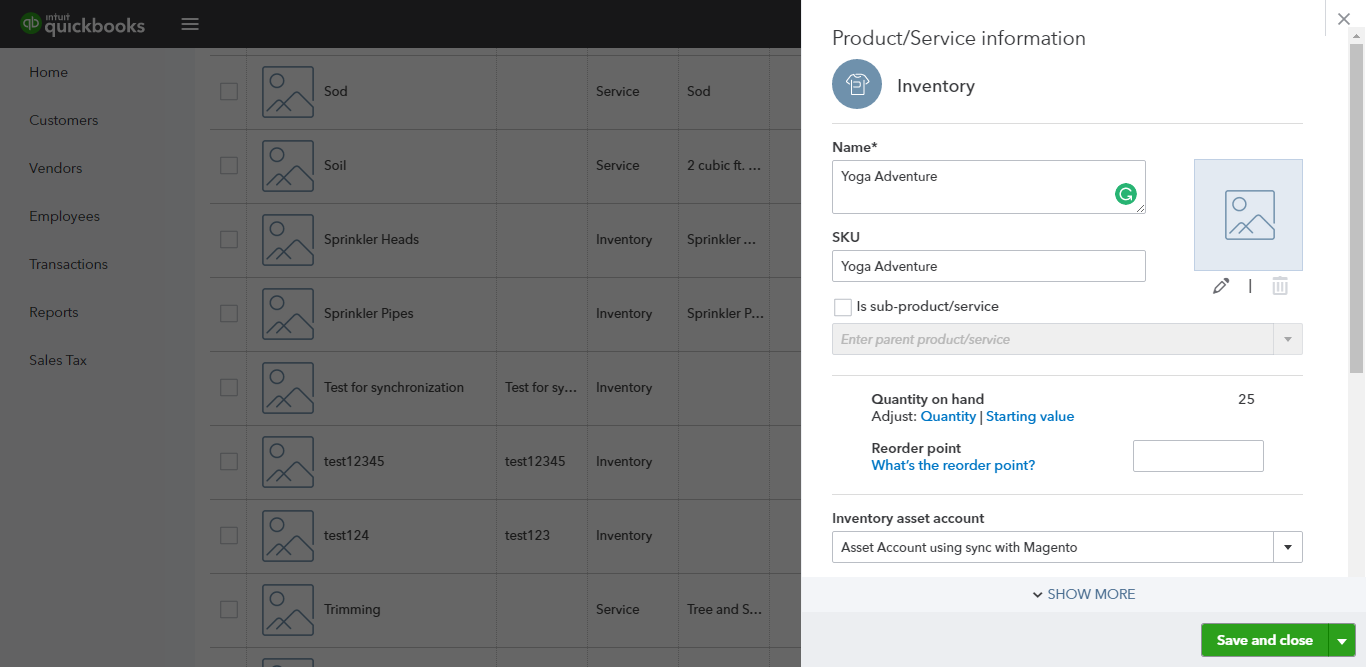
Export existing QuickBooks Online stock items to your Magento 2 E-commerce online store including:
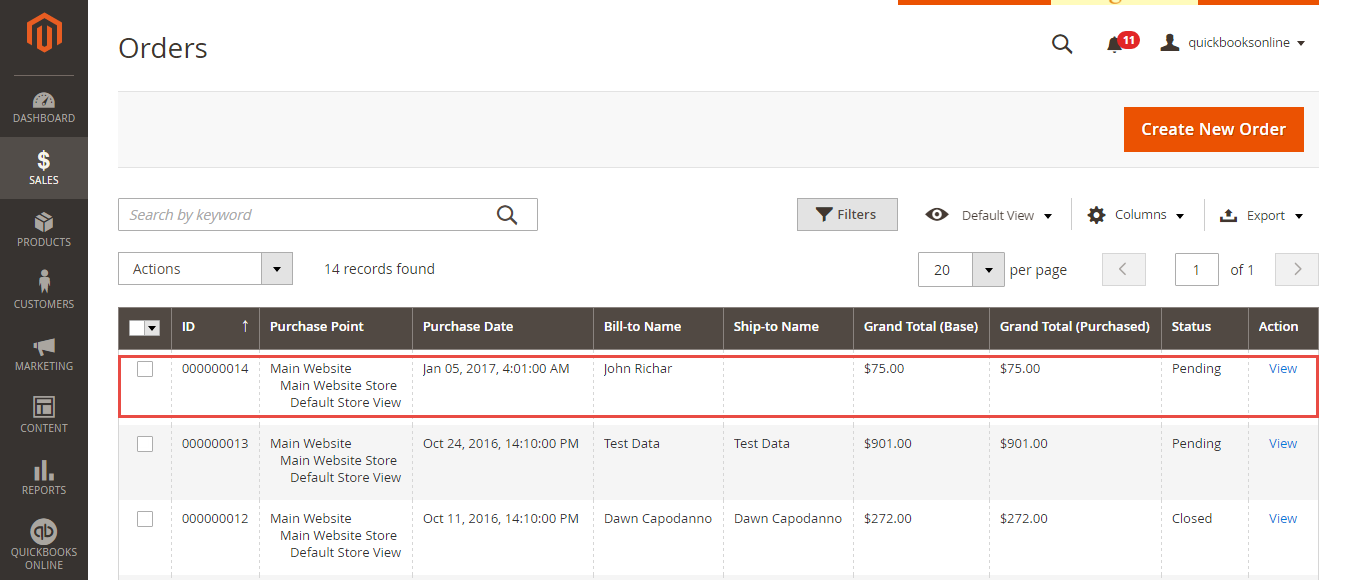
Magento 2 orders are automatically imported into QuickBooks Online to create sales orders
Your store should be running on Magento 2 Community Edition version 2.0.x or 2.1.x.
For this integration you will need to have a account in Quickbooks Online.
First, open backend of Quickbooks Online Integration extension, click on Stores > Connection. The page will appear as follow:
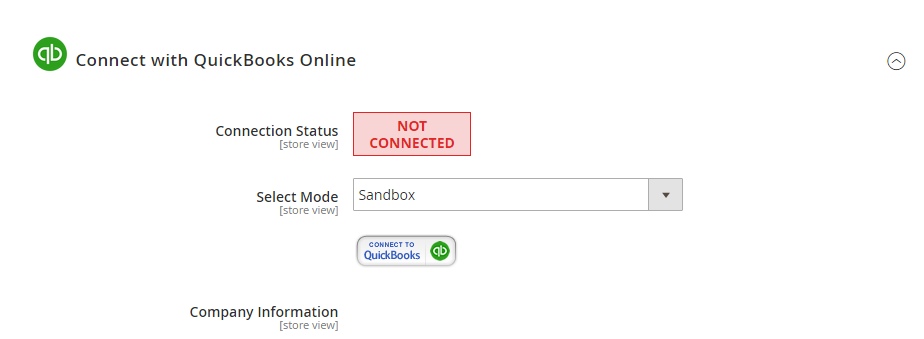
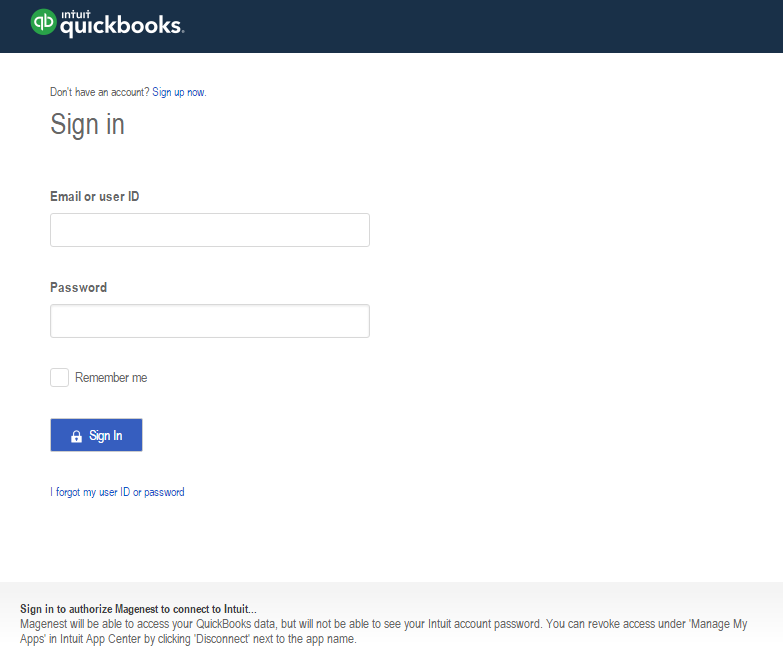
Click on Connect to QuickBooks button. A new page is open. It is necessary for you to connect our extension with QuickBooks Online to authenticate users before you can exchange data with it. Log in if you already have an account.
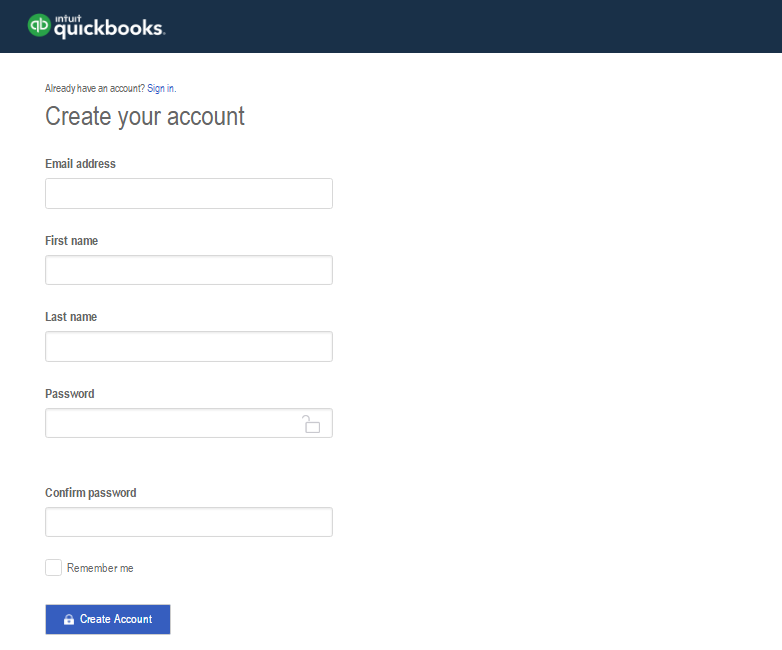
Or sign up to create a new one:
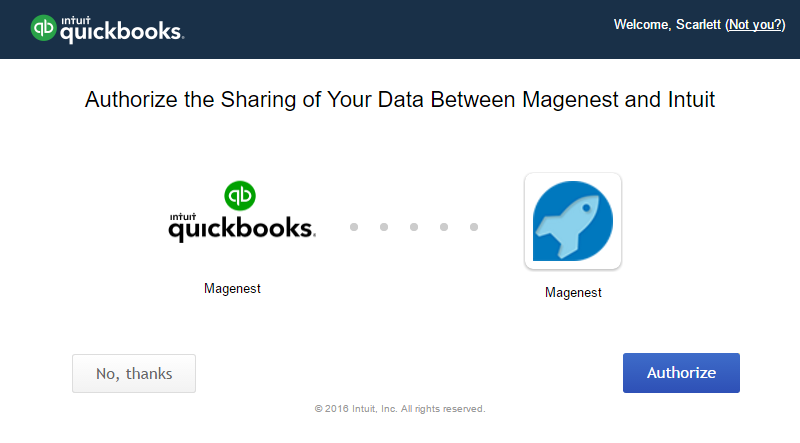
After login QuickBooks Online account successfully, click on Authorize button to finish connection process.
After connecting successfully, the backend page will be displayed as below. Click on Save Config button before continuing, this will help you avoid making the error.
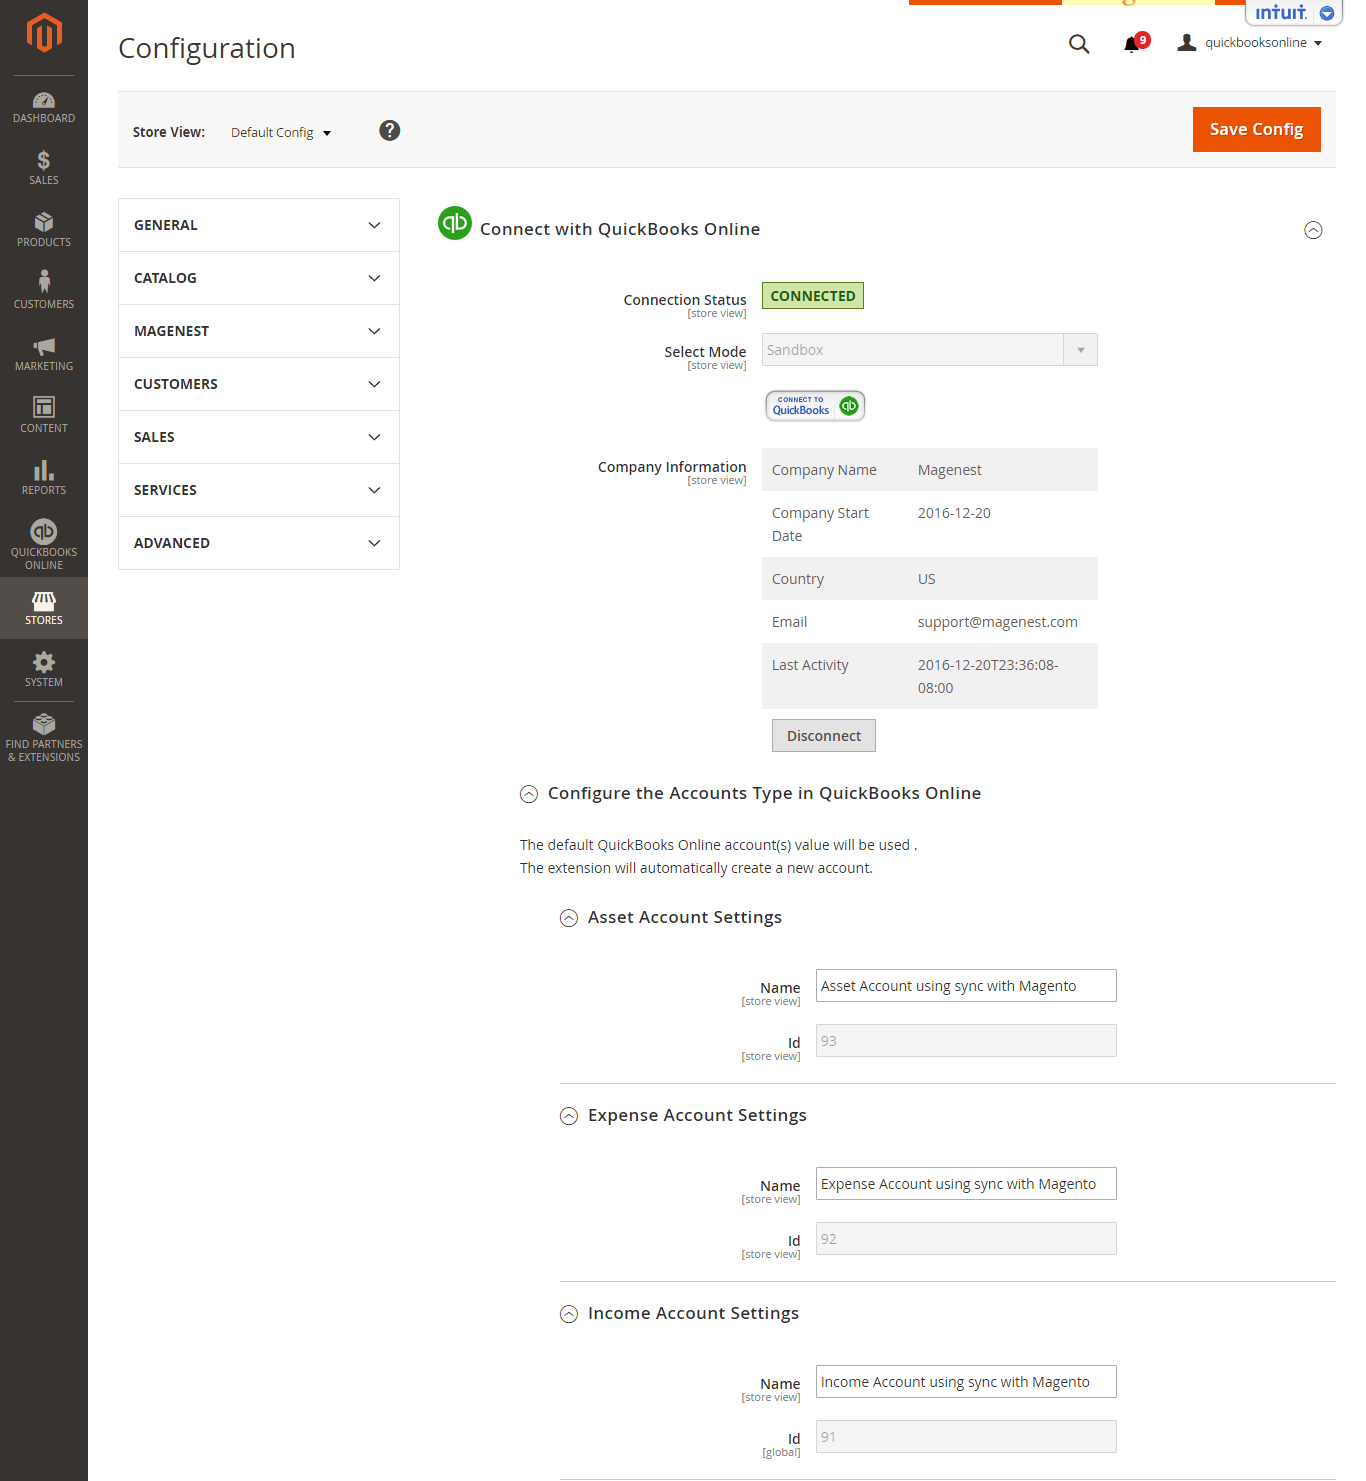
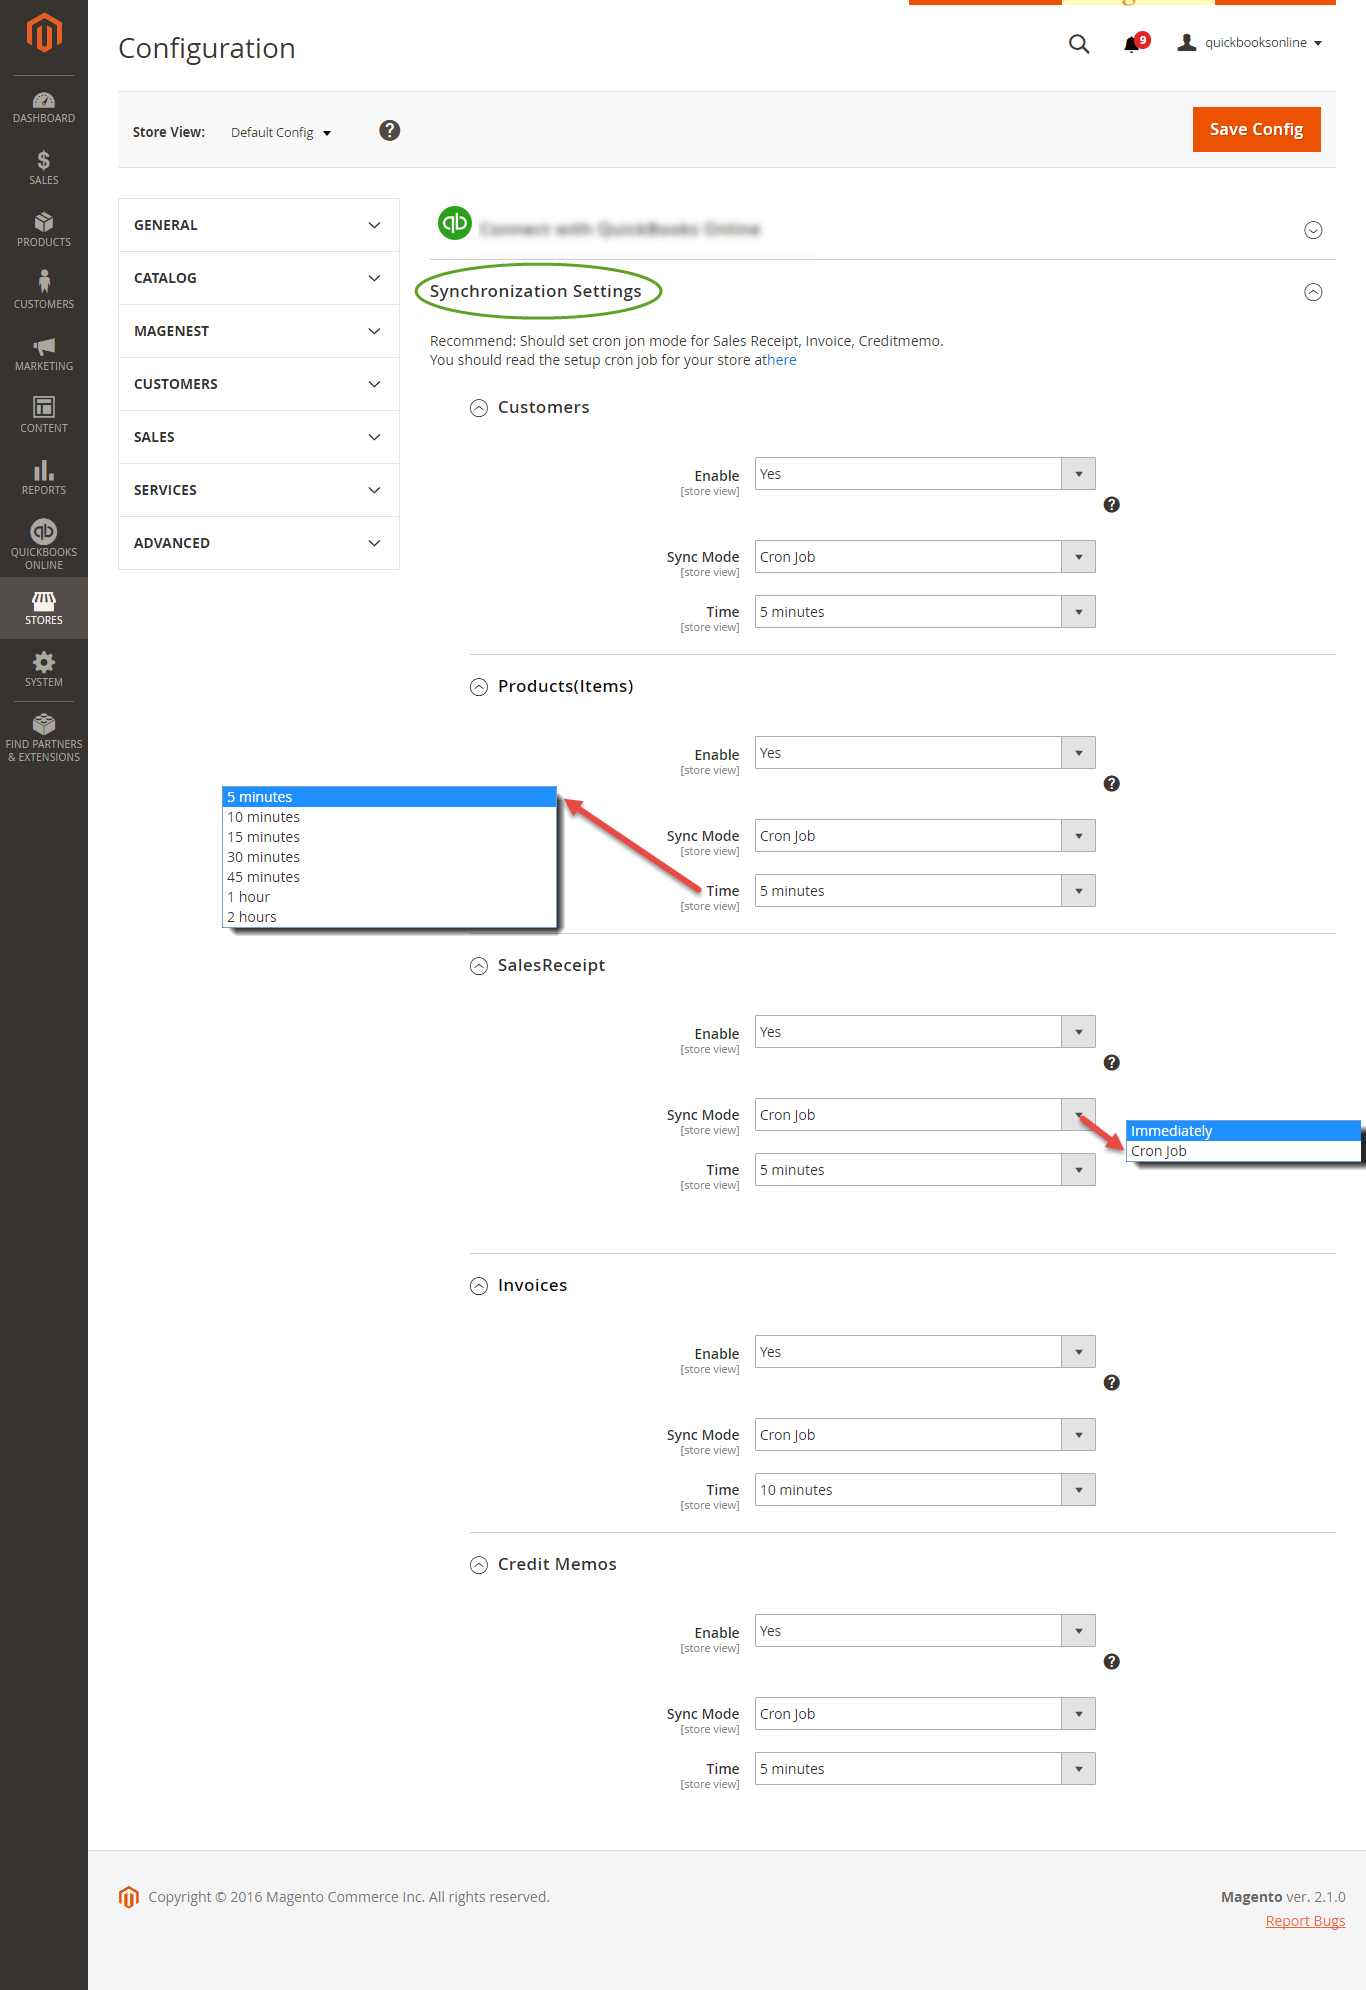
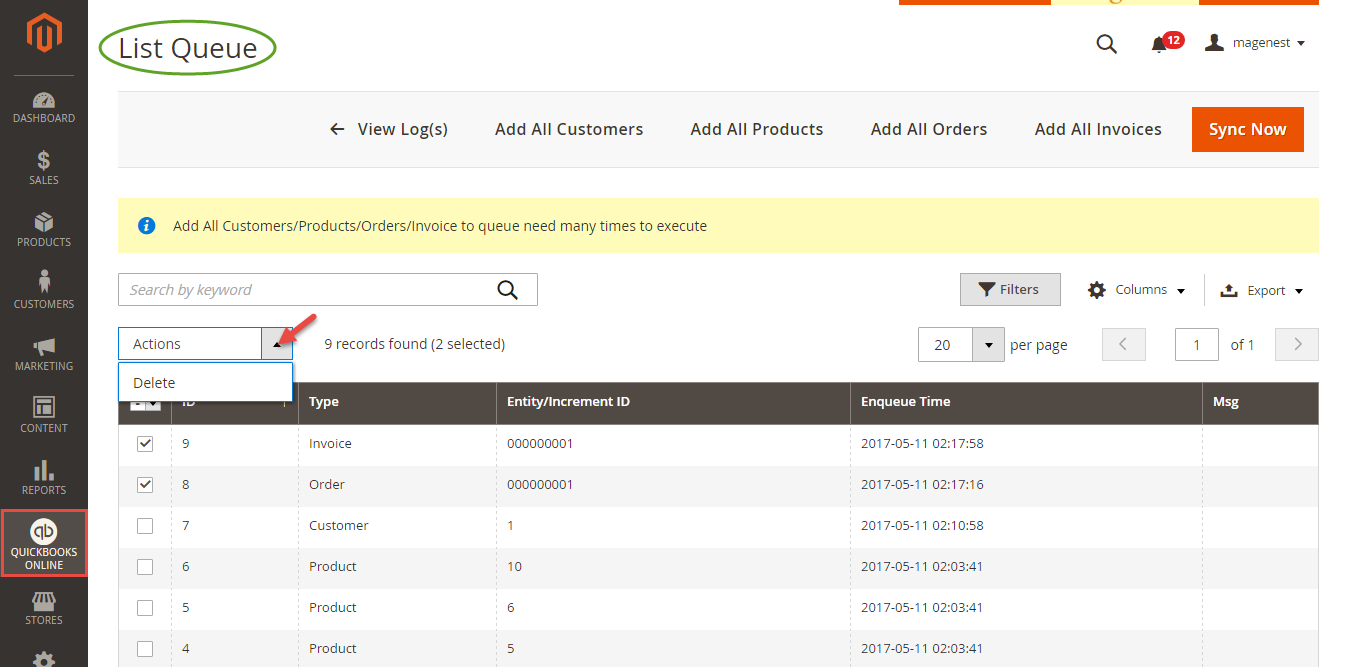
If the App mode is Cron Job, Queue page is the place which the created, updated data is stored in and are waiting to be synced. If you wish to sync data right away, you can press Sync Now button.
Note that synchronizing will take some time, the length of time depends on the size of database.
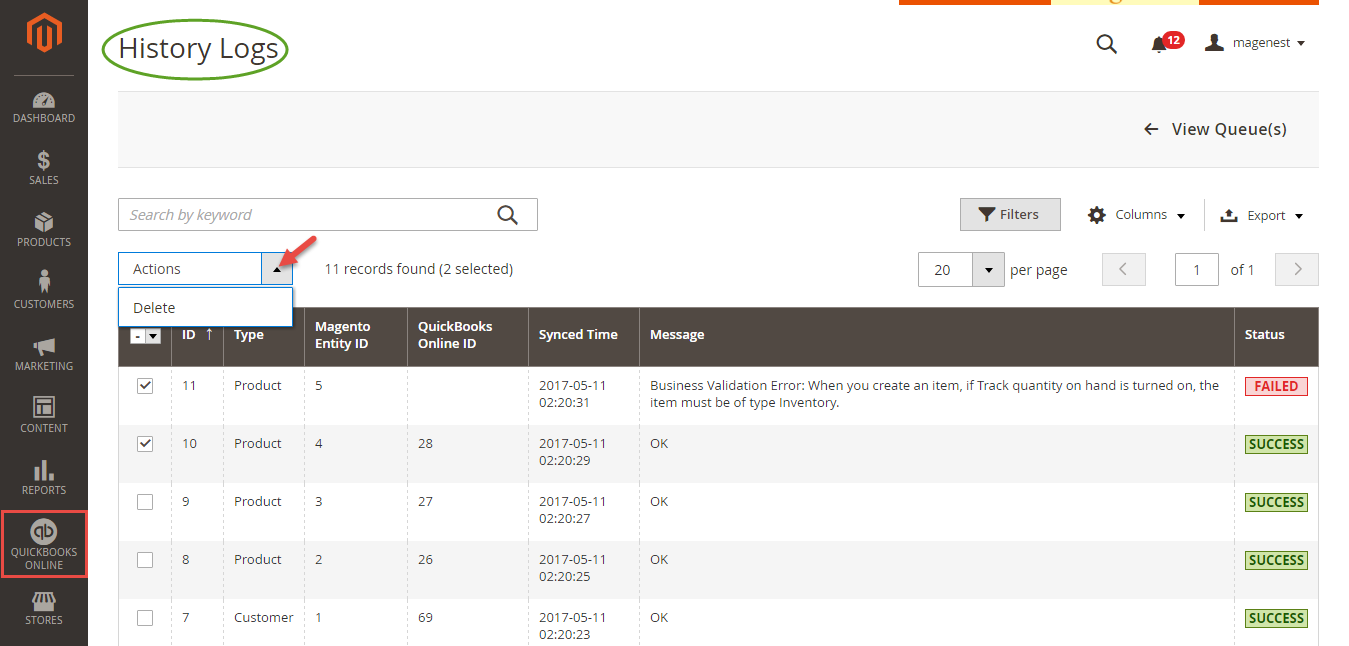
When the process is done, go to QuickBooks Online > View History Logs check what is synced in the grid.
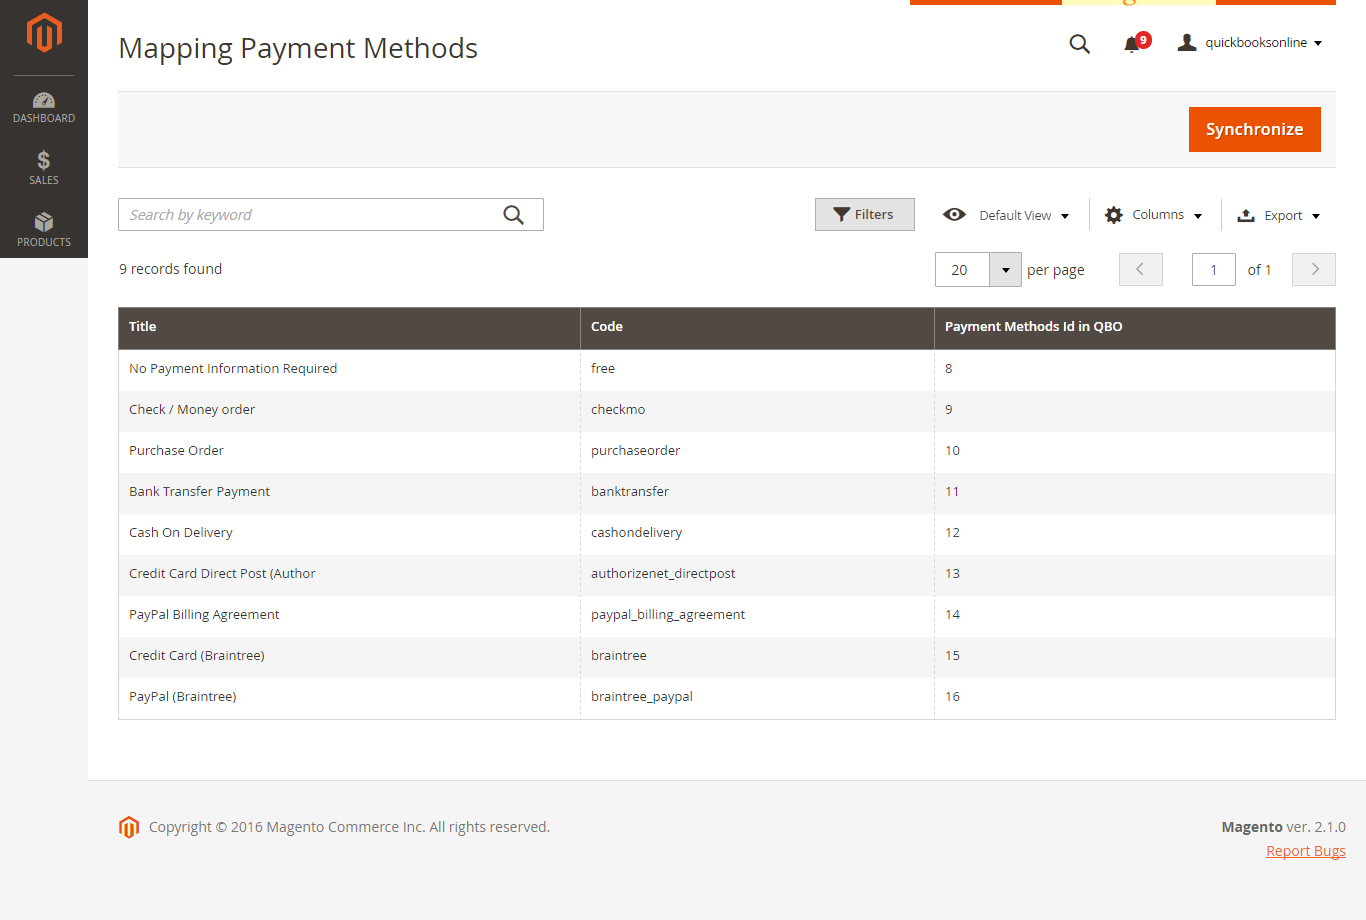
At backend of Quickbooks Online Integration extension, navigate to QuickBooks Online > Payment Method click on Synchronize button to automatically connect payment methods between Magento 2 backend and Quickbooks page.
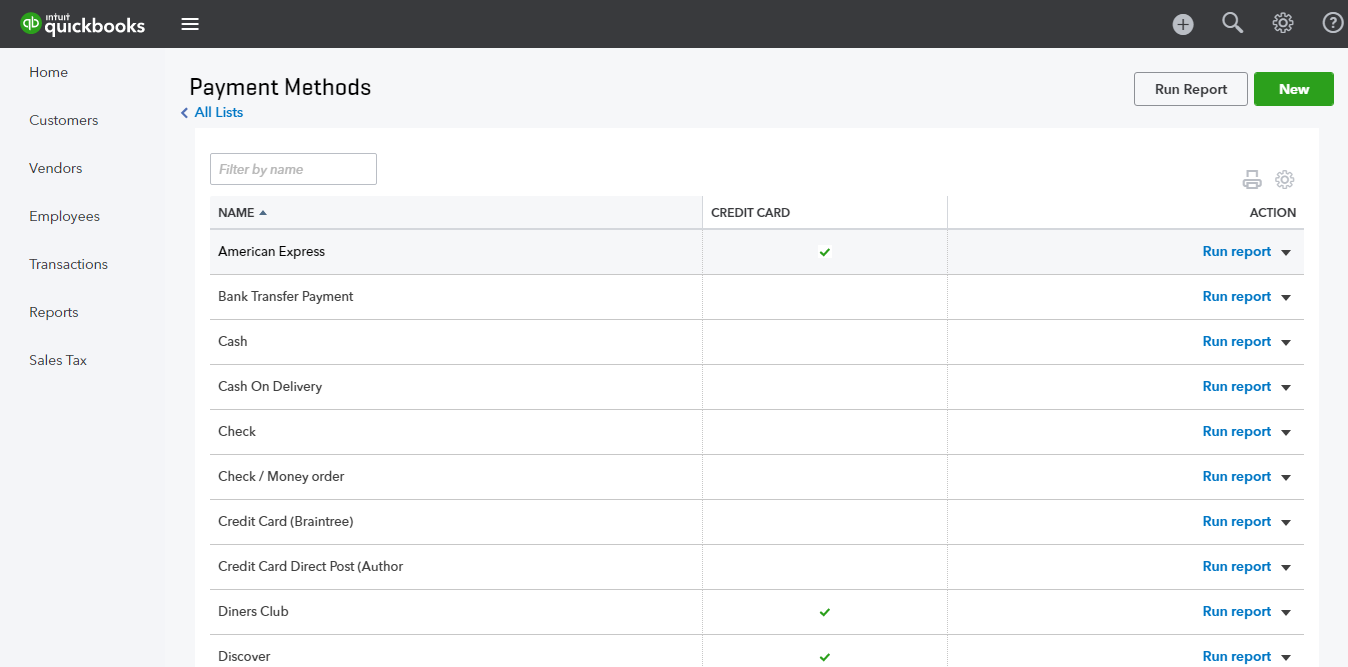
On QuickBooks page, click on gearwheel simple at the top right then choose All Lists > Payment Methods. It allows displaying Cash, Check, and any other ways you categorize payments you receive from customers. That way, you can print deposit slips when you deposit the payments you have received.
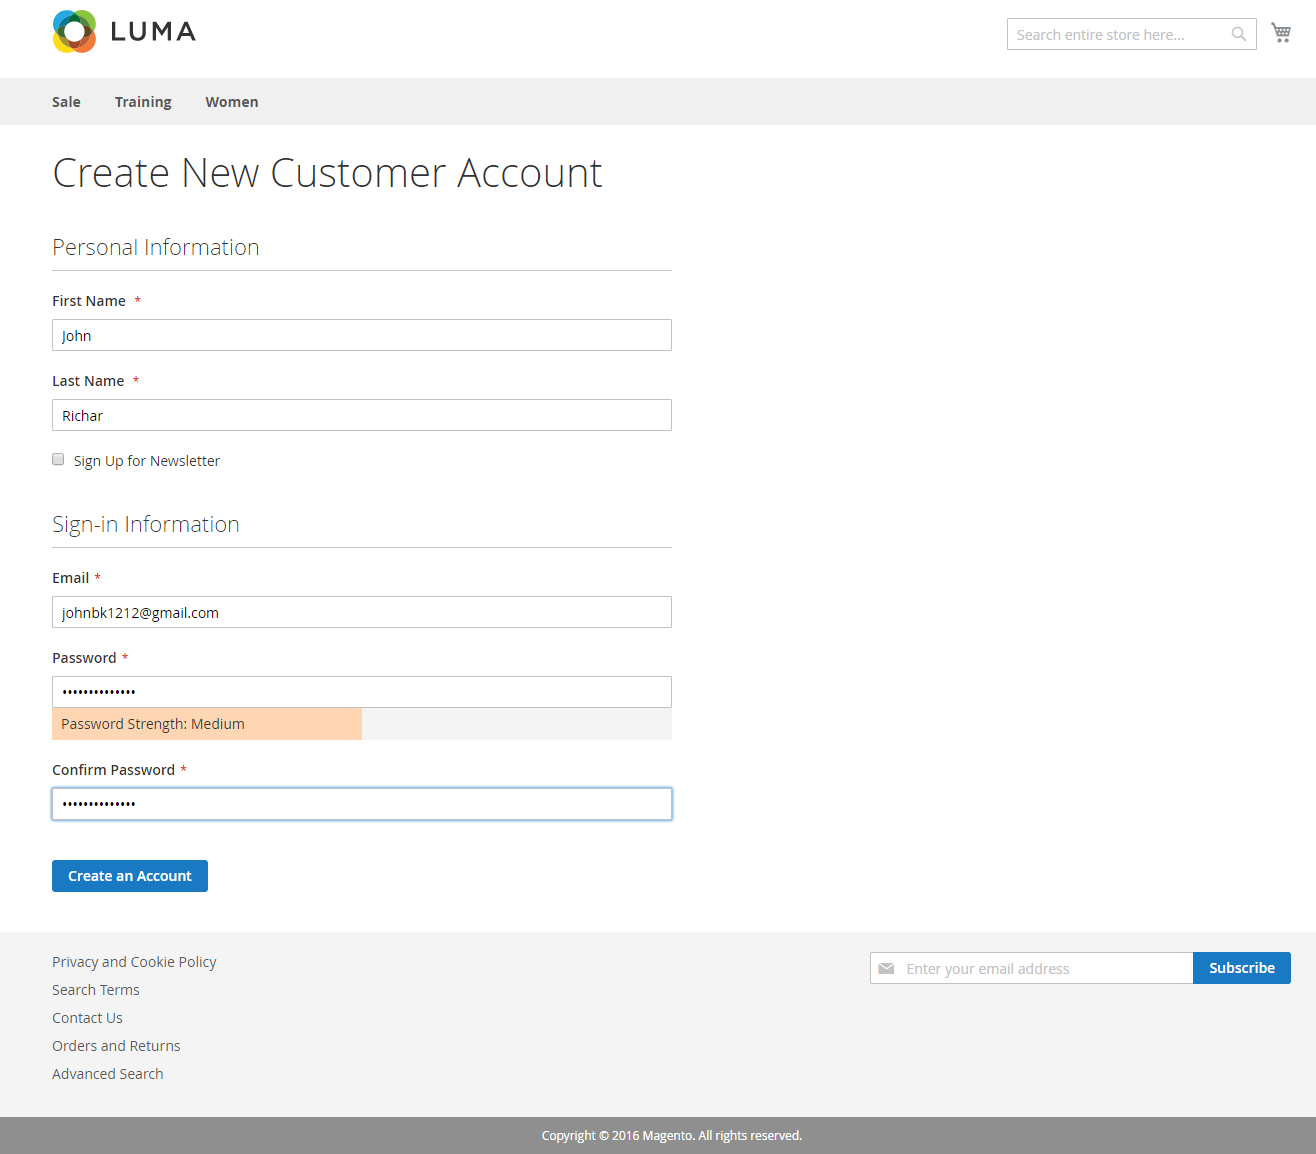
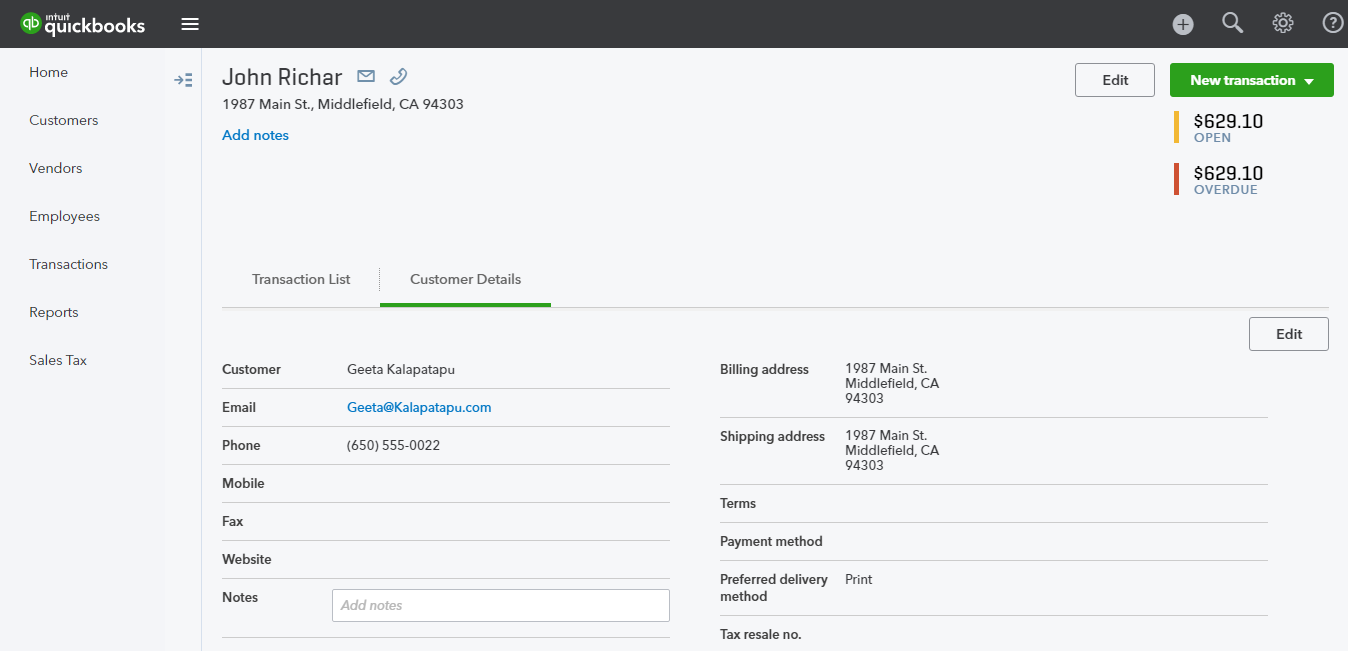
Or an existed customer is updated:
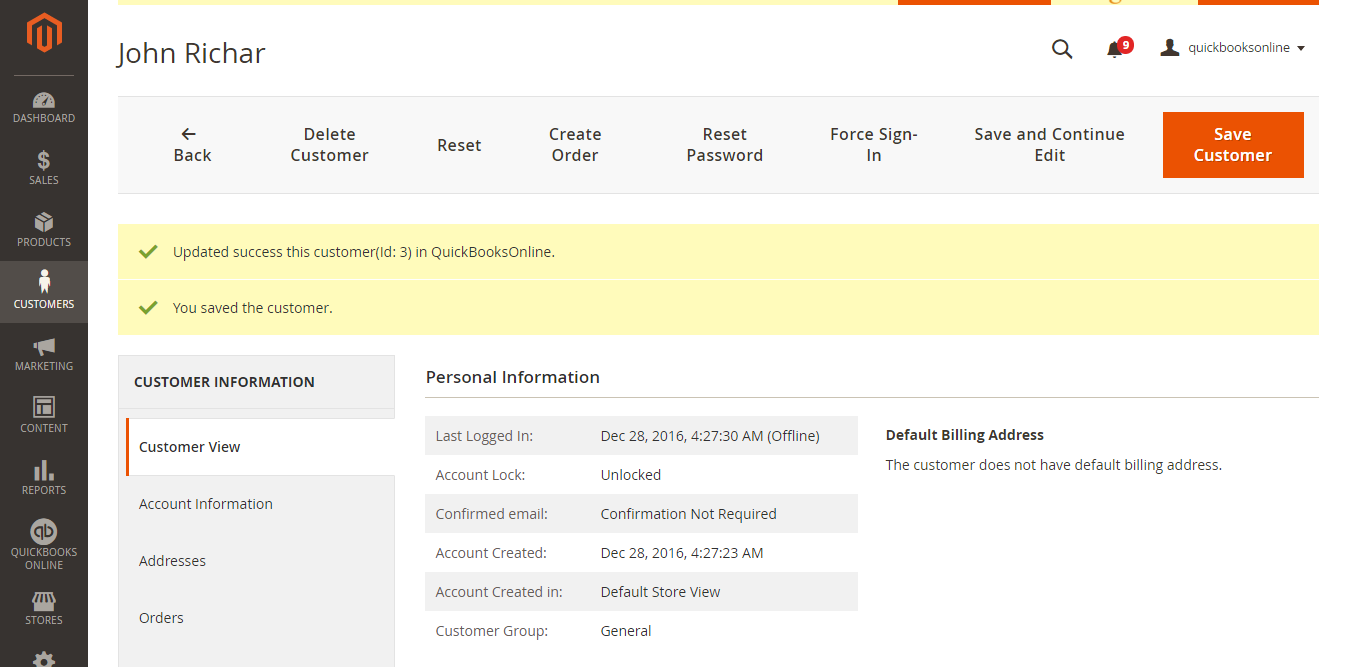
Quickbooks Online Integration extension will allow automatically synchronizing this new record to QuickBooks Online.

Once again, thank you for purchasing our extension. If you have any questions relating to this extension, please do not hesitate to contact us for support.