...
First of all, you need to integrate Magento 2 store with your QuickBooks Online account.
At backend of Quickbooks Online Integration extensionMagento 2 store, click on QuickBooks Online Integration > Configuration. The page will appear as follow:
...
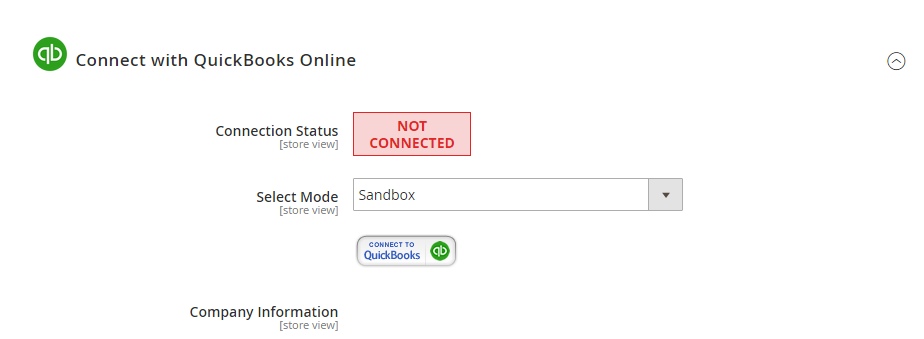
Click on Connect to QuickBooks button. A new page is open. Log in if you already have an account to authenticate users before you can exchange data with it.
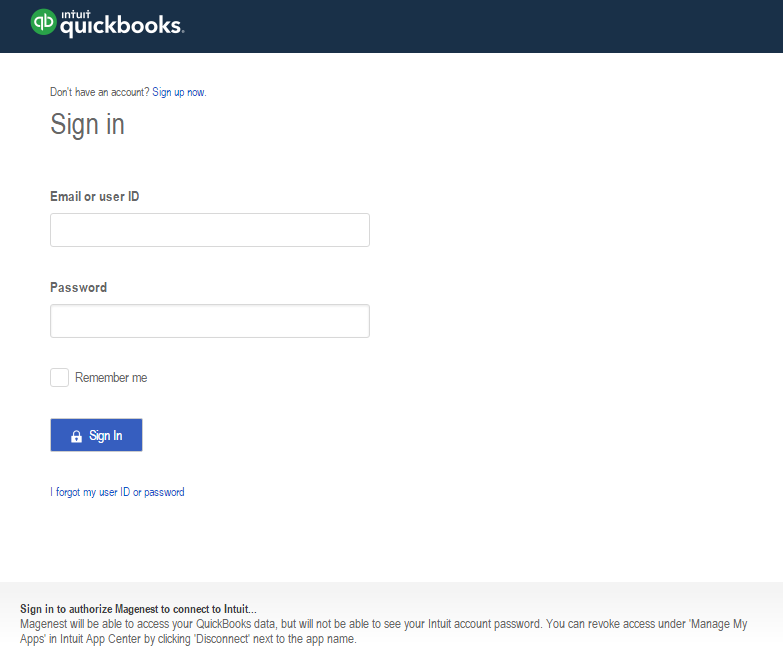
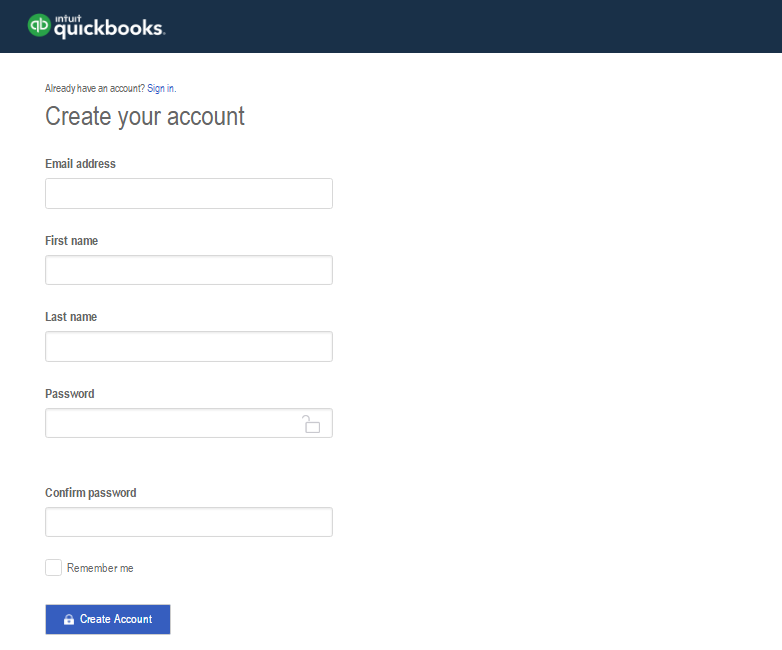
Or sign click on Sign up now hyperlink to create a new one:
After login QuickBooks Online account successfully, click on Authorize button to finish connection process.
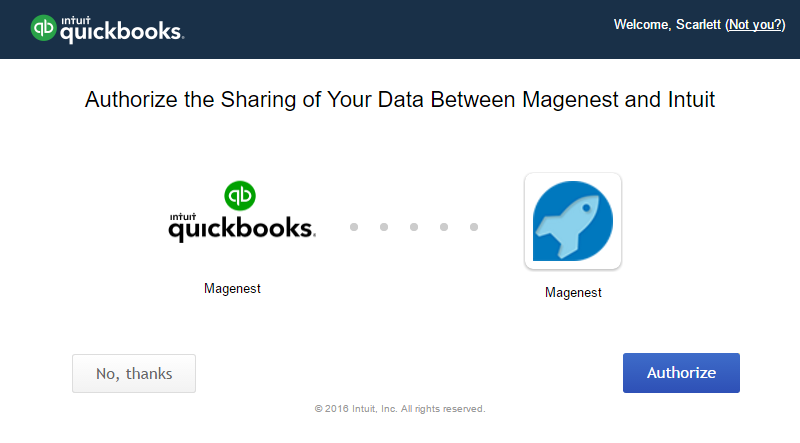
When connecting successfully, the backend page will be displayed as below. Click on Save Config button before continuing, this . This will help you avoid making the error.

...
- Mapping Tax:
The system has created a Mapping Tax tab that allows you to mapping Tax tax from your Magento 2 store to QuickBooks Online account. First, admins need to click on Add All Tax Code button to add all Tax tax code of your Magento 2 store to Mapping Tax page. Then, you can use Synchronize button to finish this mapping tax.
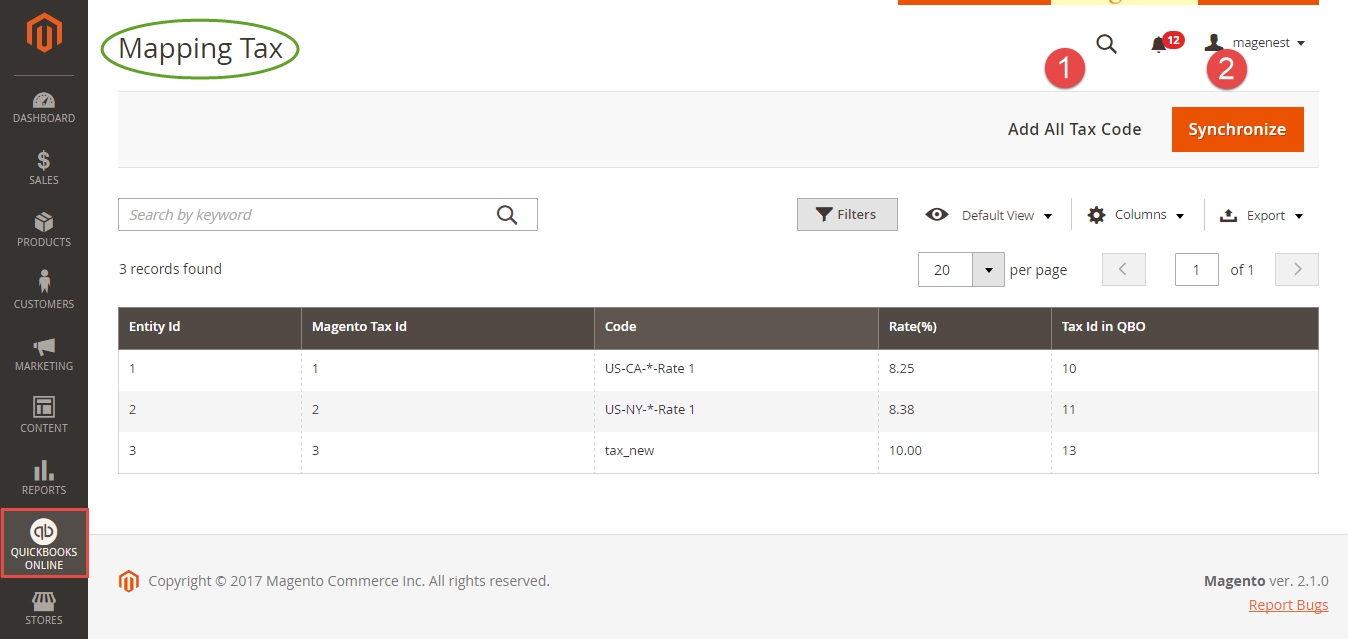
Note that your Magento 2 store need to have Tax Rules before creating mapping tax:
...
If the App mode is Cron Job, Queue page is the place which the created, updated data is stored in and are waiting to be synced. If you wish to sync data right away, you can press Sync Now button. You can decide whether to synchronize any items on List Queue page by remove selected data from the grid.
Note that synchronizing will take some time, the length of time depends on the size of the database.
...
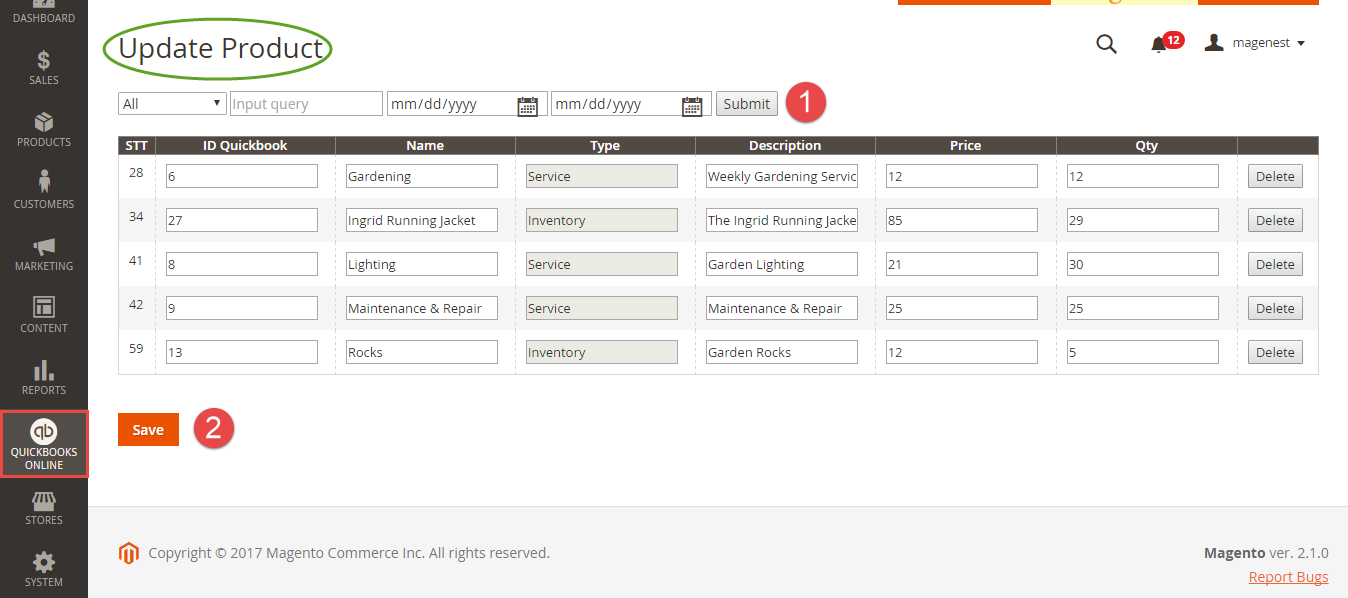
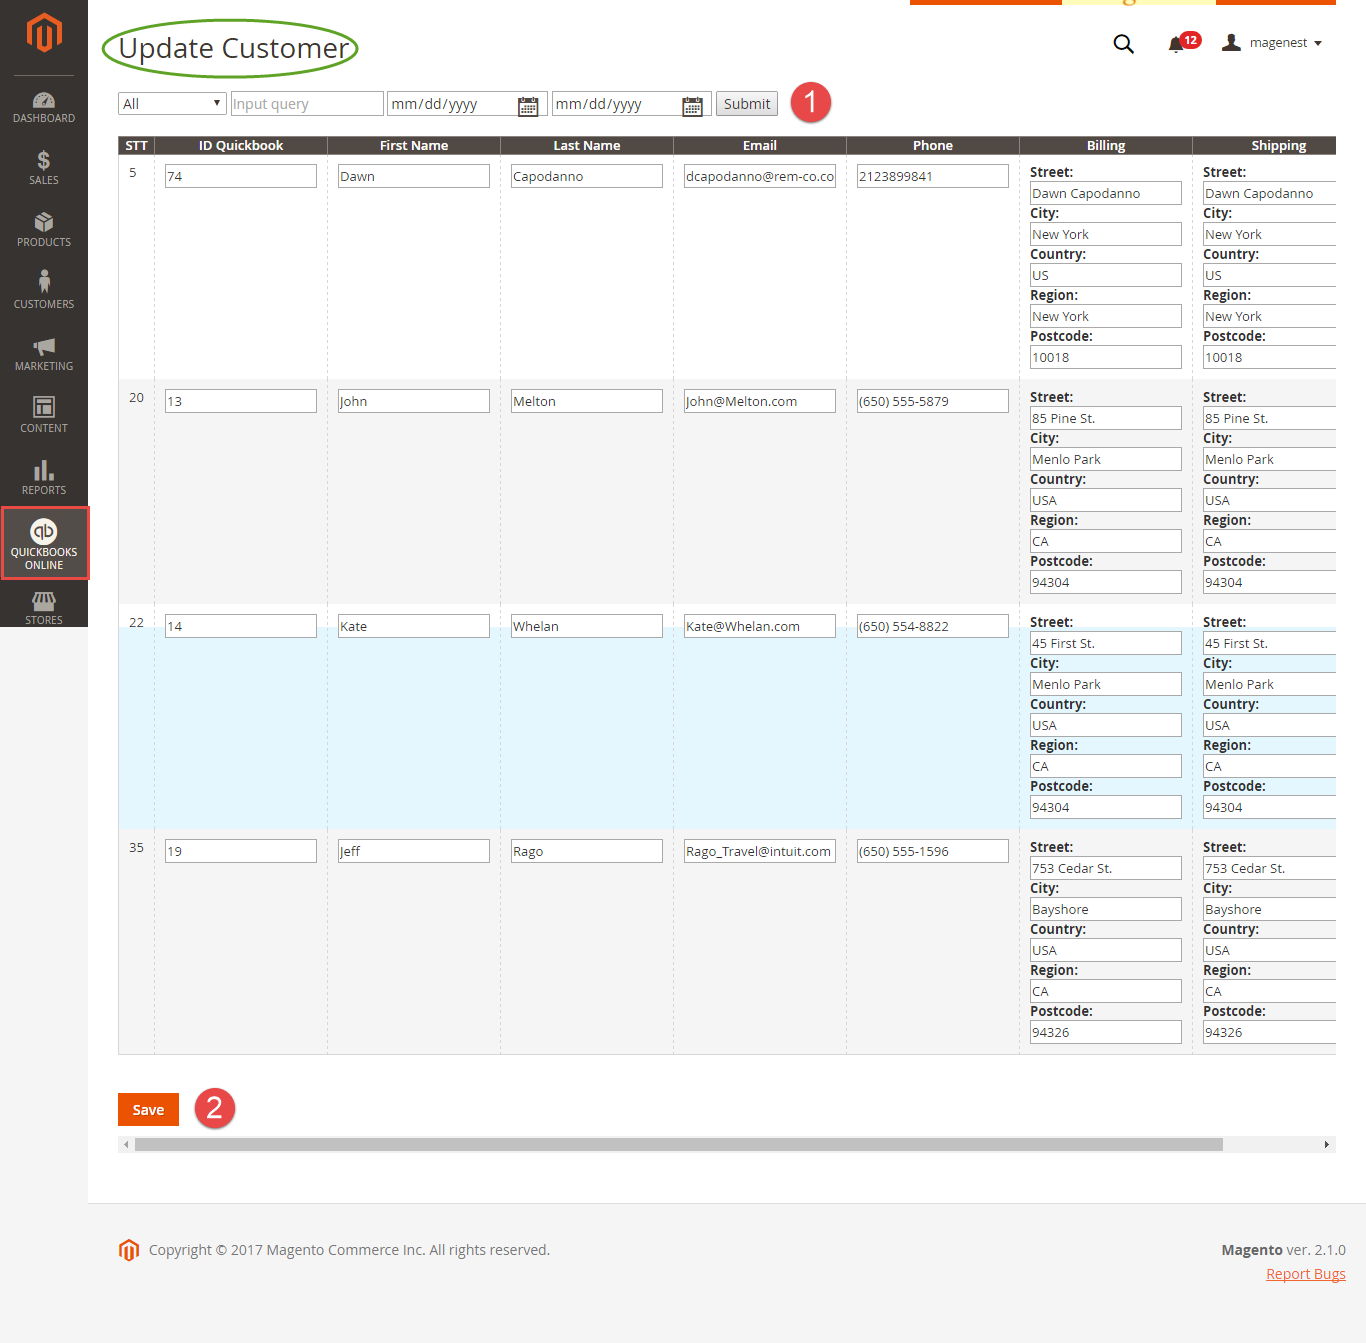
Update the existing database
- Products:
- Customers:
Create a new database
...