...
Configuration
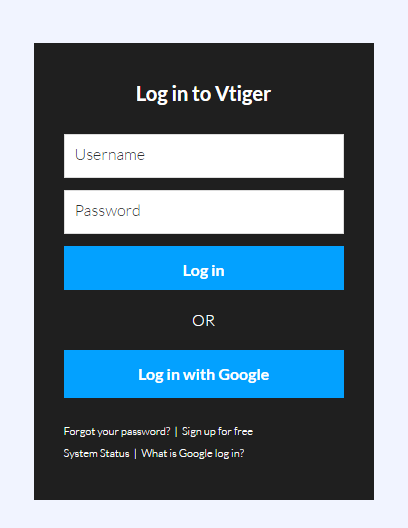
Set up Vtiger account
Go to https://www.vtiger.com/log-in/ to login ( if you had an existing Vtiger account) or register new one.
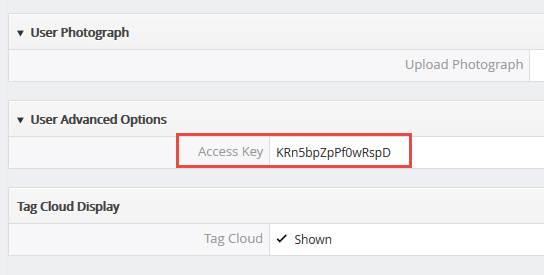
Getting Vtiger Access Key
Scroll to bottom of the page, you can see the Access Key in User Advanced Options
| Note |
|---|
Please save this information to start using the Vtiger CRM Integration extension. |
Back End
Go to the Vtiger CRM tab, then the Vtiger CRM menu will be shown.
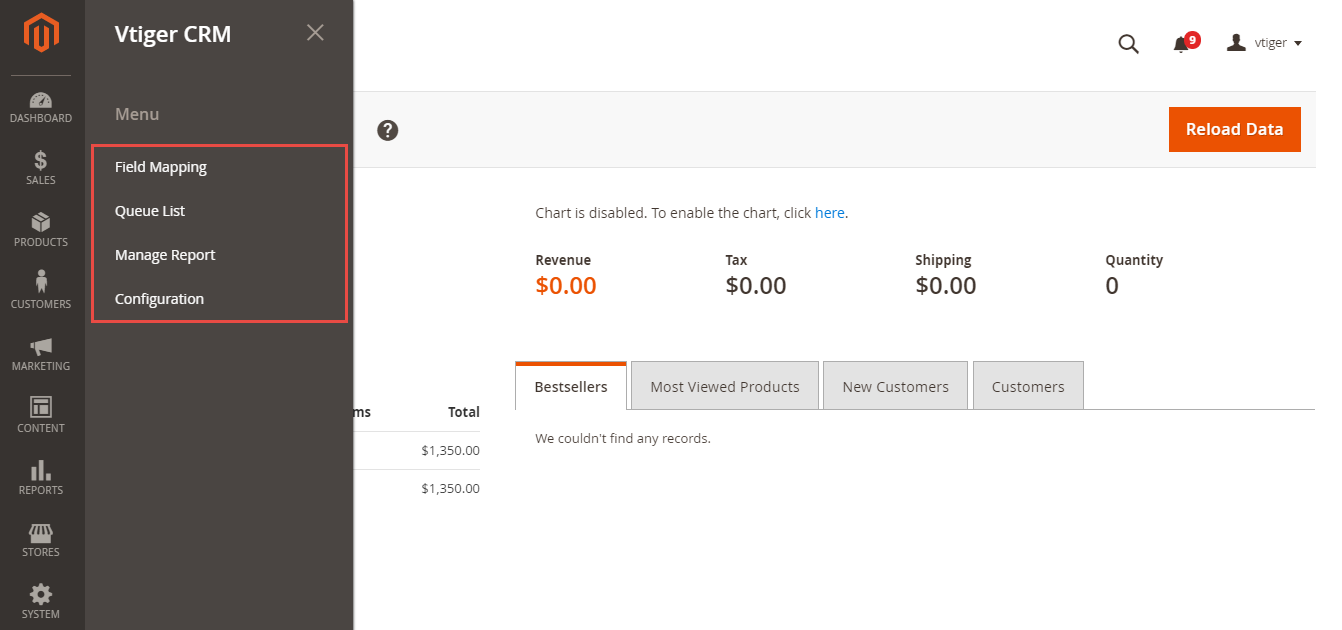
There are 4 sub-tabs that admins need to consider:
![]() Configuration
Configuration
To start using the extension, admins need to set some configurations by clicking Vtiger CRM > Configuration.
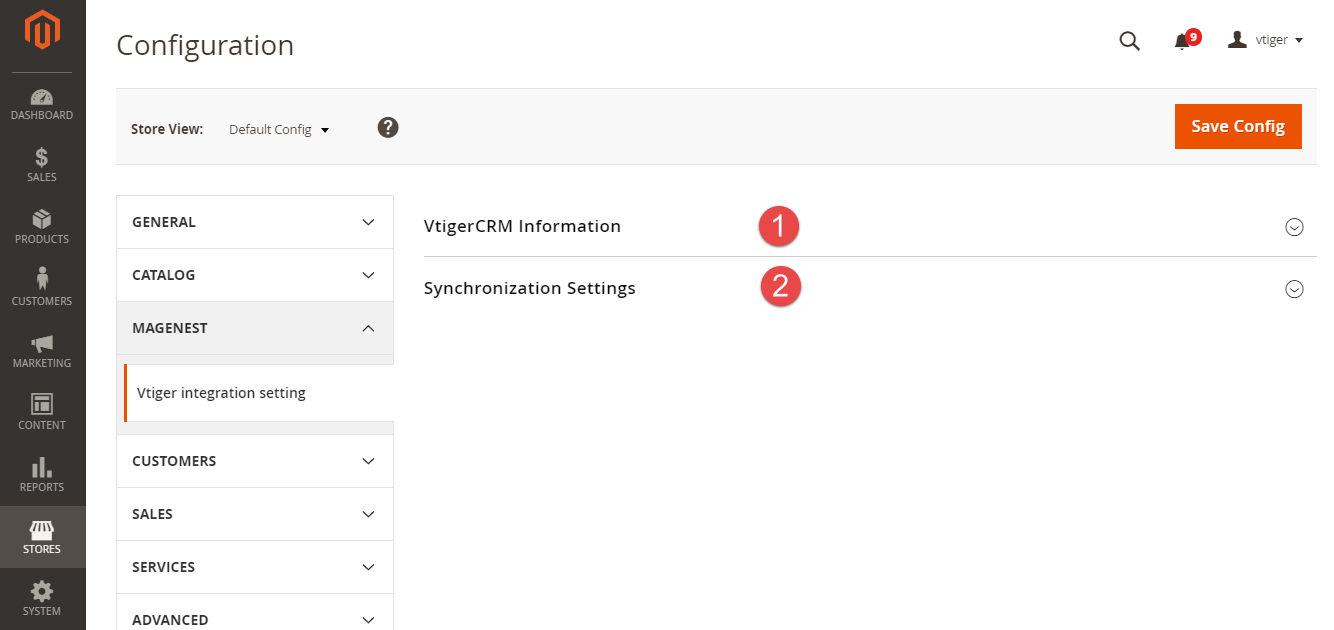
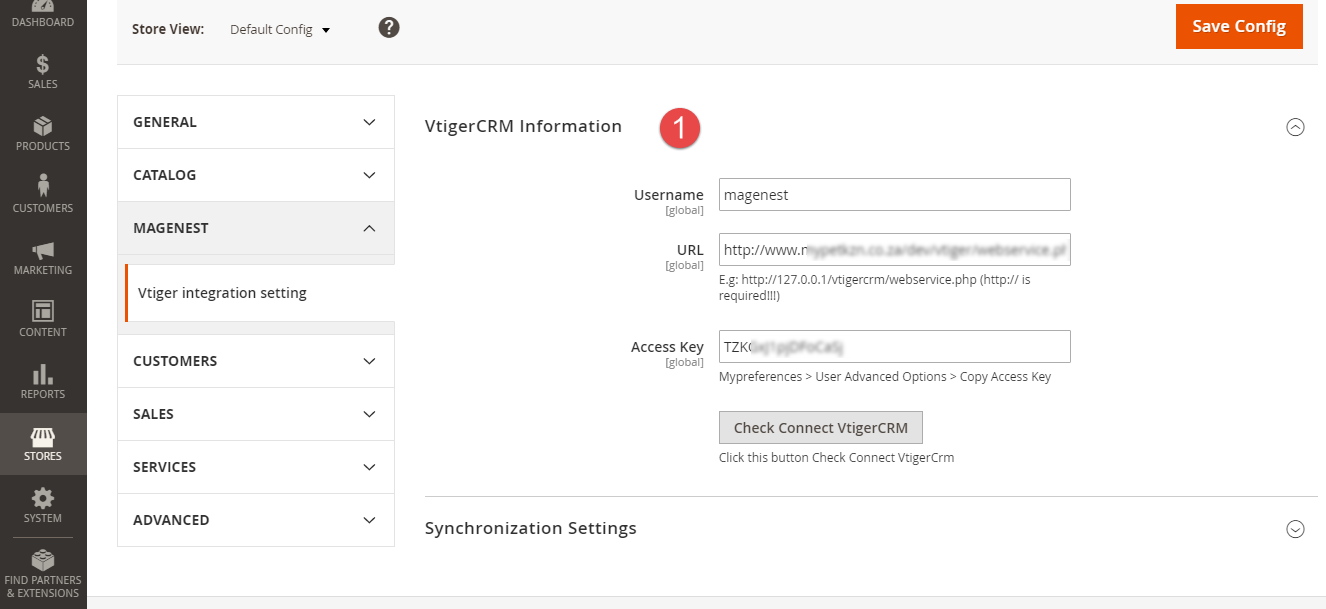
Expand the VtigerCRM Information section, there are three fields will be shown.
![]() Username: Your Vtiger username.
Username: Your Vtiger username.
![]() URL: Please follow the format of your_vtiger_site/webservice.php
URL: Please follow the format of your_vtiger_site/webservice.php
![]() Access Key: Used the access key which saved in the previous step to enter this field.
Access Key: Used the access key which saved in the previous step to enter this field.
![]() Check Connect VtigerCRM: After filling in some information mentioned above, please click on the Check Connect VtigerCRM button to make sure that these information entered is correctly.
Check Connect VtigerCRM: After filling in some information mentioned above, please click on the Check Connect VtigerCRM button to make sure that these information entered is correctly.
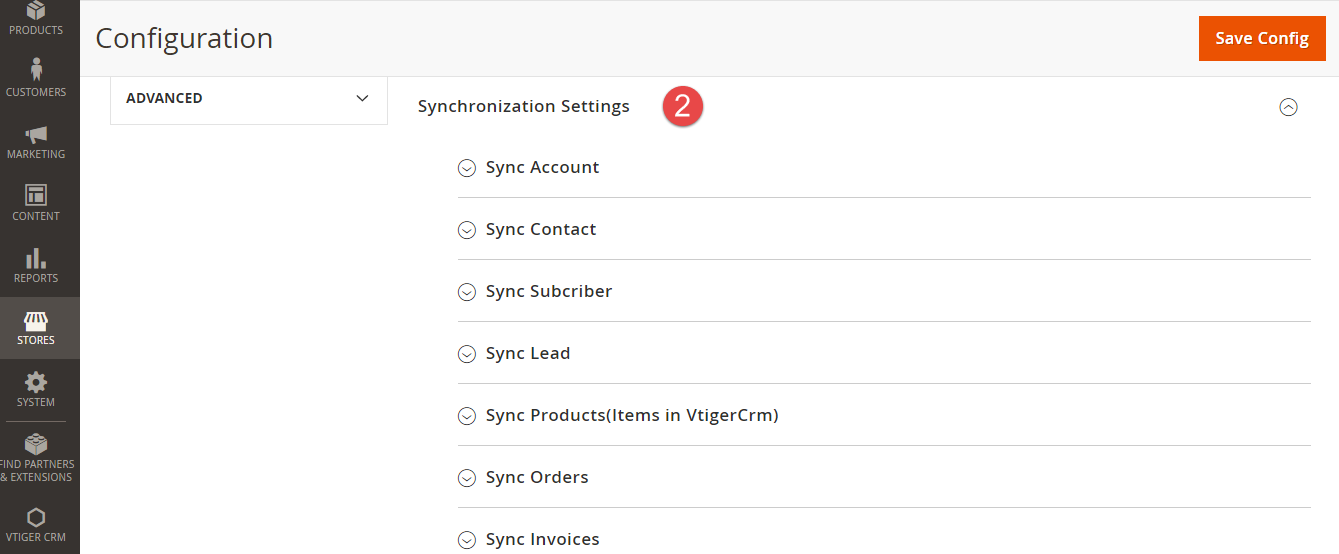
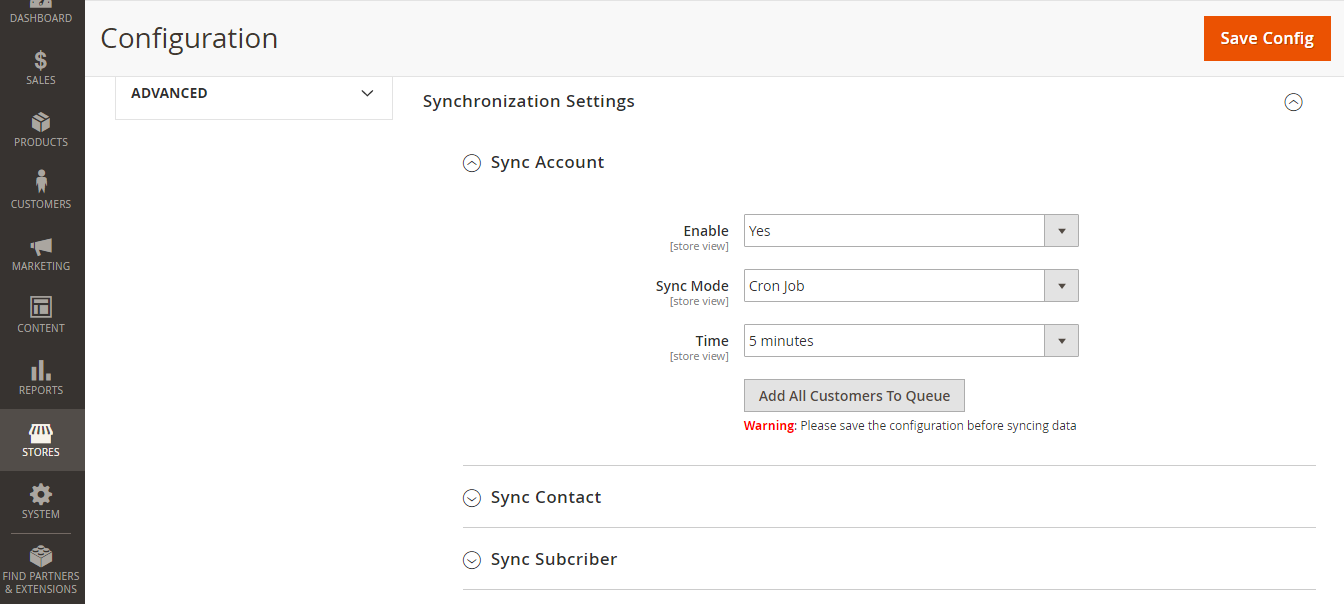
Expand the Synchronization Settings section, there are seven sub-sections will be shown:
Expand the sub-section named Sync Account, there are two fileds (in the first time)
![]() Enable: Yes/No.
Enable: Yes/No.
![]() Sync Mode: There are two options to choose:
Sync Mode: There are two options to choose:
- Immediately: The extension will sync all of account from the Magento 2 site to the Vtiger CRM account immediately.
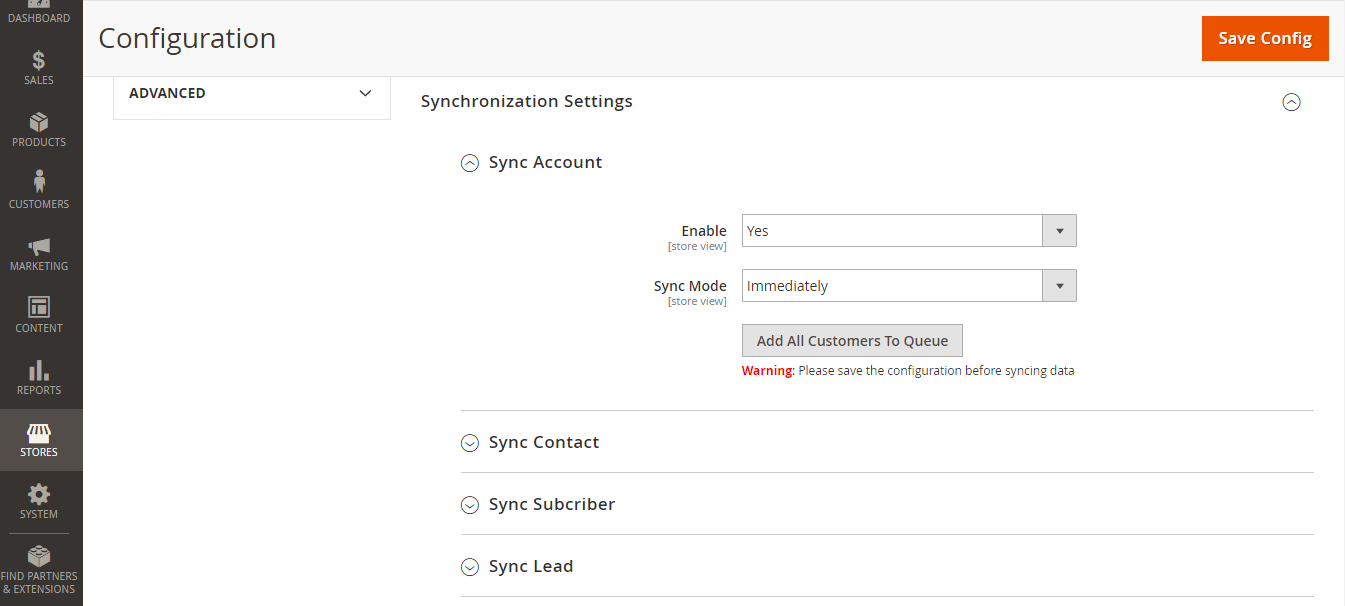
- Cron Job: Admin will set a period of time to sync data
Example: When admin set 5 times at the Time field, that means the data of account will be synced from the Magento 2 site to the Vitger CRM account after 5 minutes automatically.
| Note |
|---|
Add All Customers To Queue button: If admin want to sync all of existing customers before the time that the extension is installed, please click on this button to use this feature. |
Setting Up Field Mapping
In order to synchronize data fields from Magento 2 store to your Vtiger CRM account correctly, you need to create the mapping for these fields first.
Go to Vtiger Integration > Field Mapping
The module enables a grid table to manage mapping fields between Magento 2 and Vtiger CRM. You can choose which data fields you want to sync from Magento 2 to Vtiger CRM account.
From the manage mapping, you can export, change the status with enable and disable options, edit or delete a mapping.
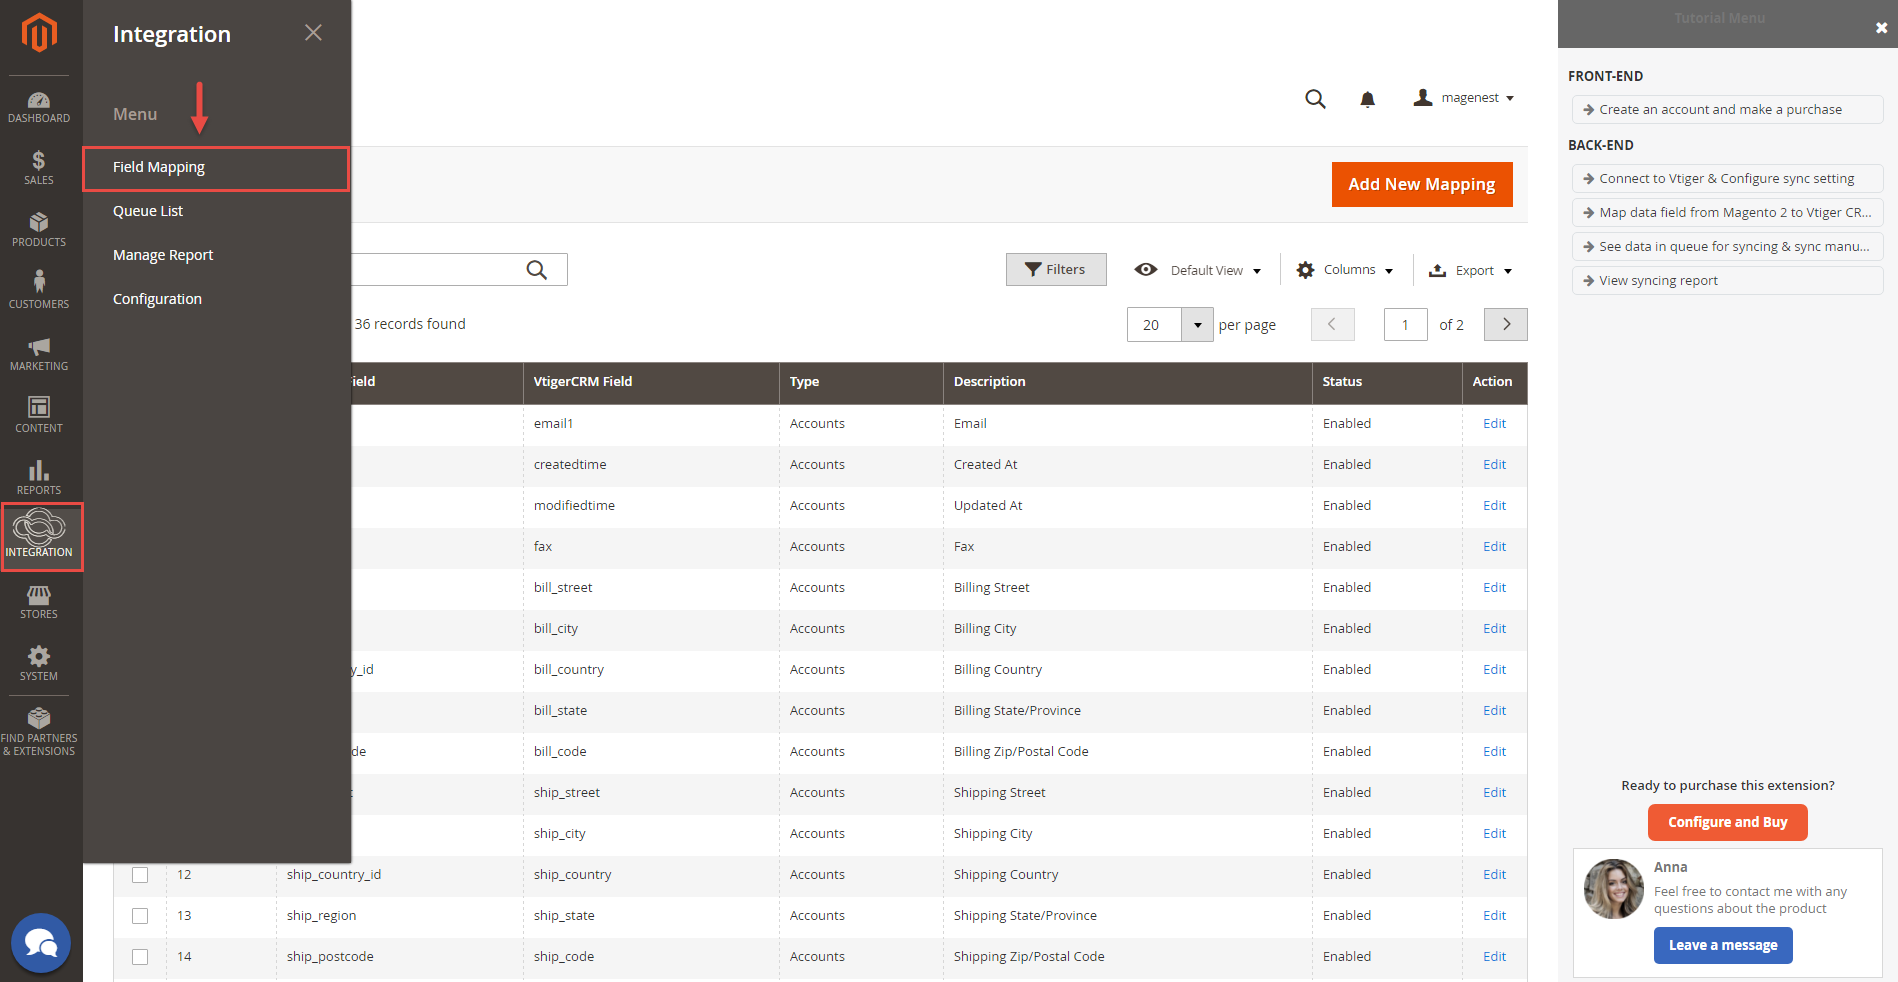
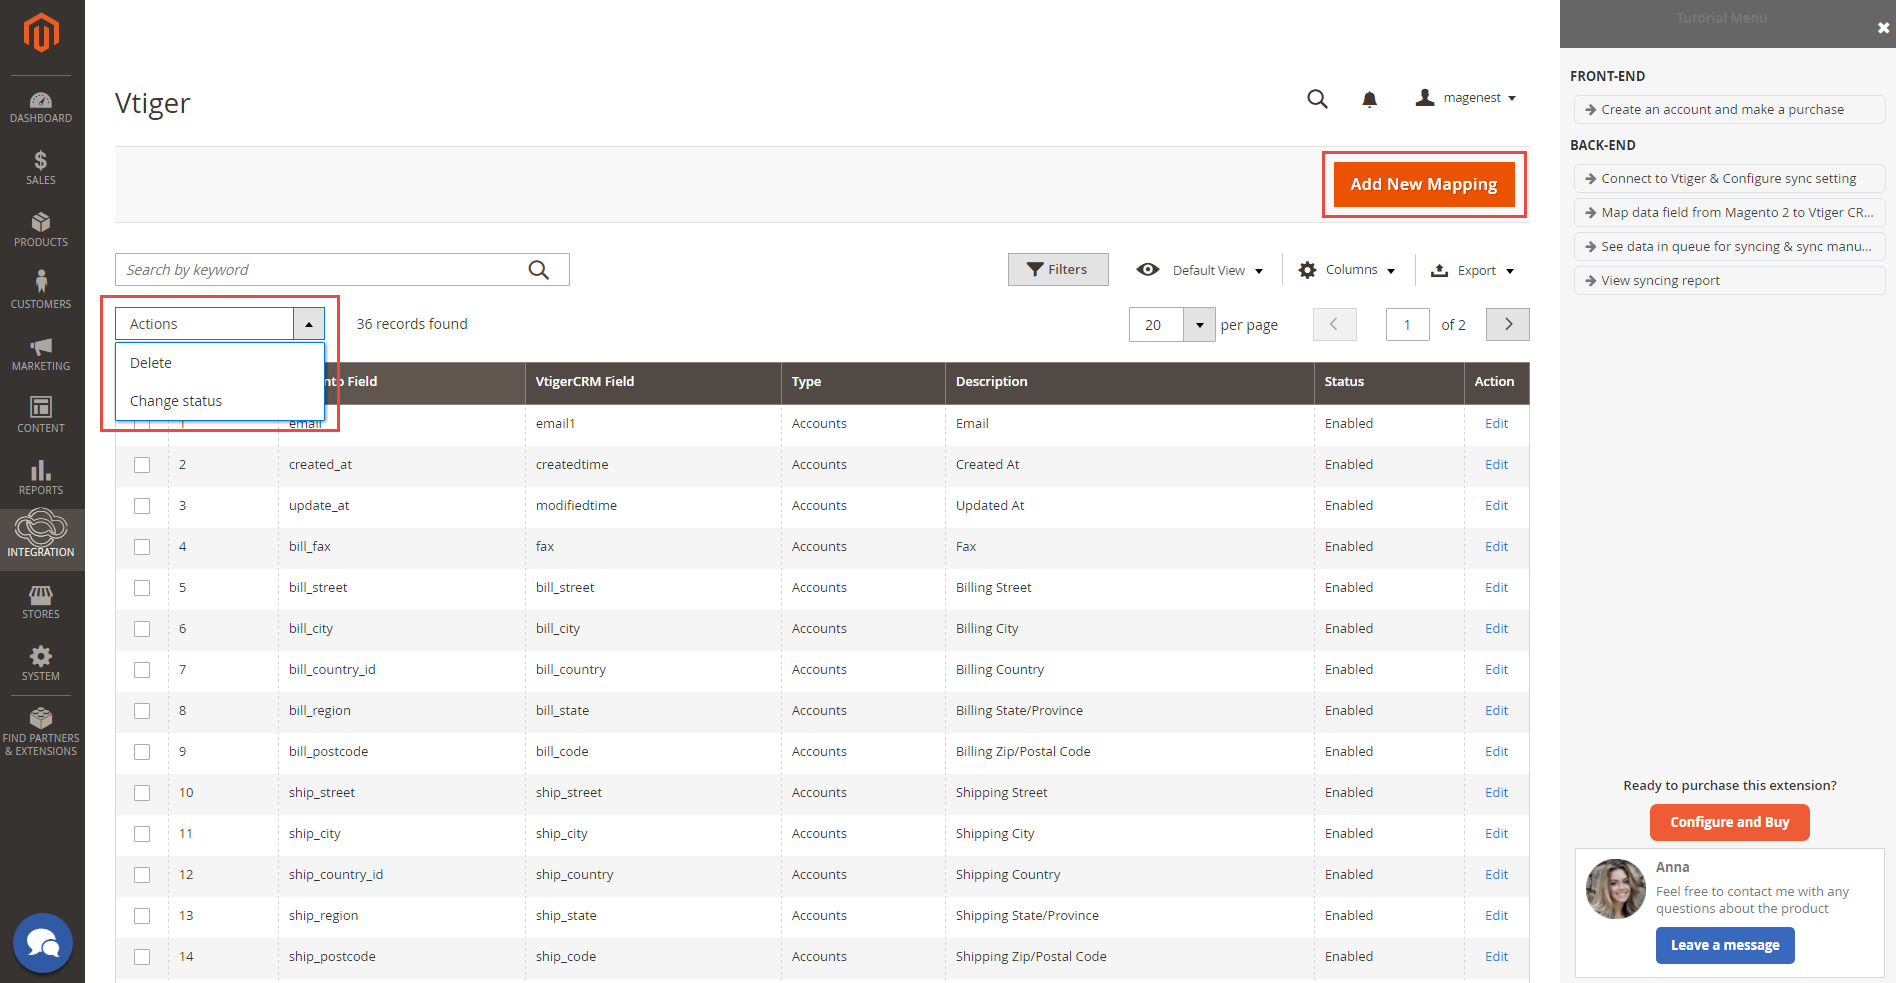
In order to create a new mapping, please click on the Add New Mapping button
Data Integration Settings
Click on VtigerIntegration > Field Mapping.You can define field mappings between Magento and VtigerCRM easily.
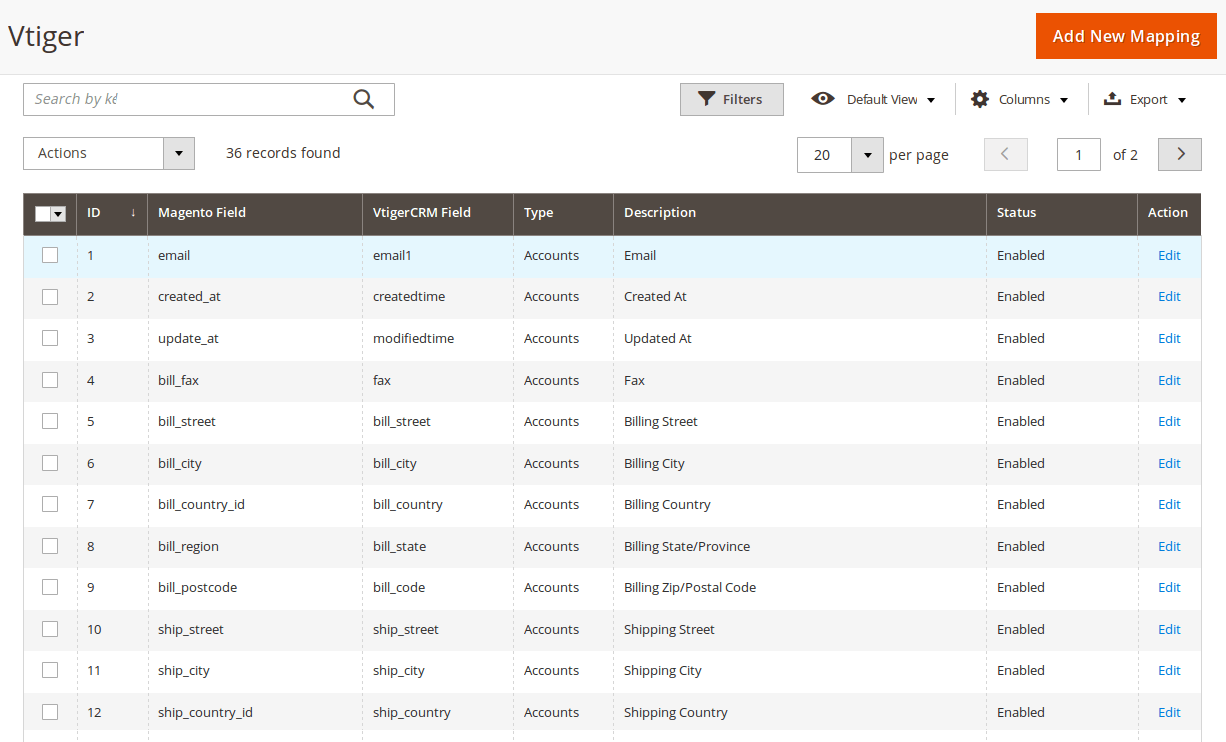
To add a new mapping, click on Add button, Add New Mapping page will show up
Type: Choose table you want to map
Vtiger Field: Choose Vtiger Field
Magento Field: Choose corresponding Magento Field
Status: Inactive or active
Description: Describe your mapping
Hit Save when done, your mapping is ready for the next sync.

Main Functions
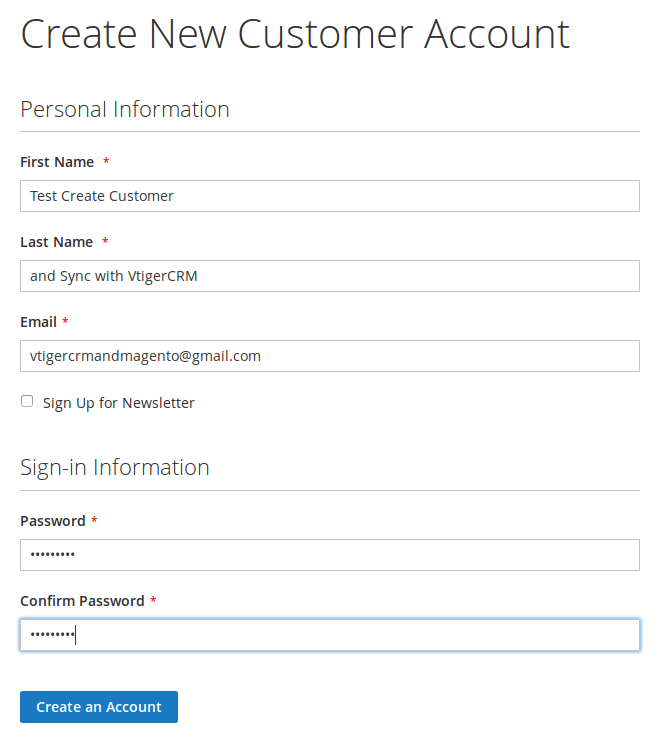
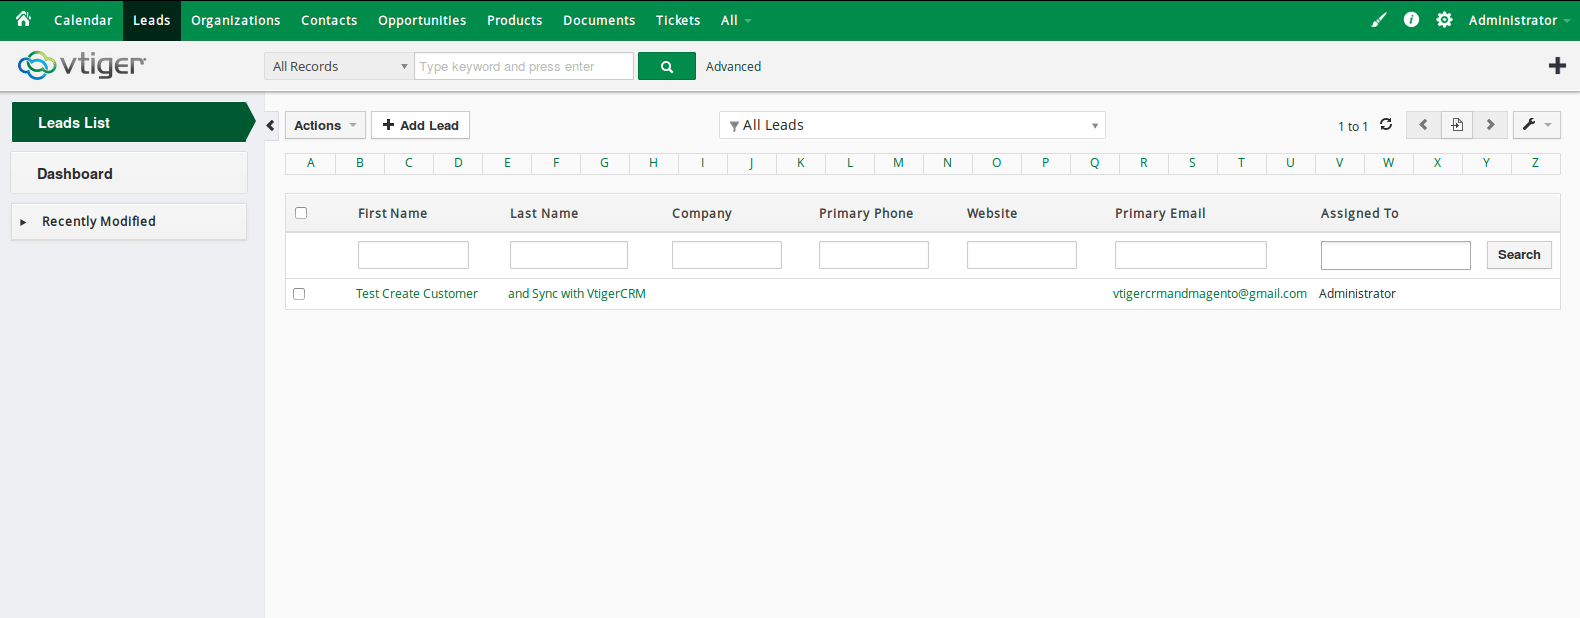
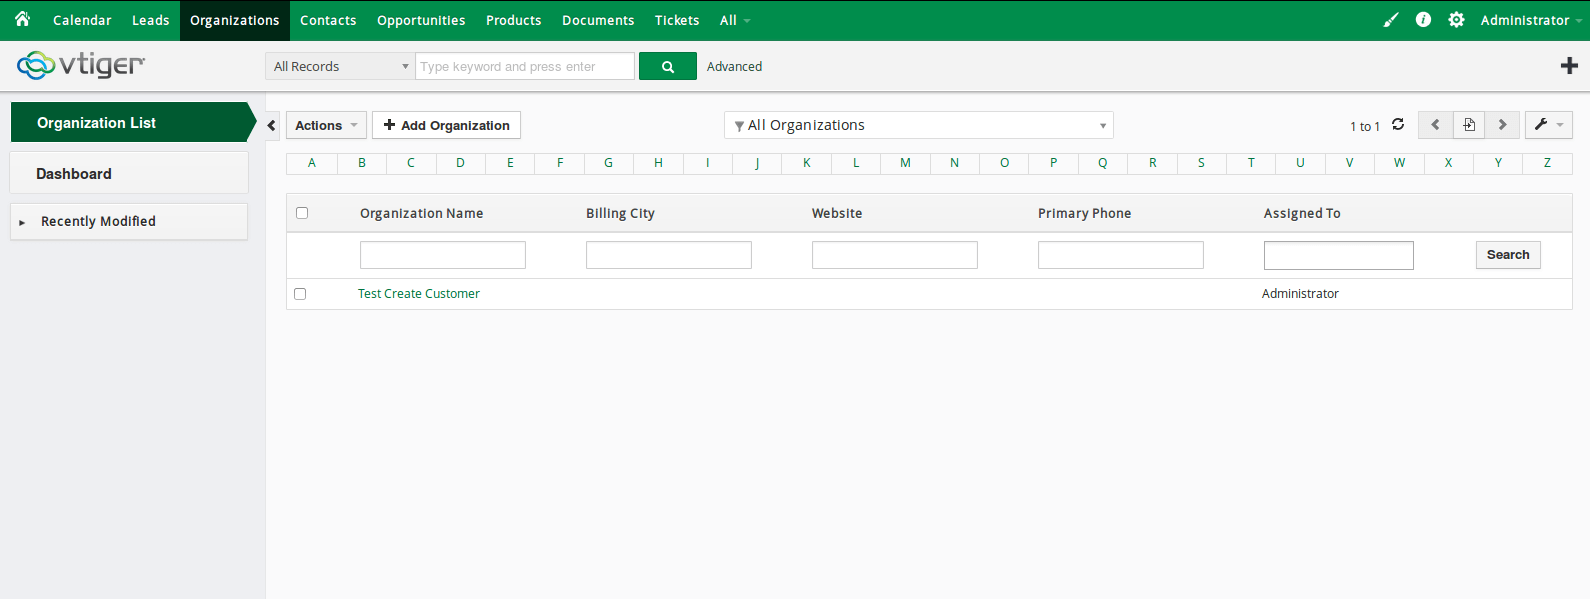
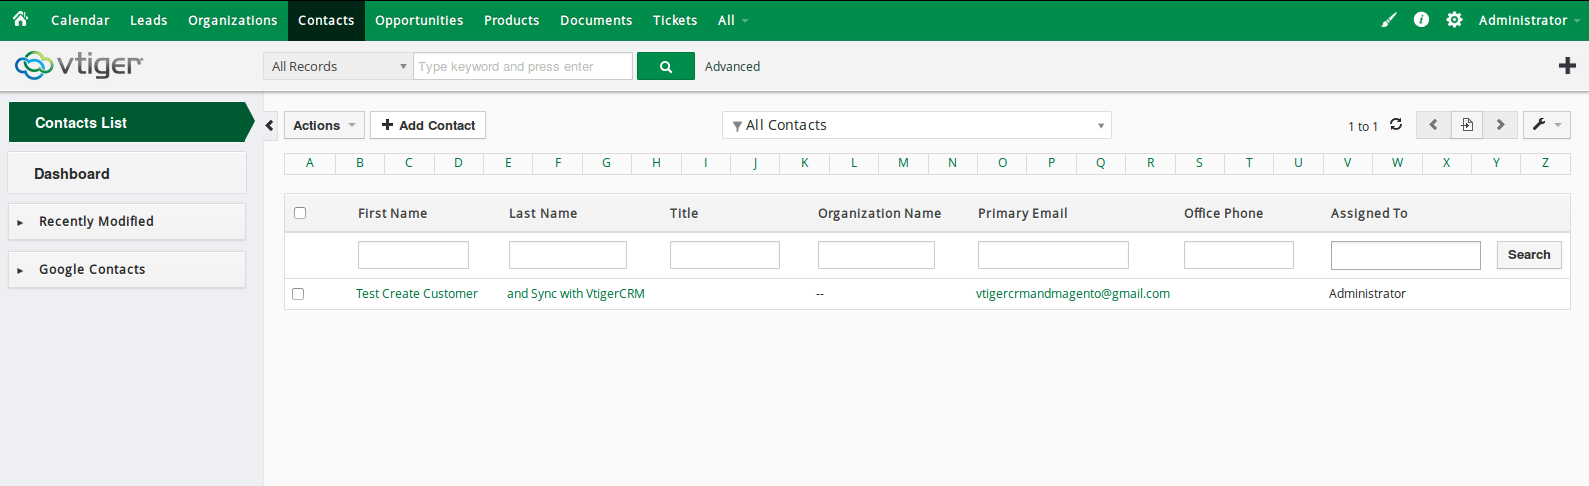
When a new account is registered in Magento 2, Vtiger will automatically add a new record of this account in Leads, Organizations, Contacts.
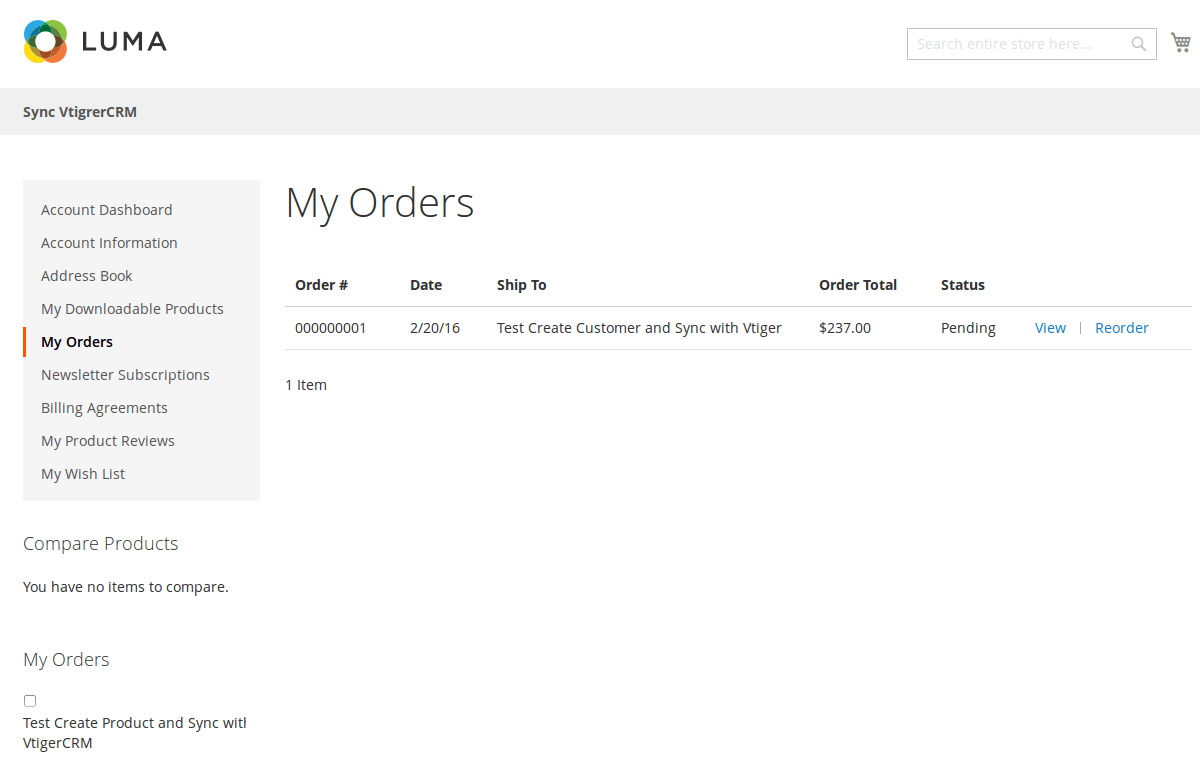
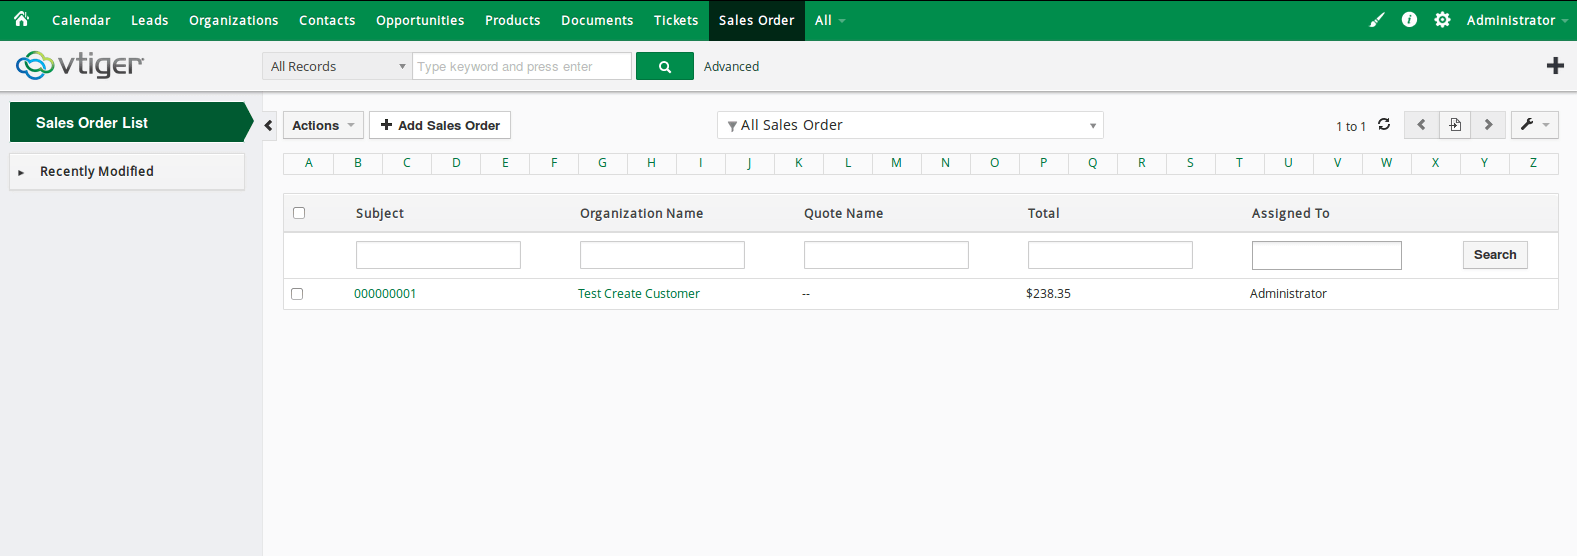
When a customer adds items to cart then check out, Sales Orders in Vtiger will be auto synced.
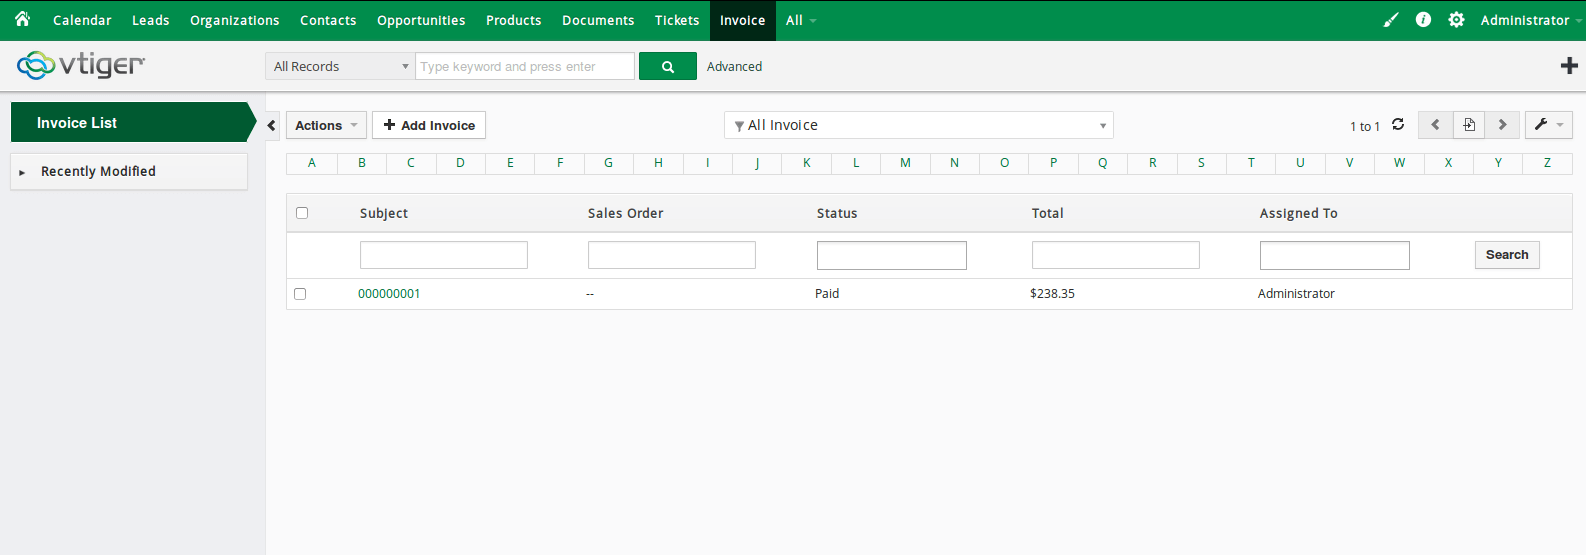
When an invoice is made by admin in Magento 2, Invoice in Vtiger will be synced.

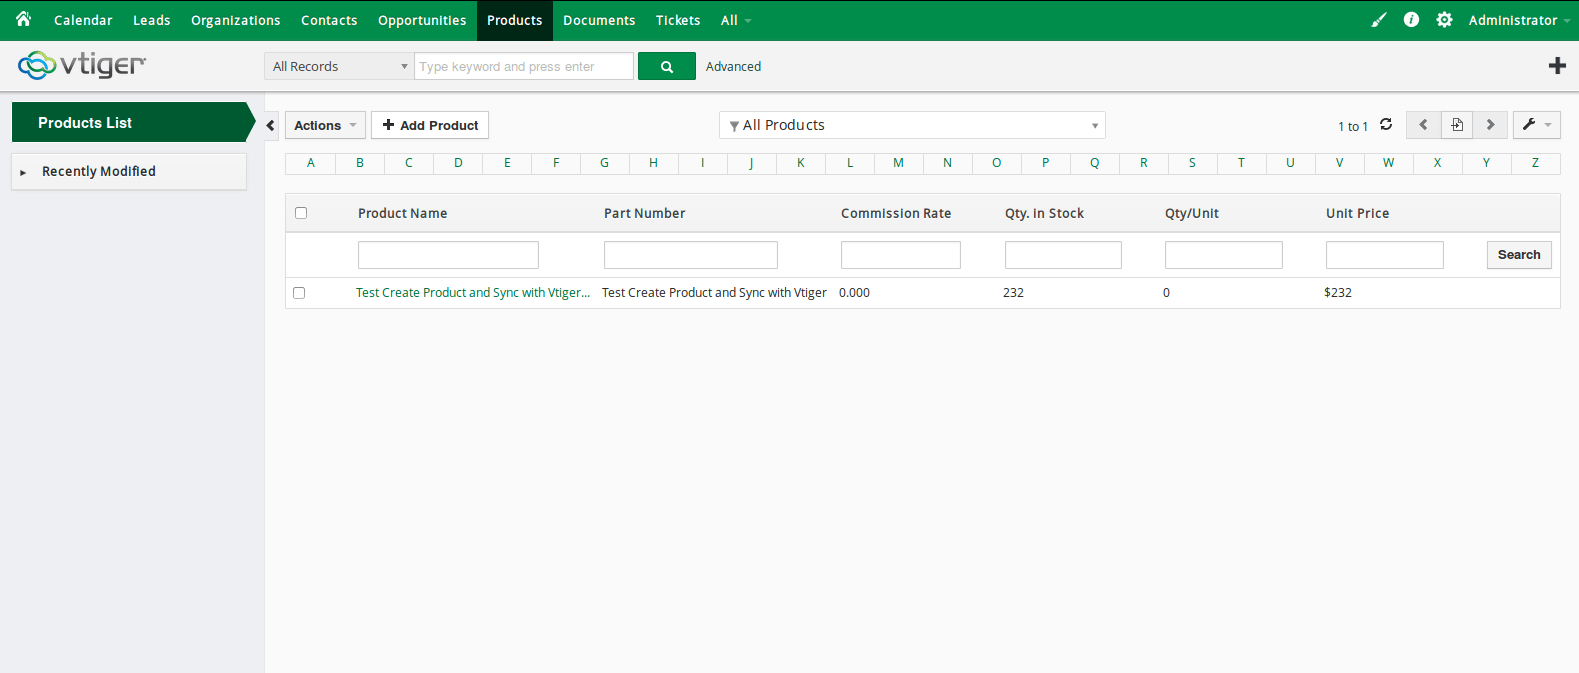
When admin add a new product in Magento 2, Vtiger will auto sync data about that product.

When admin edits a customer account/product in Magento 2, that customer/product will also be changed from Leads, Organizations and Contacts, products in Vtiger.
...