...
Created: 12/06/2017 | By: Magenest | Support Portal: http://servicedesk.izysync.com/servicedesk/customer/portal/17
| Table of Contents |
|---|
...
Introduction
Quickbooks Online Integration is an extension for Magento 2 by Magenest, which provides a QuickBooks Online integrated management solution for merchants using Magento 2.
...
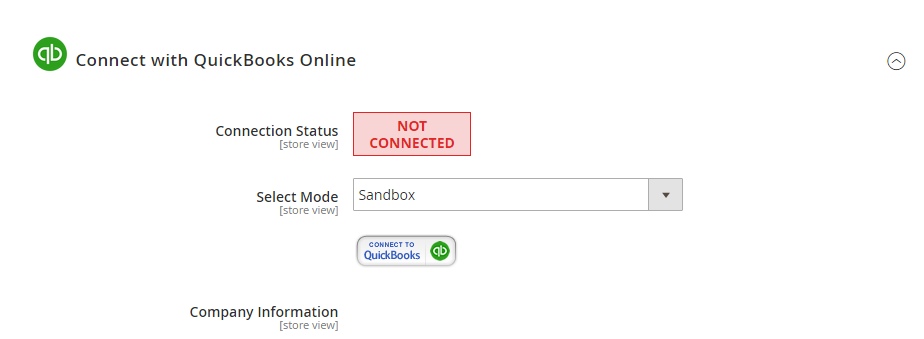
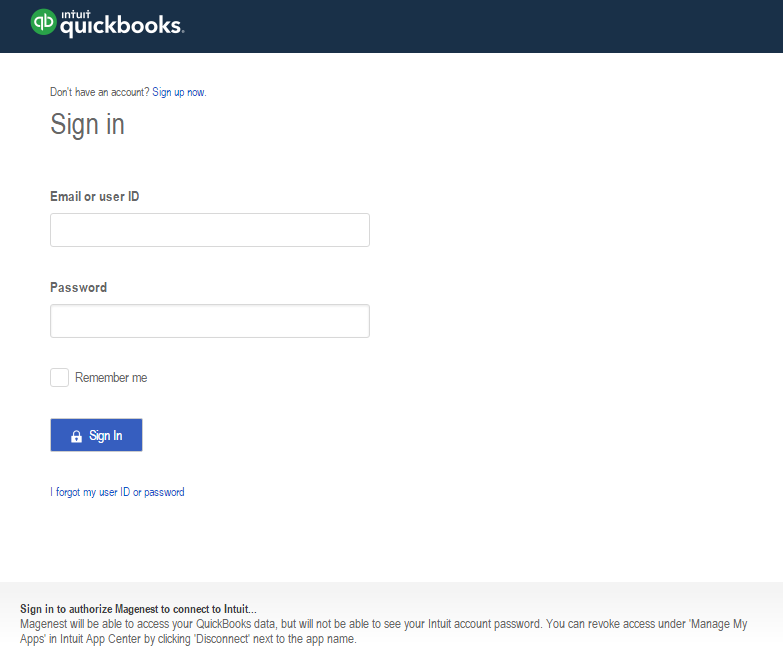
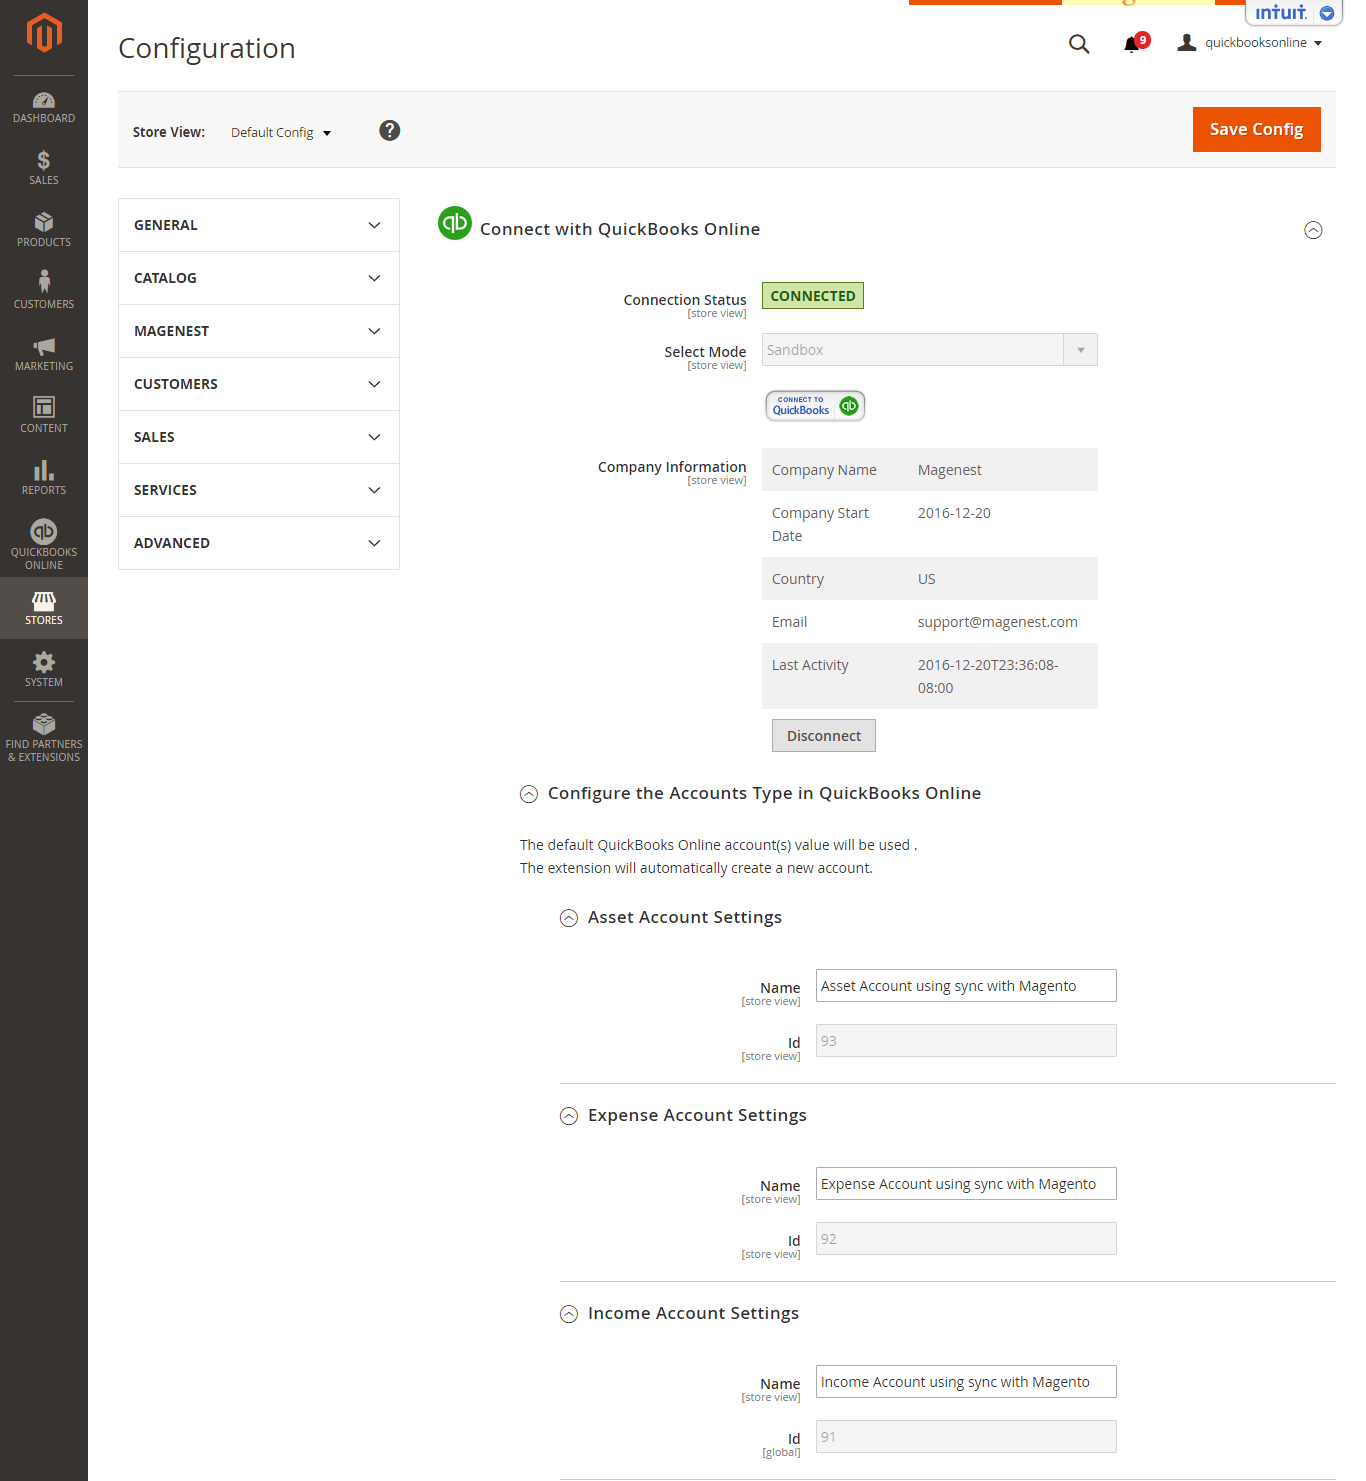
Click on Connect to QuickBooks button. A new page is open. Log in if you already have an account to authenticate users before you can exchange data with it.
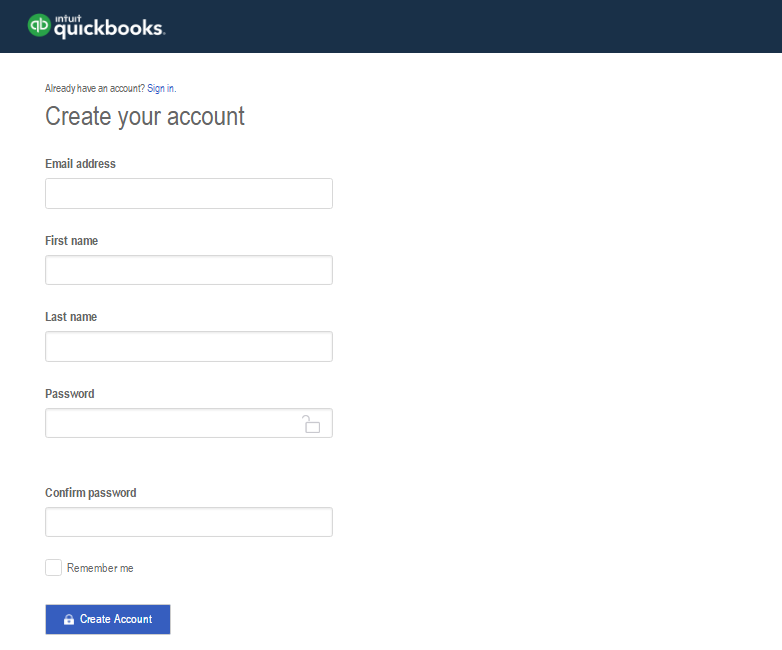
Or click on on Sign up now hyperlink to create a new one:
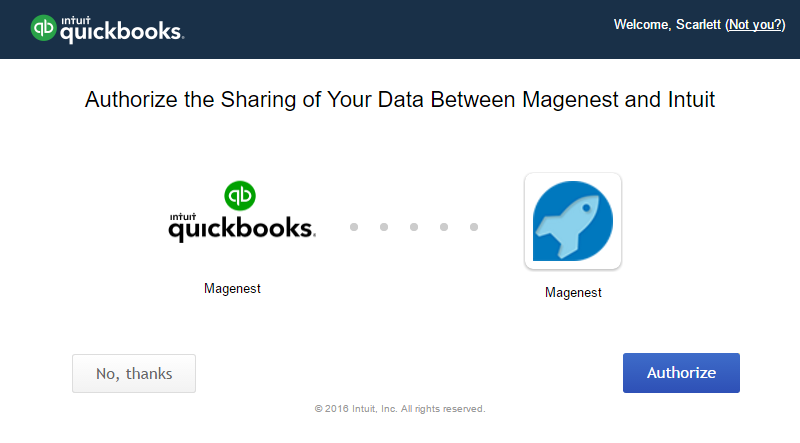
After login QuickBooks Online account successfully, click on on Authorize button button to finish connection process.
When connecting successfully, the backend page will be displayed as below. Click on on Save Config button button before continuing. This will help you avoid making the error.
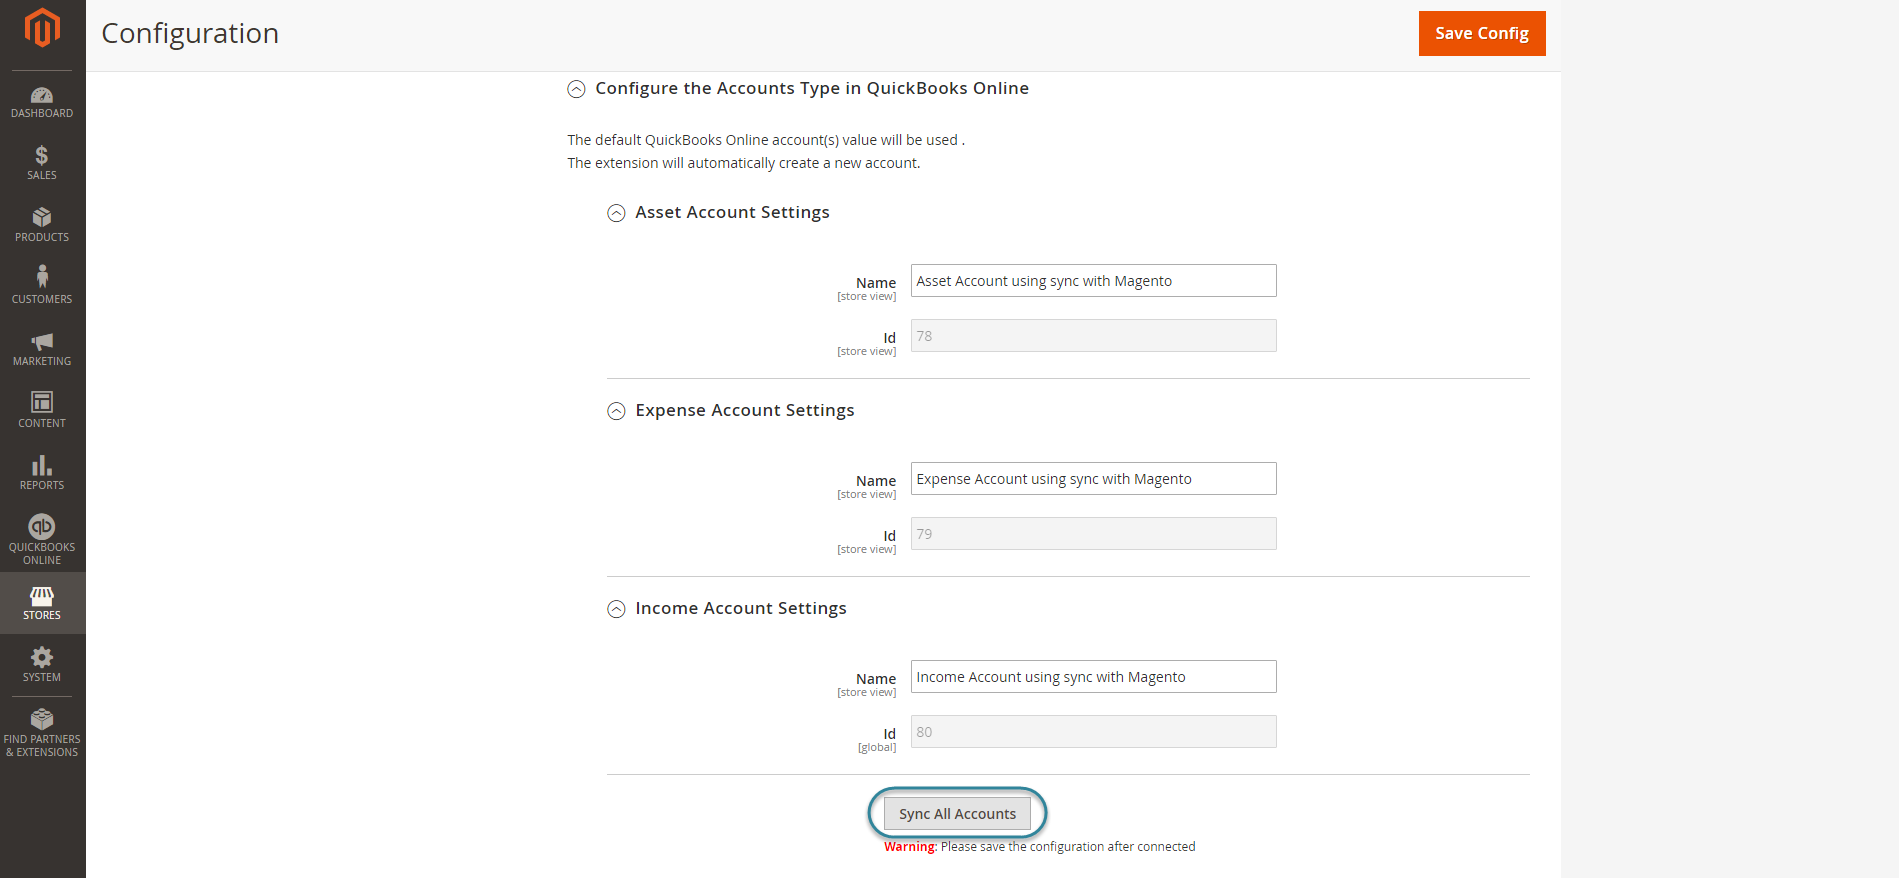
Then, admins navigate to the the Configure the Accounts Type in QuickBooks Online section section and expand it.
How to synchronize data from Magento 2 store to QuickBooks Online
...
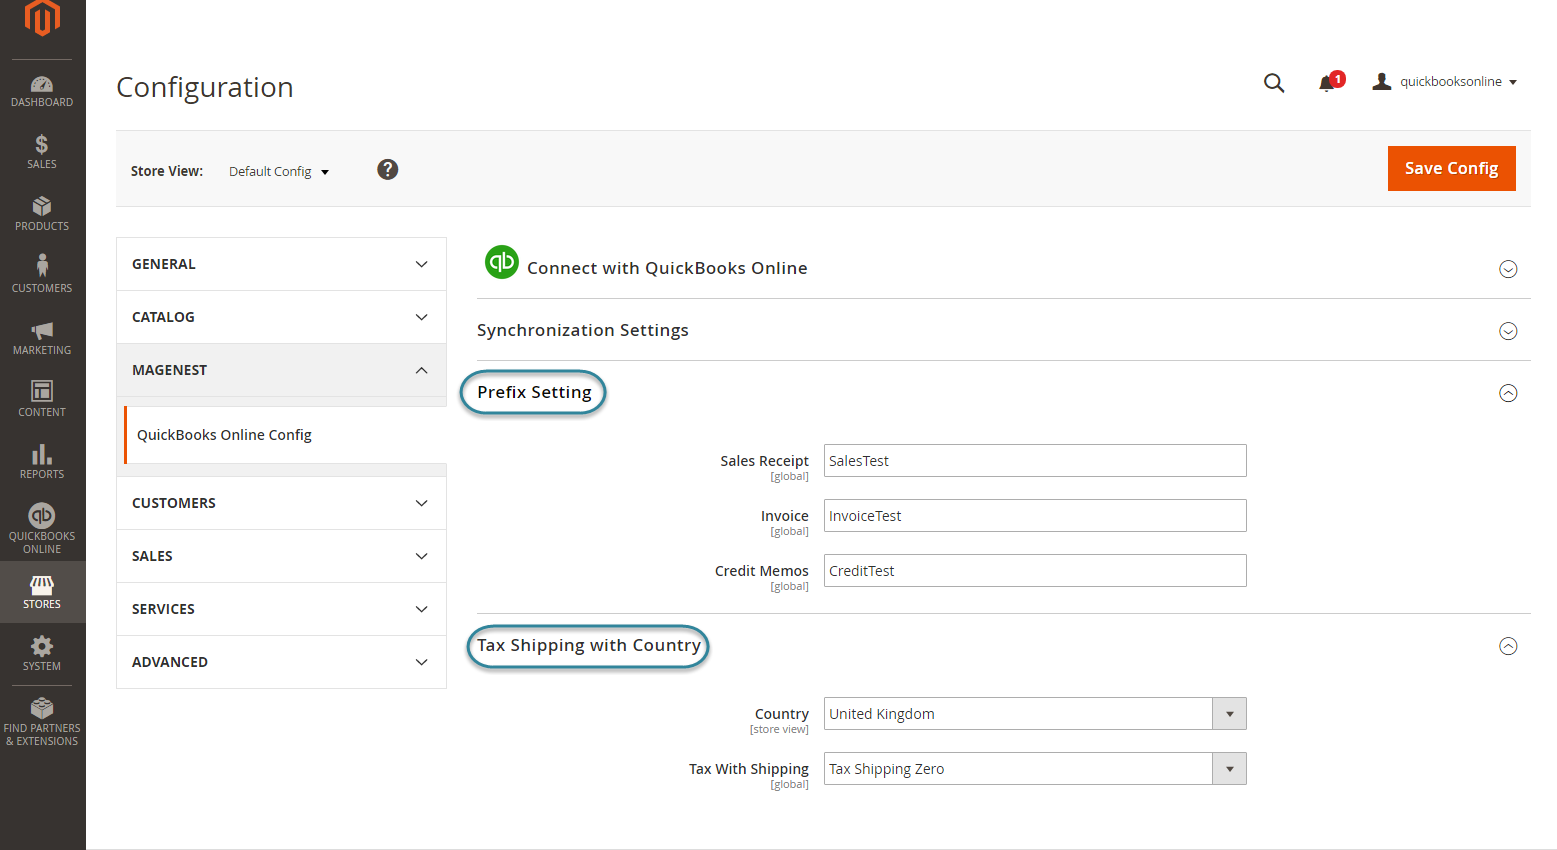
Admins are able to decide whether to synchronize data in Synchronization Settings tab: Customers, Products(Items in QuickBooks Online), Sale Receipt, Invoices, and Credit Memos. In addition, admins can choose the way to synchronize data either Immediately mode or Cron Job mode.
...
Setting Up Field Mapping
- Mapping Payment Methods:
At backend of Quickbooks Online Integration extension, navigate to QuickBooks Online > Payment Method click on Synchronize button to automatically connect payment methods between Magento 2 backend and Quickbooks page.
...
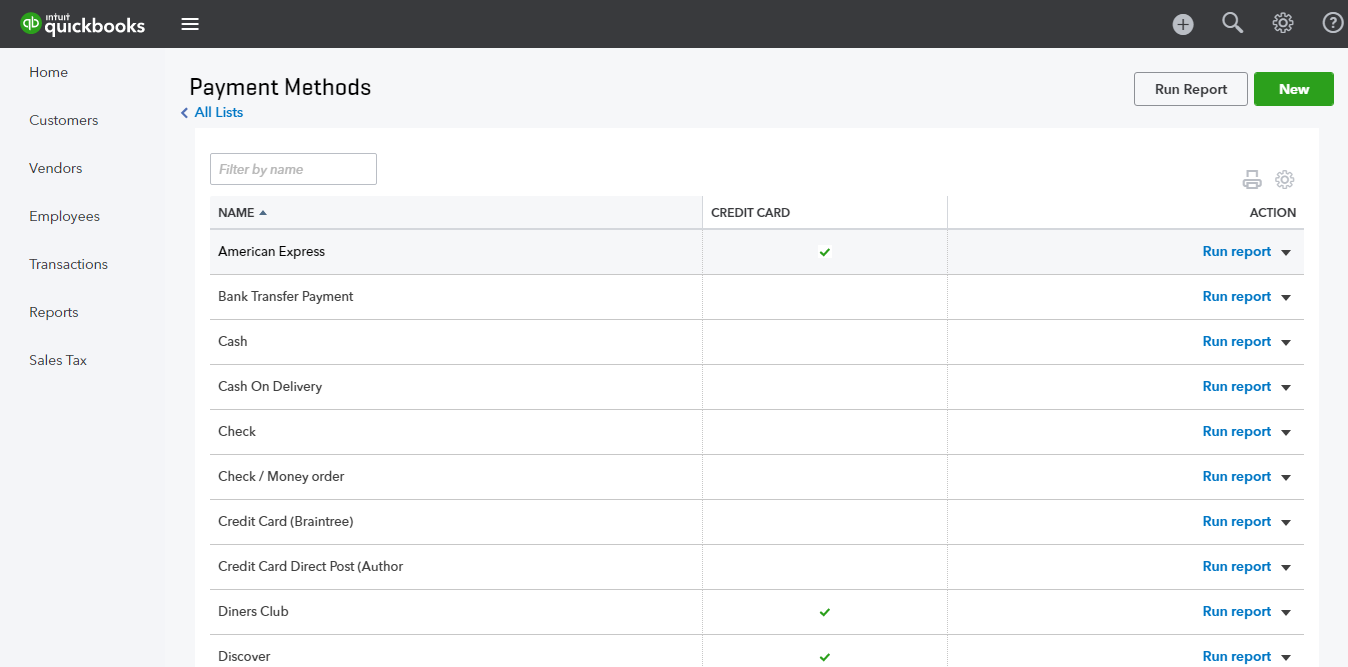
On QuickBooks page, click on gearwheel simple at the top right then choose All Lists > Payment Methods:
- Mapping Tax:
The system has created a a Mapping Tax tab tab that allows you to mapping tax from your Magento 2 store to QuickBooks Online account. First, admins need to click on on Add All Tax Code button button to add all tax code of your Magento 2 store to to Mapping Tax page page. Then, you can use Synchronize button button to finish this mapping.
...
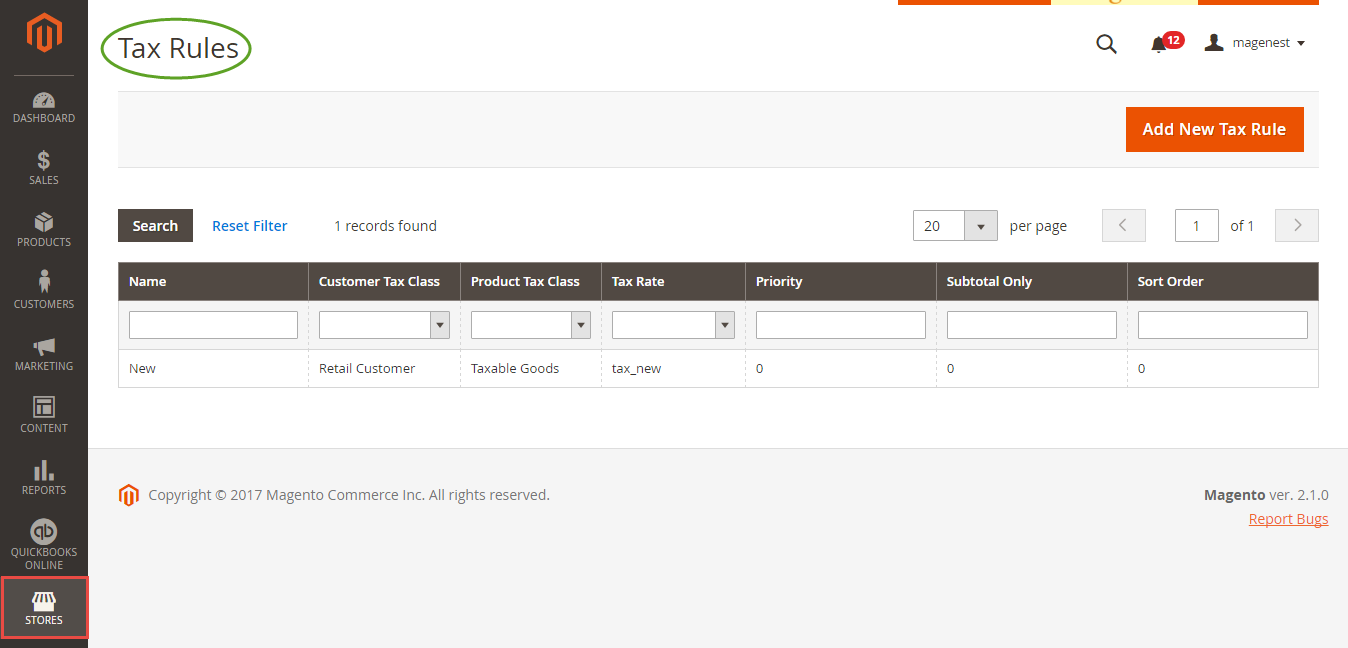
Note that your Magento 2 store need to have have Tax Rules before before creating mapping tax:
Process Synchronization
If the App mode is Cron Job, Queue page is the place which the created, updated data is stored in and are waiting to be synced. If you wish to sync data right away, you can press Sync Now button. You can decide whether to synchronize any items on on List Queue page page by remove selected data from the grid.
...
When the progress is done, go to to QuickBooks Online > View History Logs and check what is synchronized in the grid.
...
Synchronizing items from QuickBooks Online account to Magento 2 store can help admins update the existing database. This update is only for data connected between Magento 2 store and QuickBooks Online before.
- Products: Please follow these steps below:
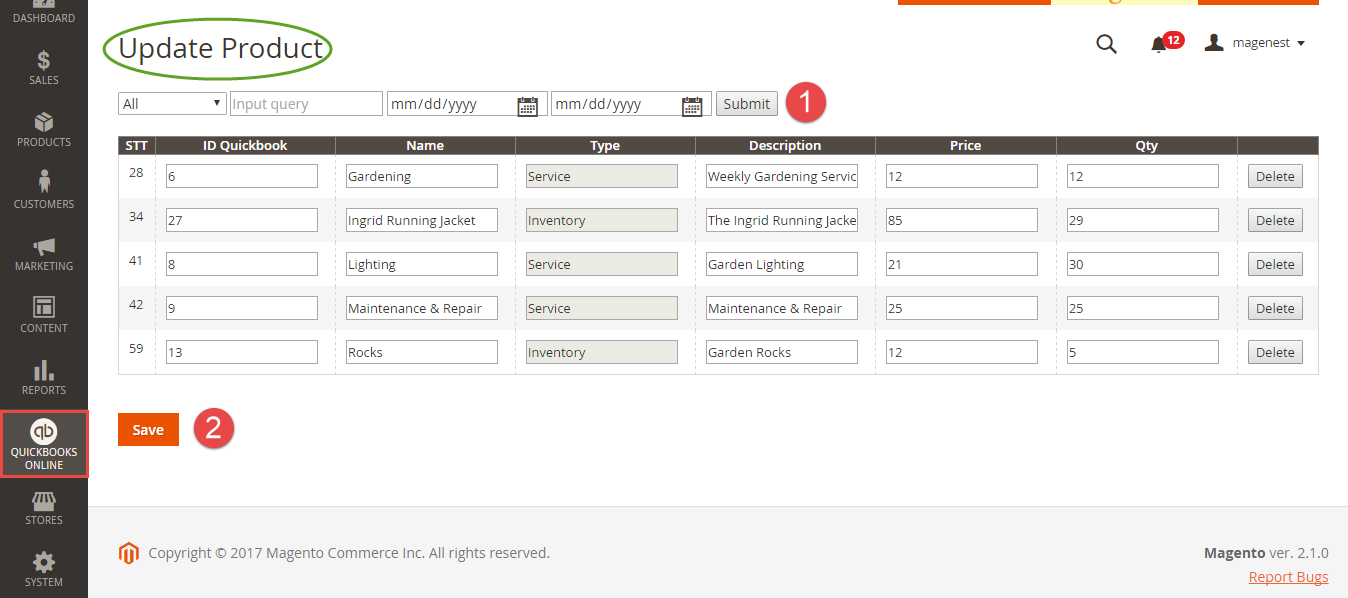
Please go to to QuickBooks Online Integration > Product ( Update) and and follow these steps below:
(1) Click on on Submit button button to update data from QuickBooks Online account into into Update Product page page.
(2) Click on on Save button button to finish updating.
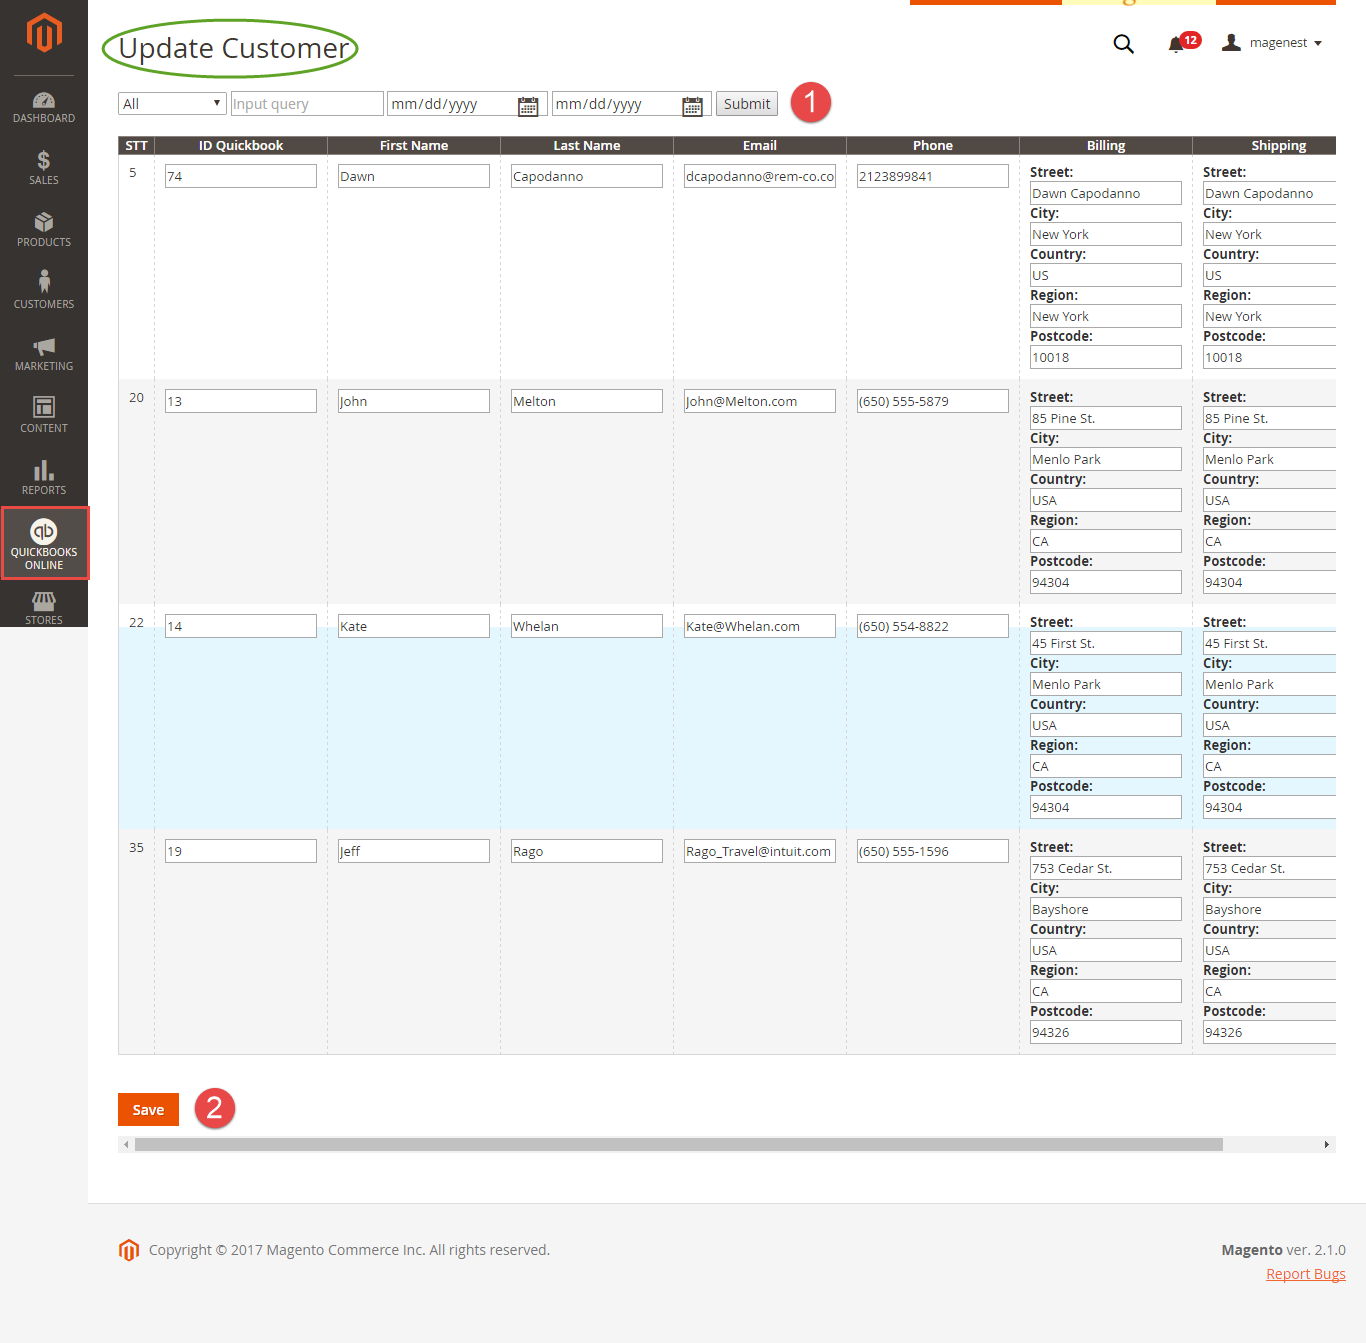
- Customers:
It is the same with updating products.
(1) First, you need to click on on Submit button button to pick customers from QuickBooks Online account for Update Customer page page of Magento 2 site.
(2) Then click on on Save button button to finish updating.
Create a new database
Not only allow updating data, but our QuickBooks Online Integration extension also helps you to create a new product, customer, and order on Magento 2 store getting data from QuickBooks Online account.
- Products:
Allow admins to sync customer data which only has in QuickBooks Online to Magento 2.
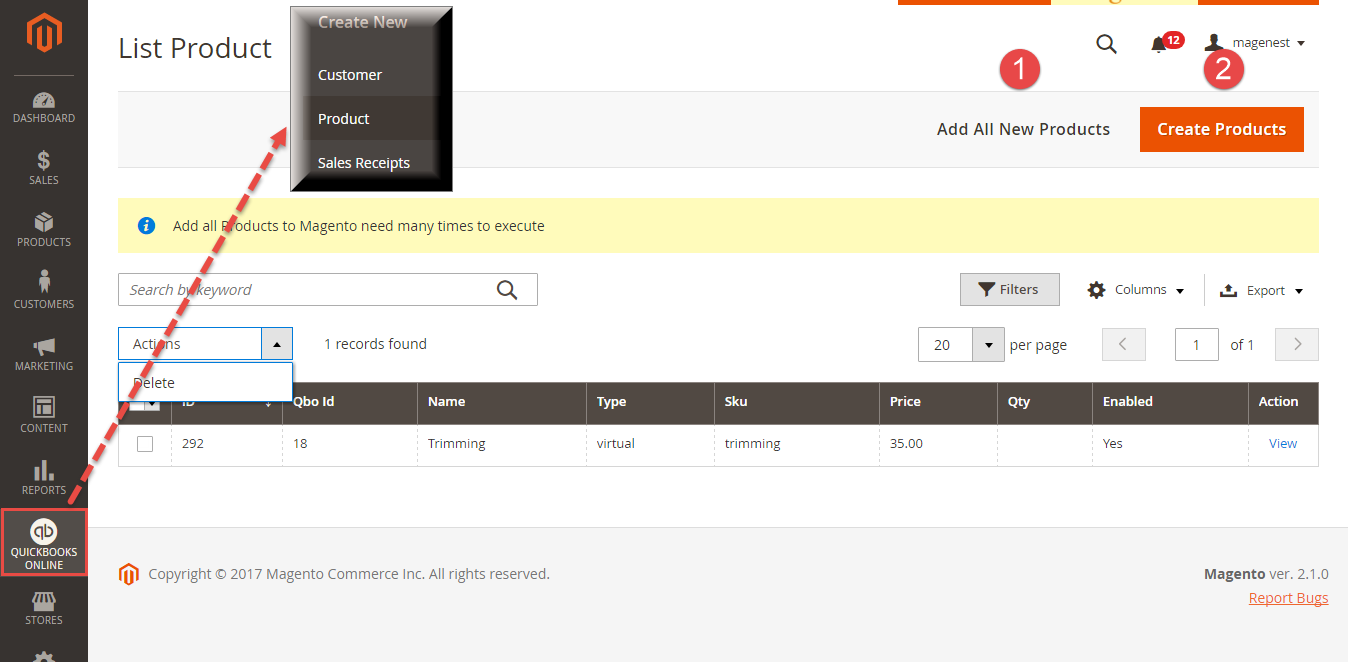
Go to to QuickBooks Online Integration > Product ( Create New) and go on with these steps:
(1) Click on on Add All New Products button button to add products from your QuickBooks Online account to to List Product page page.
(2) Click on on Create Products button button to finish creating.
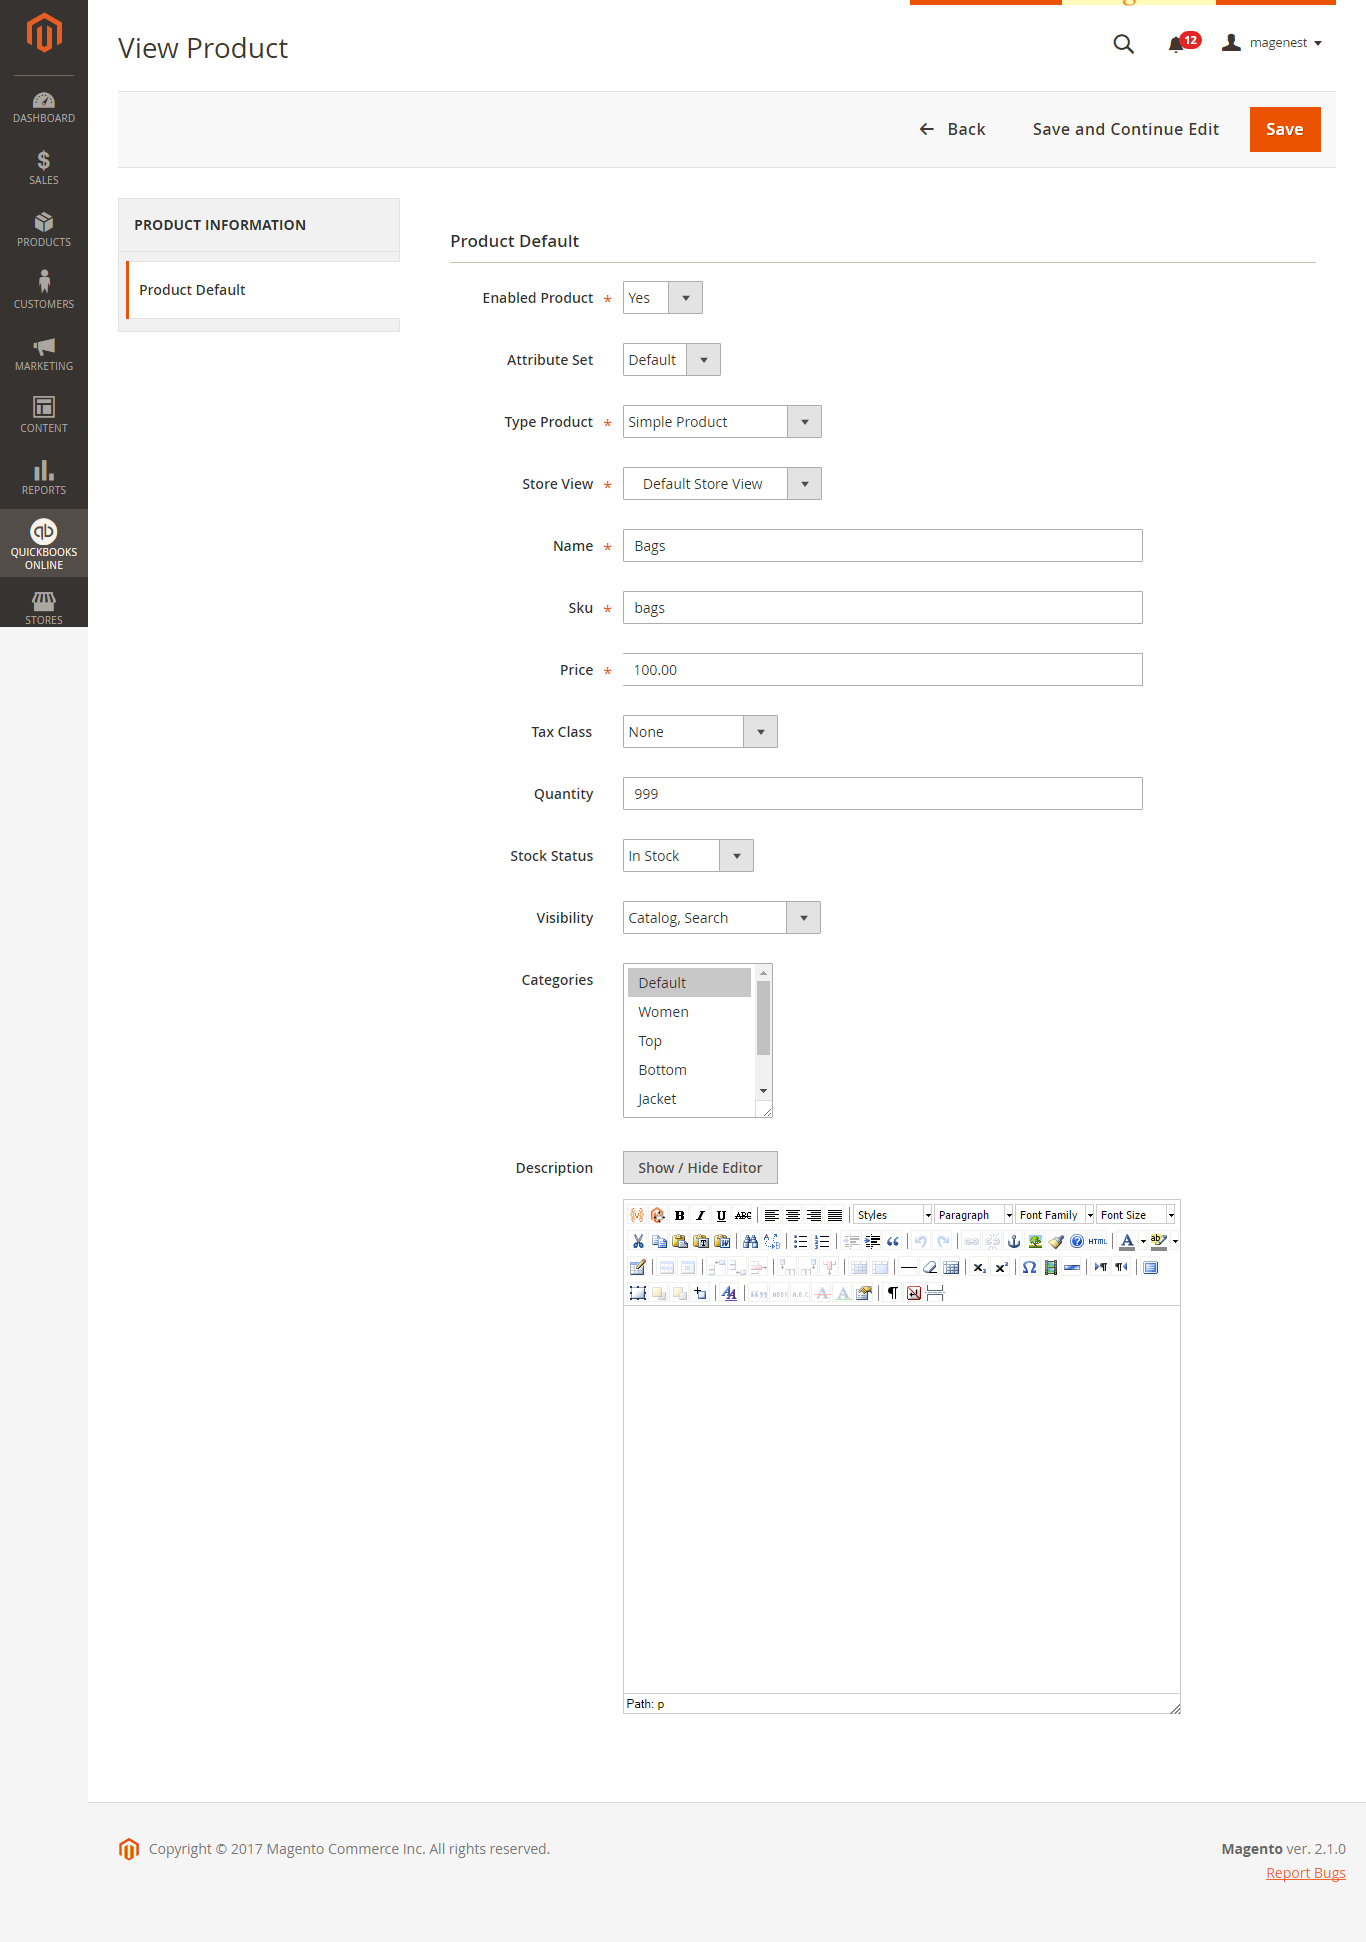
Admins can view and edit products with basic fields as Name, Type Product, Store View, SKU, Price, Quantity, etc... before creating a new one on Magento 2 store:
- Customers:
Allow admins to sync customer data which only has in QuickBooks Online to Magento 2.
It is very similar to create customers:
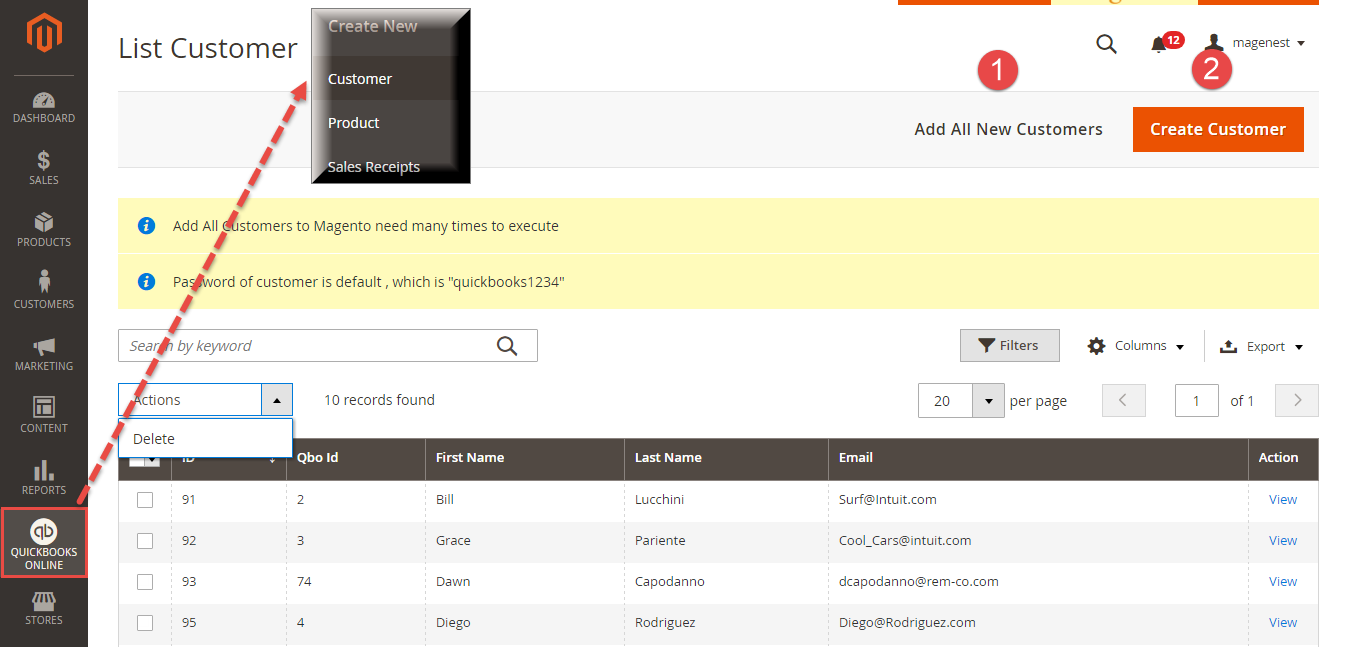
First, please click on on Add All New Customers button button to add all customers to to List Customer page page.
| Note |
|---|
In order to be able to sync customer data from QuickBooks Online to Magento 2, each customer is required to have three following fields, include:
|
| Note |
|---|
After the data of new customers on QuickBooks Online is displayed at the List Customer page, the extension will allow admins to make any changes before they are really synced to Magento 2.
|
Then click on on Create Customer button button to finish creating.
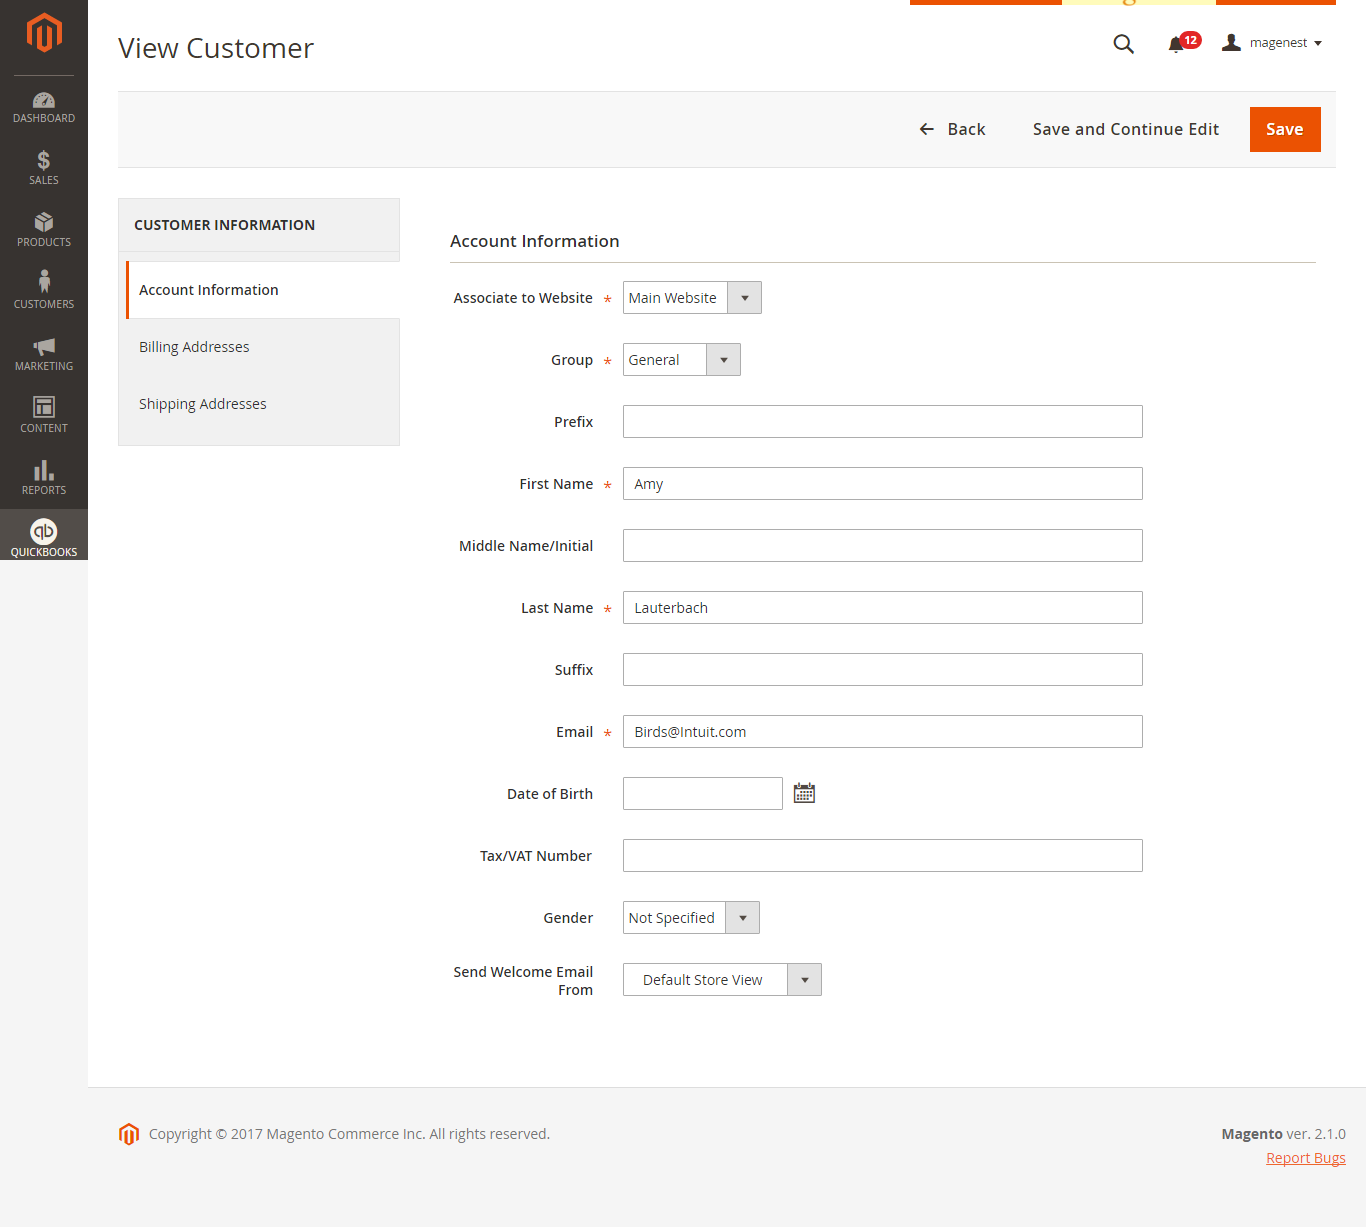
Before creating any customers, admins can view and edit their information in three tabs: Account Information, Billing Addresses, and Shipping Address:
- Sales Receipt:
Follow the two steps below to create a new sale receipt:
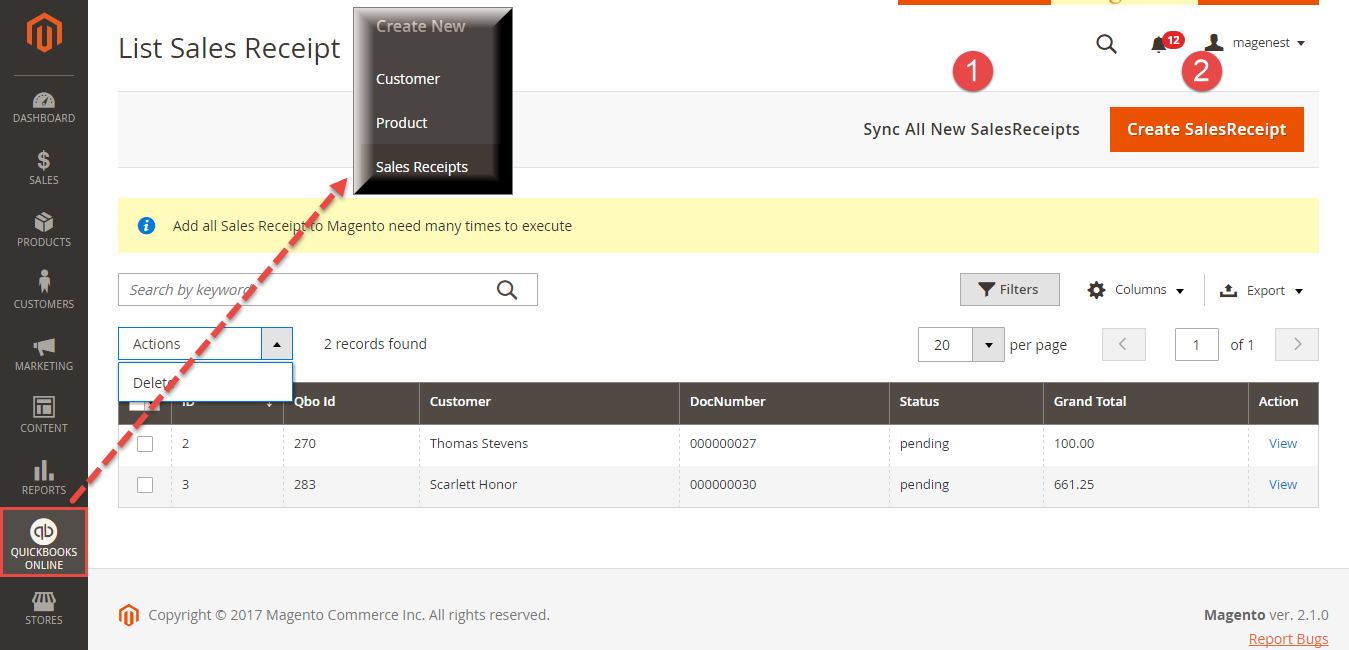
(1) Click on on Sync All New SalesReceipts button to synchronize salesreceipts from your QuickBooks Online account to to List Sales Receipt page page
(2) Click on on Create SalesReceipt button button to finish creating.
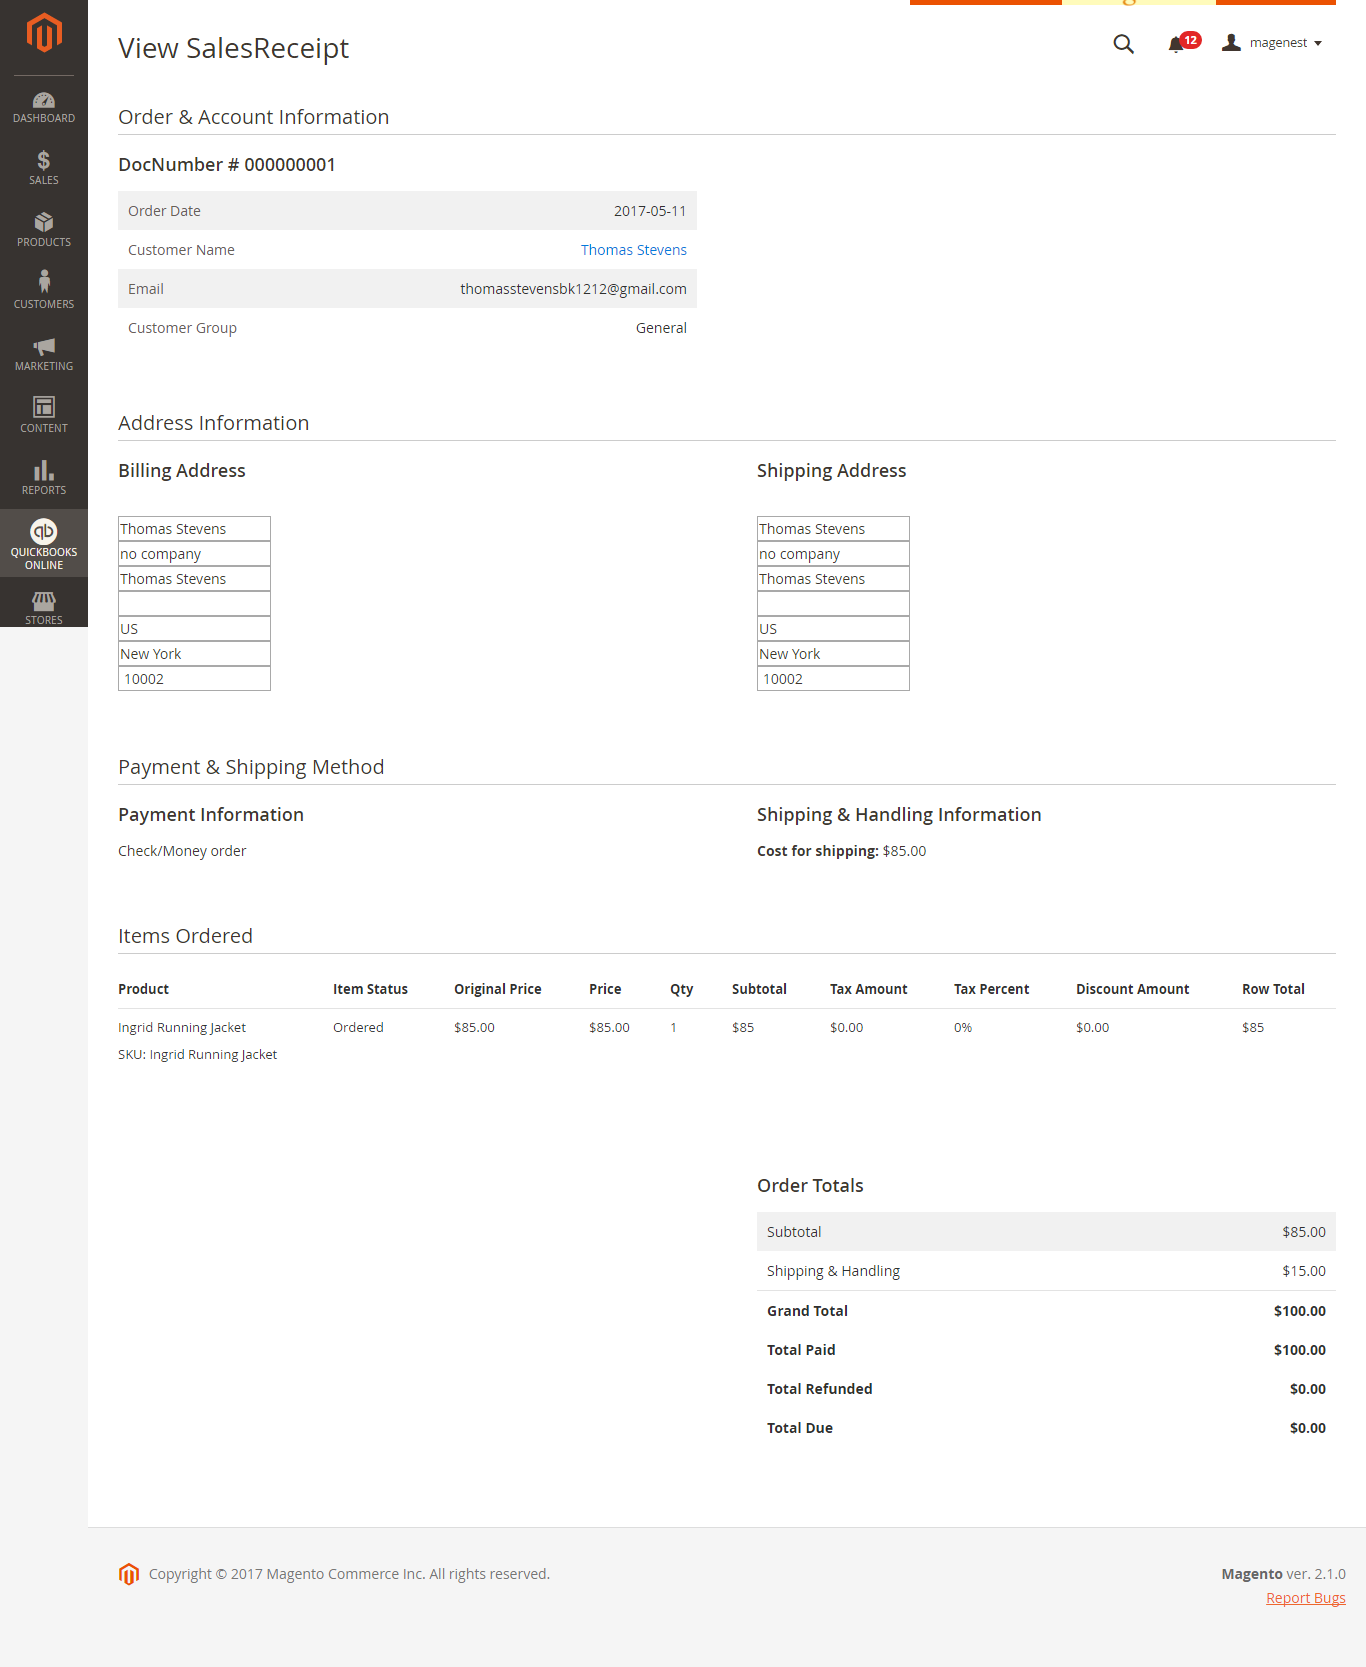
For SalesReceipt, admins can only view it before click on on Create SalesReceipt button button.
...
Main Functions
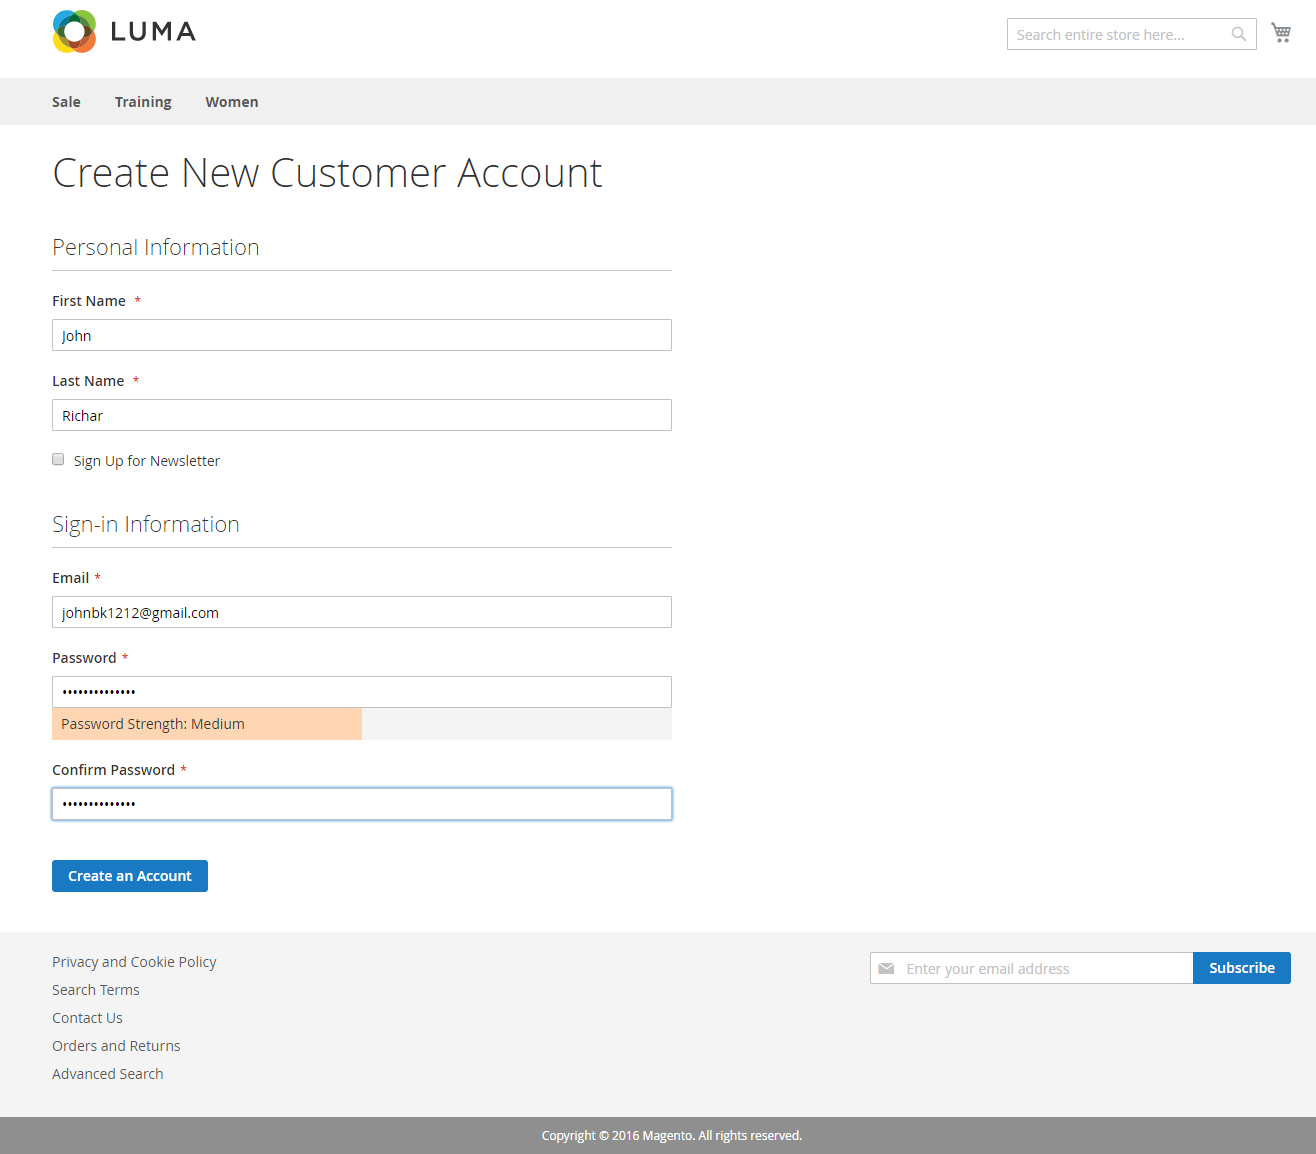
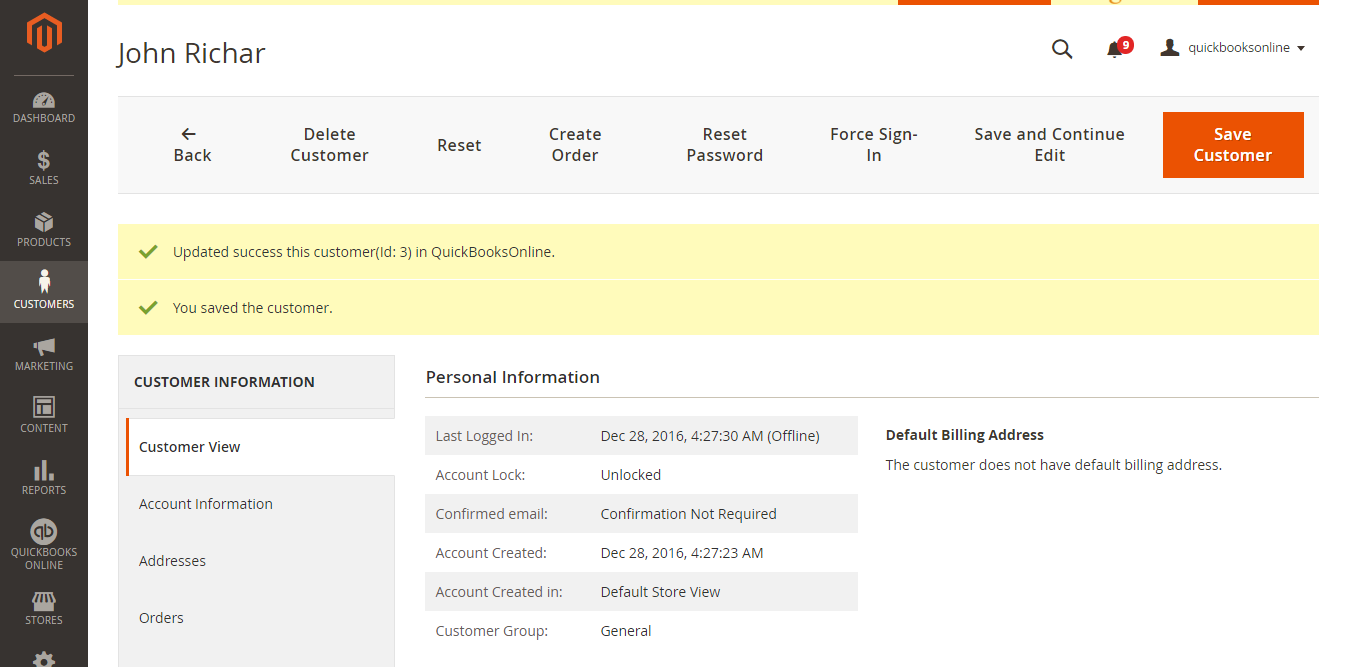
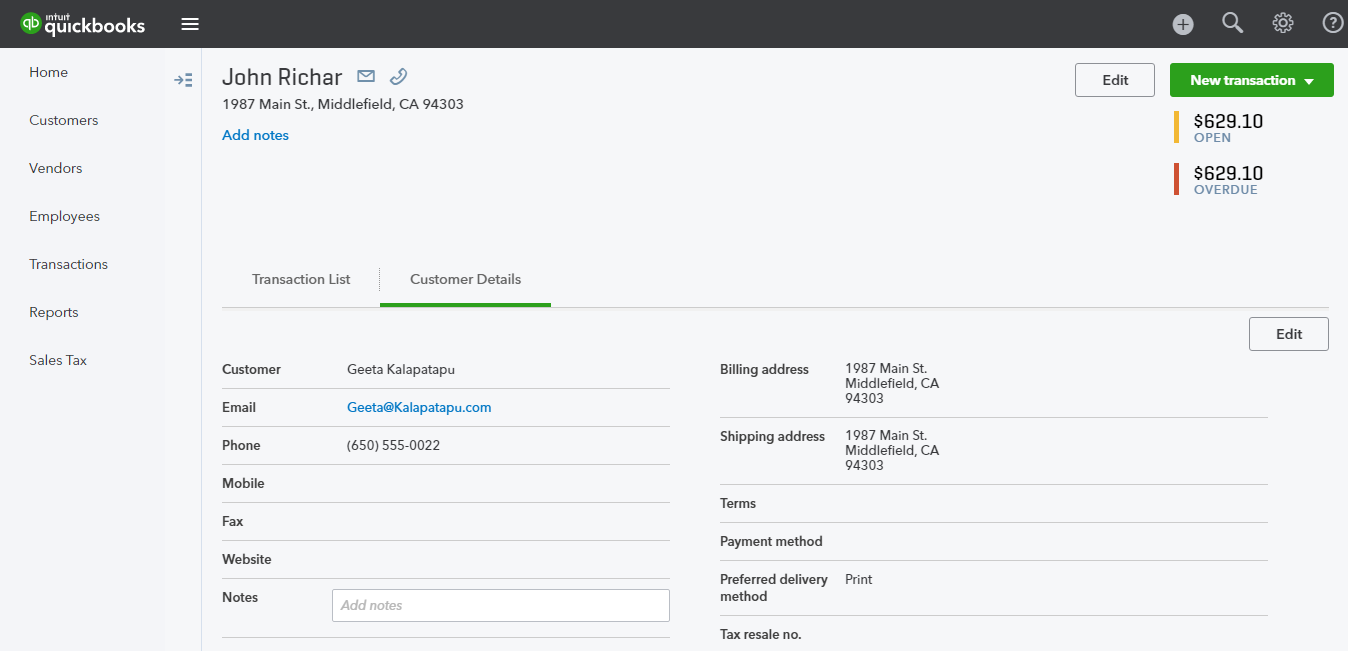
- When a new account is registered in frontend of Magento 2 or an existed customer is updated, Quickbooks Online Integration extension will allow synchronizing this record automatically to
QuickBooks Online and vice versa.
- When admins create or update information of products in in Magento 2 store, data will be automatically synced into QuickBooks Online Items and vice versa.
...
- When an order is created in Magento 2, this order will be automatically synced in QuickBooks Online Online account and vice versa.
...
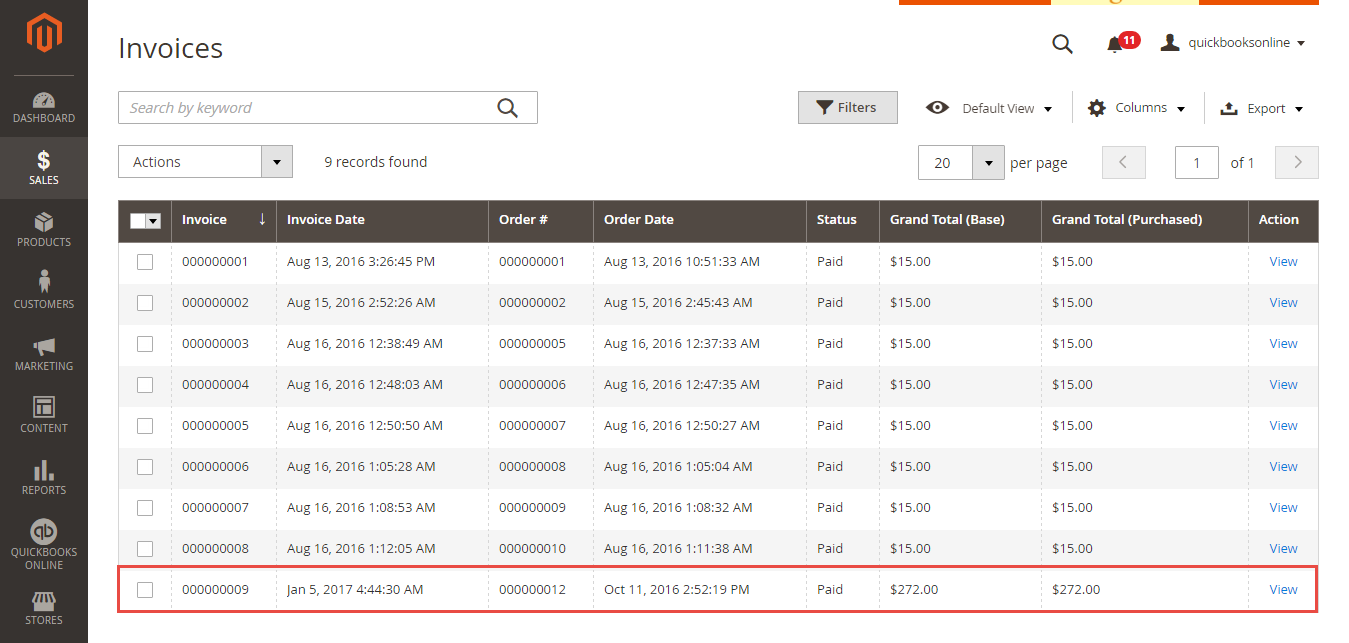
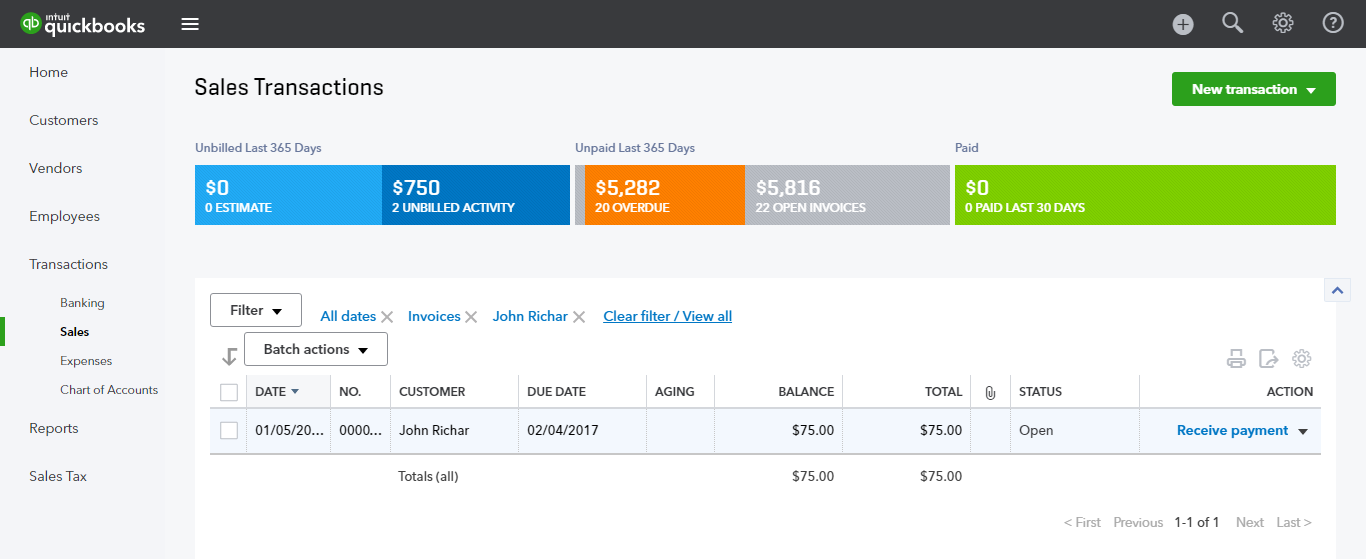
- When an invoice is created in Magento 2, this invoice will be automatically synced in QuickBooks Online Online account.
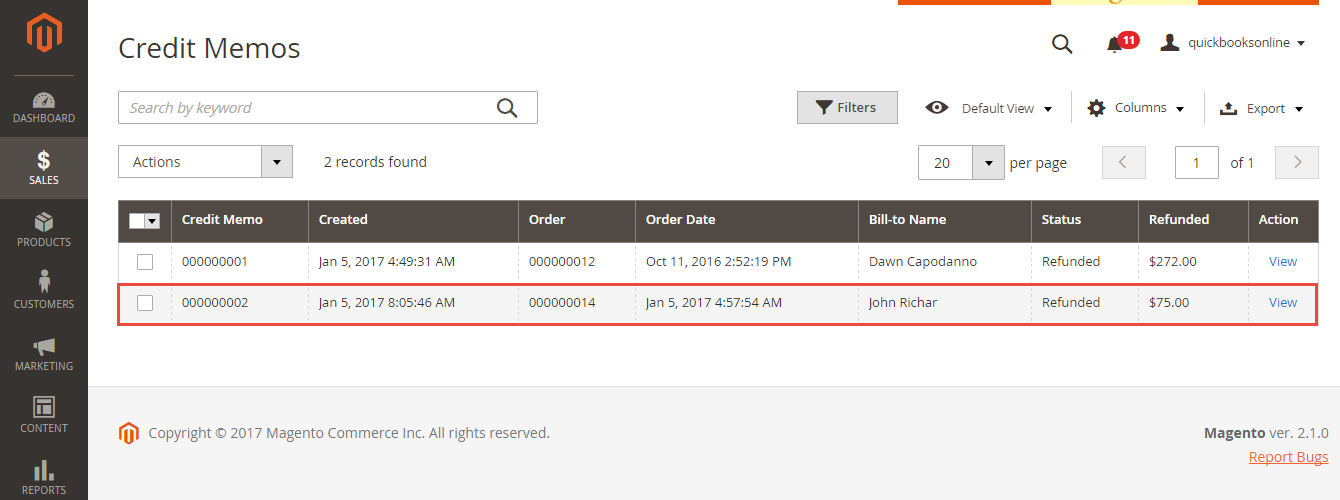
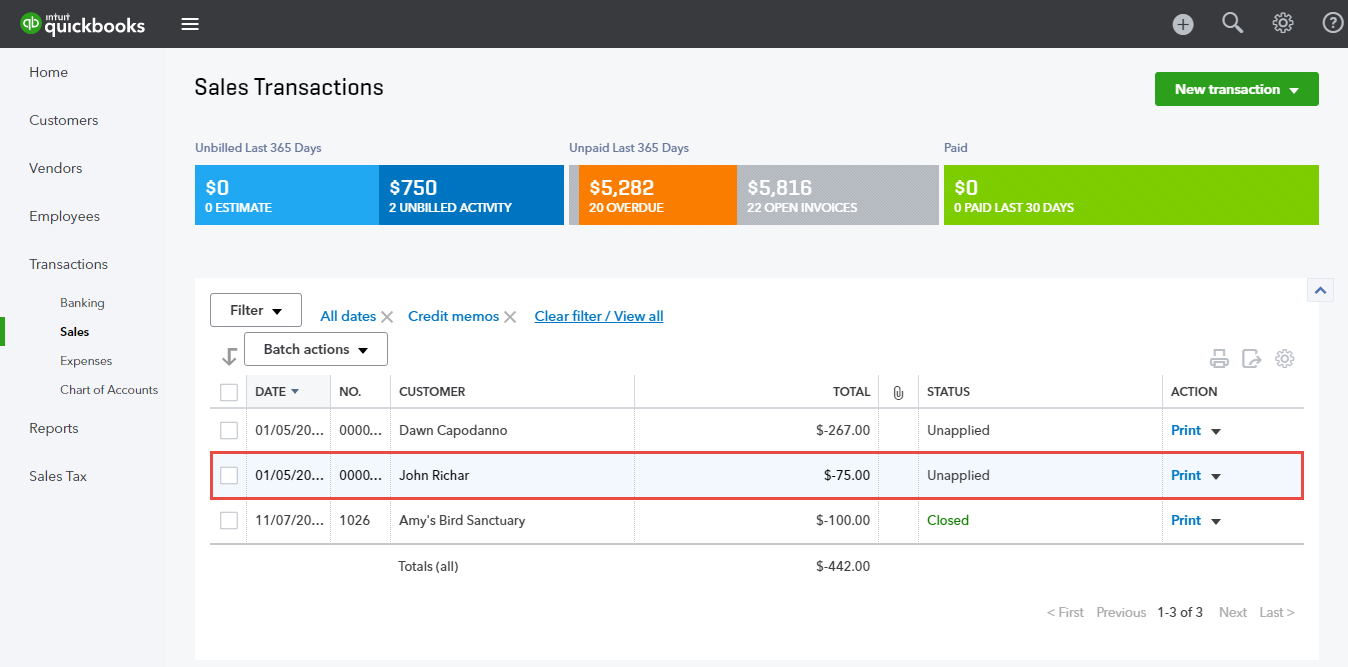
- When a credit-memos is created in Magento 2, this credit-memos will be automatically synced in QuickBooks Online Online account.
...
Update
- When a new update is available, we will provide you with a new package containing our updated extension.
- You will have to delete the module directory and repeat the installing steps above.
- Flush the config cache. Your store and newly installed module should be working as expected.
...
