Thank you for purchasing my plugin. If you have any questions that are beyond the scope of this help file, please feel free to email via my user page contact form here. Thanks so much!
Created: 0801/1210/2015 2017 | By: Magenest | Support Portal: http://servicedesk.izysync.com/servicedesk/customer/portal/97
...
Introducing to Woocommerce Salesforce integration
The Woocommerce Salesforce integration Plugin is an indispensable tool to help you synchronize data instantly between Woocommerce and Salesforce. The plugin allows to synchronize register customers in Woocommerce to Lead in Salesforce, order in Woocommerce to Account and Contact in Salesforce.
![]()
Features:
- Synchronize Register Customer in Woocommerce to Lead in Salesforce
- Synchronize Order in Woocommerce to Account in Salesforce
- Synchronize Order in Woocommerce to Contact in Salesforce
- Synchronize Order Products in Woocommerce to Products in Salesforce
- Synchronize Order in Woocommerce to Order in Salesforce
- Choose
...
- Equeue Sync or Auto Sync
- Report Sync data between Woocomerce and Salesforce.
The plugin page:
...
https://store.magenest.com/woocommerce-plugins/woocommerce-salesforce-crm-integration.html
The live demo:
...
http://mysaleforce.demo.izysync.com
Configuration
Configuration
Creat a connected app to get keys and token
Sign in Salesforce CRM and go to Set up option in dashboard.

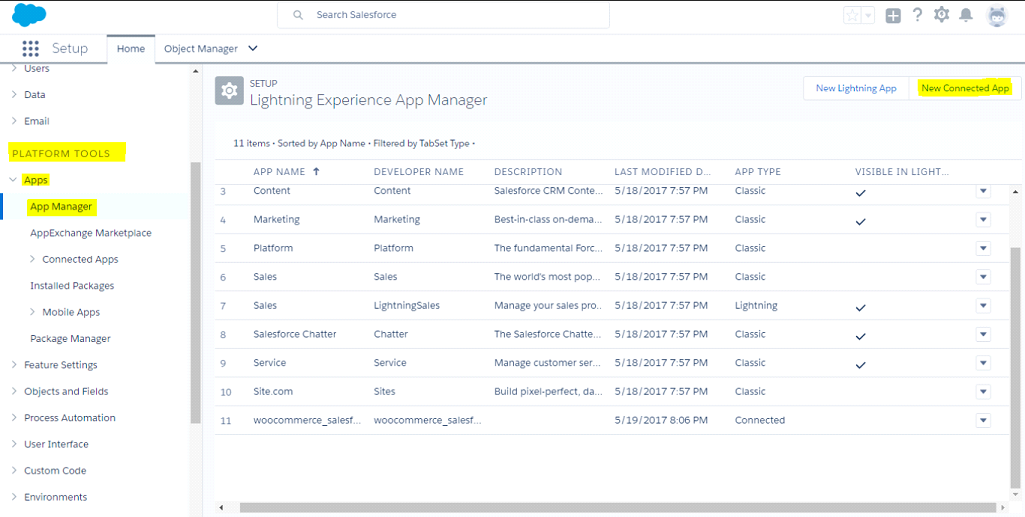
In your Salesforce Dashboard, go to Platform tools > App manager.
Press New Connected App button in Connected App to creat a new connected application.app
Then enter information in the required fields:
- Connected App Name: Enter the name for your connected app. Example: woocommerce_salesforce_integration
- API Name: data from this field is auto synced from Connected App Name
- Contact Email: fill your Salesforce email
- Check Enable OAuth Settings box
- Fill Callback URL: Fill like example: https://yourwebsite/RestTest/oauth/_callback
- Selected OAuth Scopes : select Full Acess option and click Add button
Click Save button
After finish, your connected app will displayed like this:
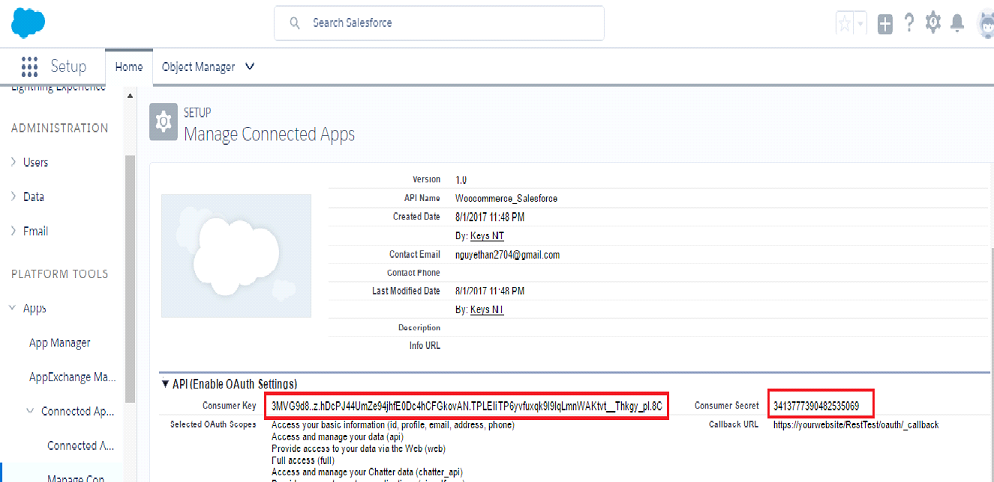
You You will get your client ID and client secret cilent serect key from here.
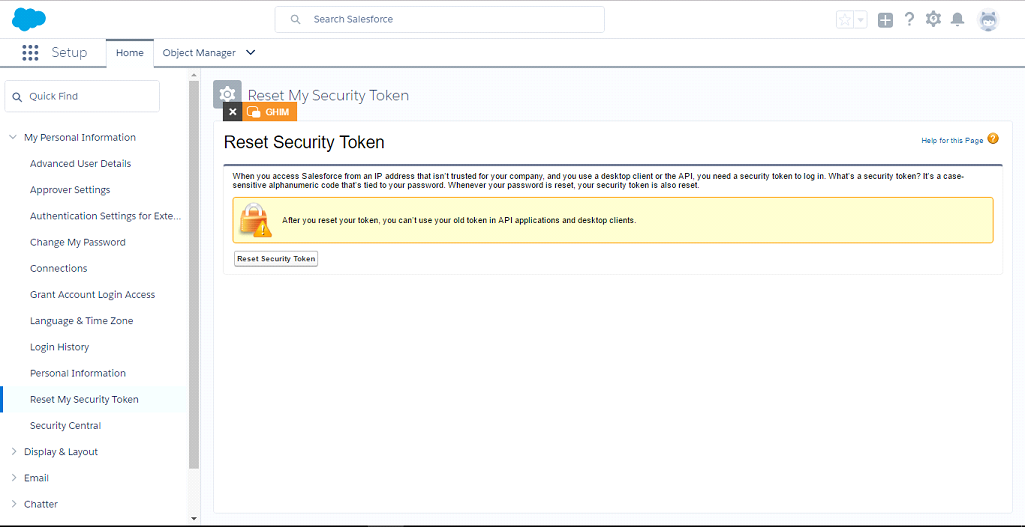
Now, go to Settings

Go to My Personal Information > Reset My Security Token choose Reset Security Token button.
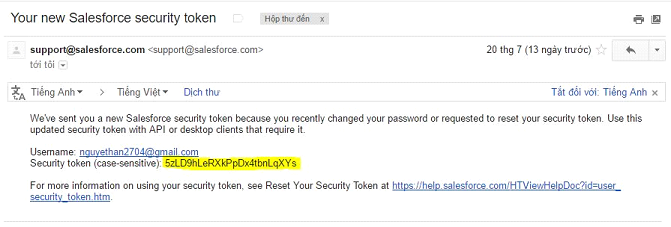
mail:
Set up the Salesforce account to integrate with Woocommerce
You can access configuration page by clicking Settings of Woocommerce, then click Salesforce integration tab
tab
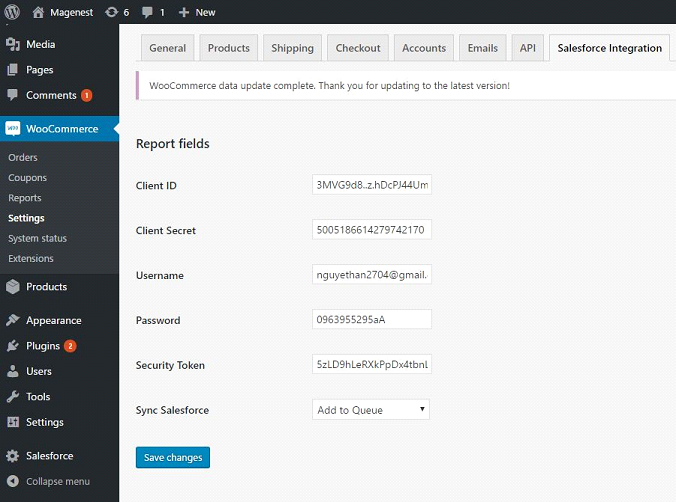
- Client ID: Enter your consumer Key of Connected App
- Client Secret: Enter your consumer Secret of Connected App
- Username: Enter your username of your salesforce account
- Password: Enter your password of your salesforce account
- Security Token:Enter your security token from your email
- Sync Salesforce: Choose Add to Queue or Auto Sync
- Click Save changes button.
Example of usages
1. Customer register
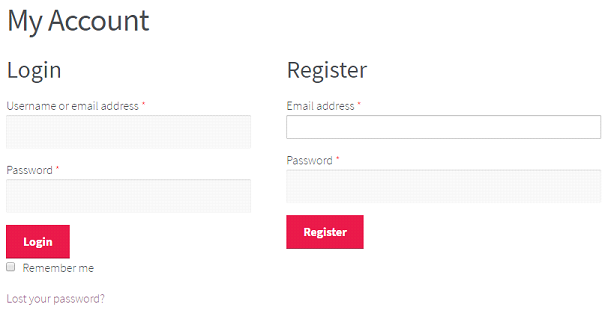
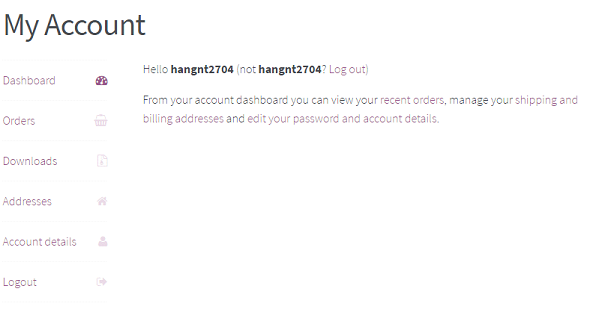
Sync lead data from register:
- in dashboard admin
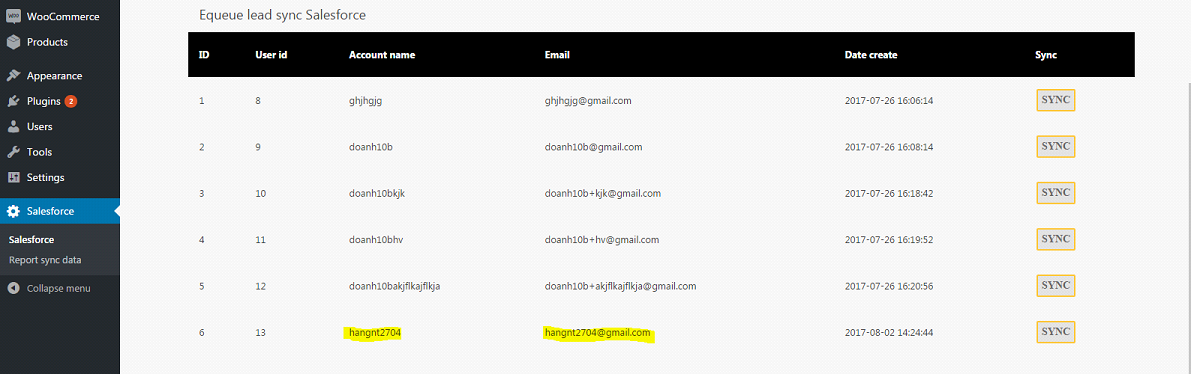
when admin press SYNC button:

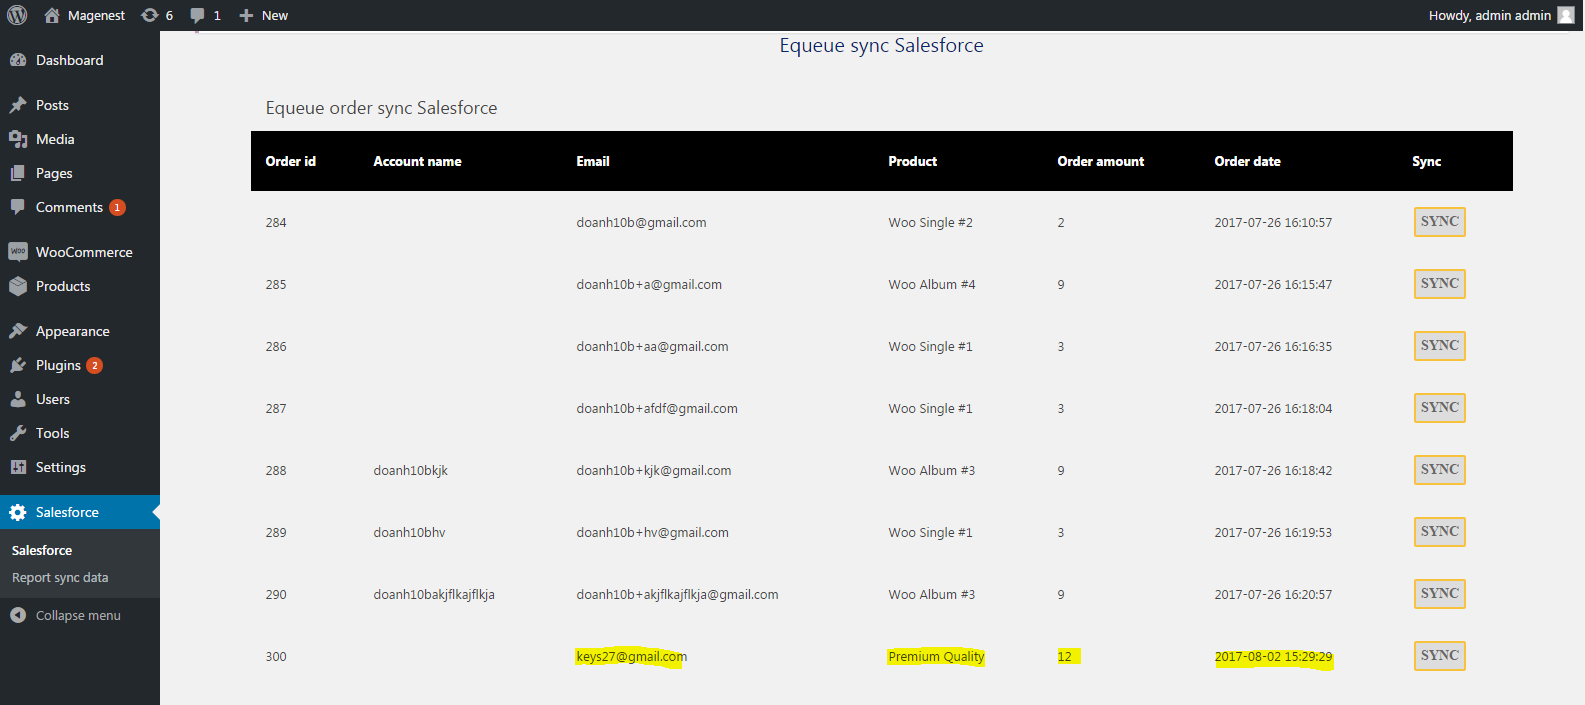
2. When customer buy product
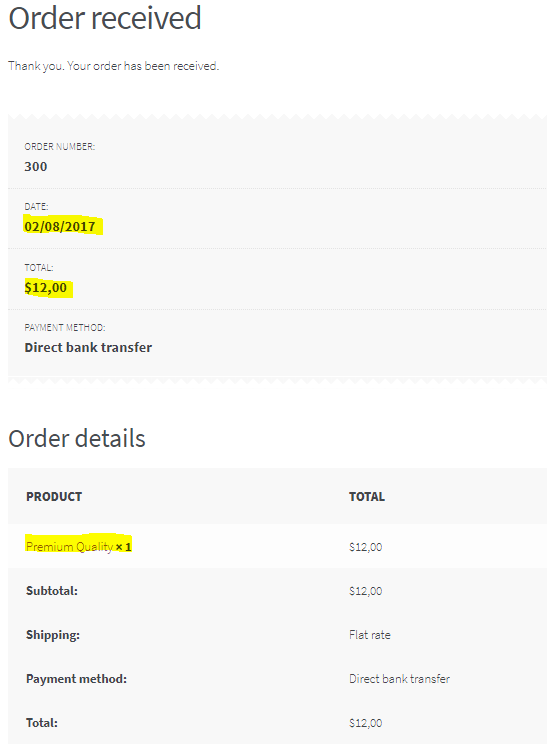
Dashboard admin:
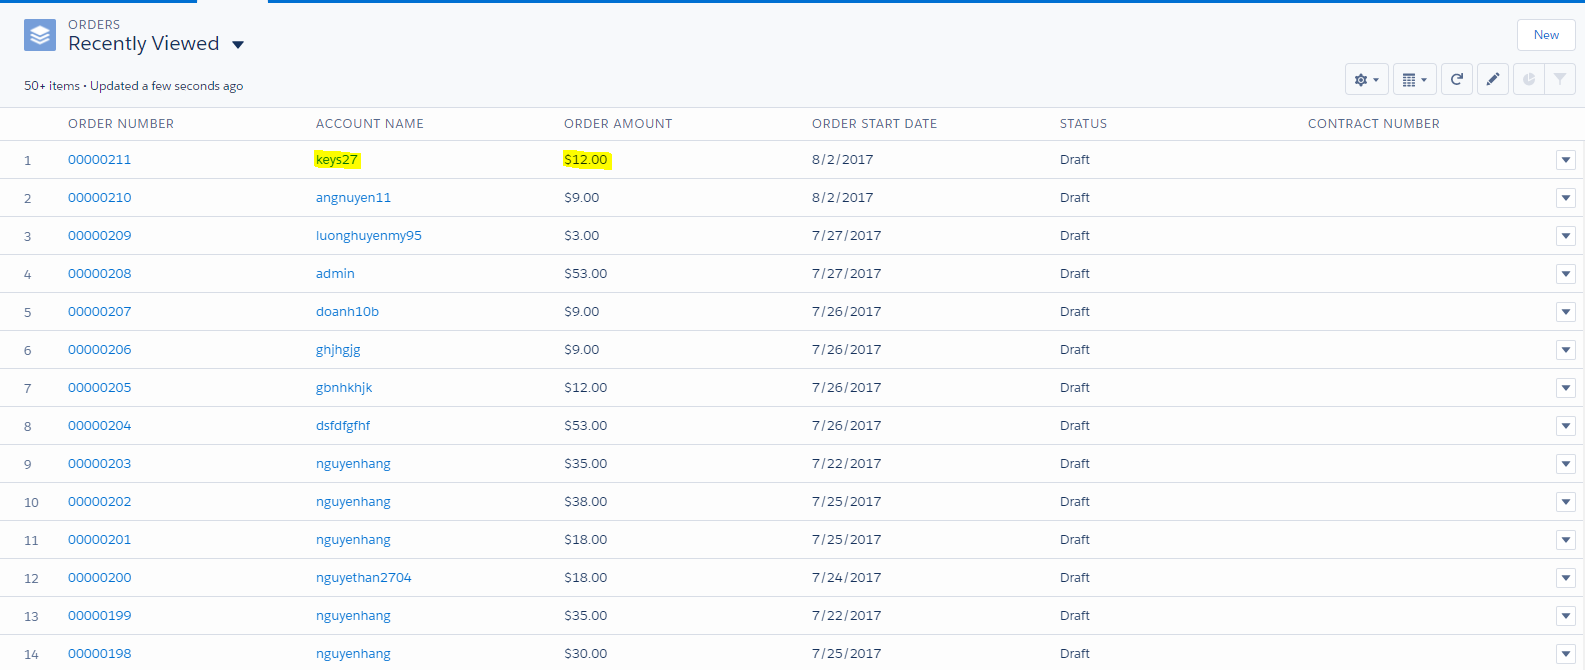
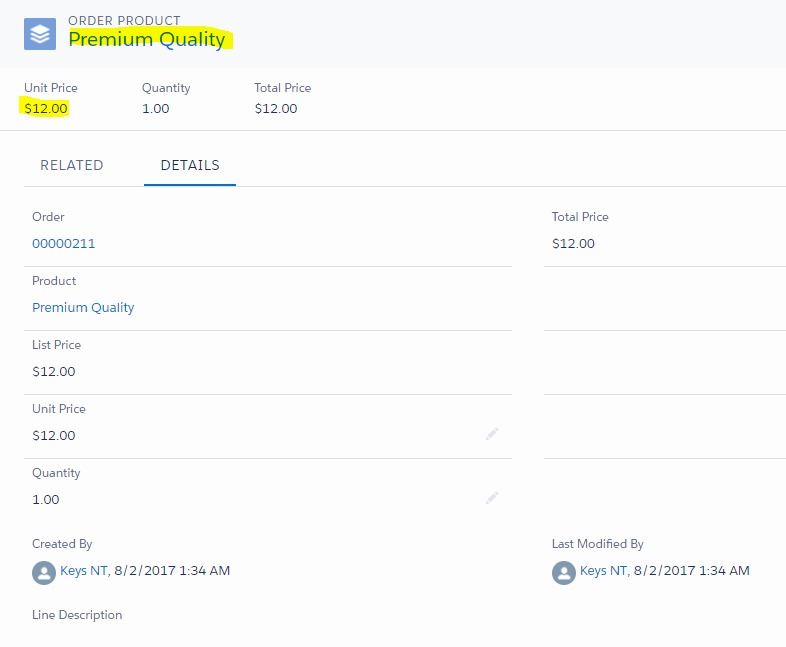
when When admin press SYNC button, Salesforce:
order:
order product:
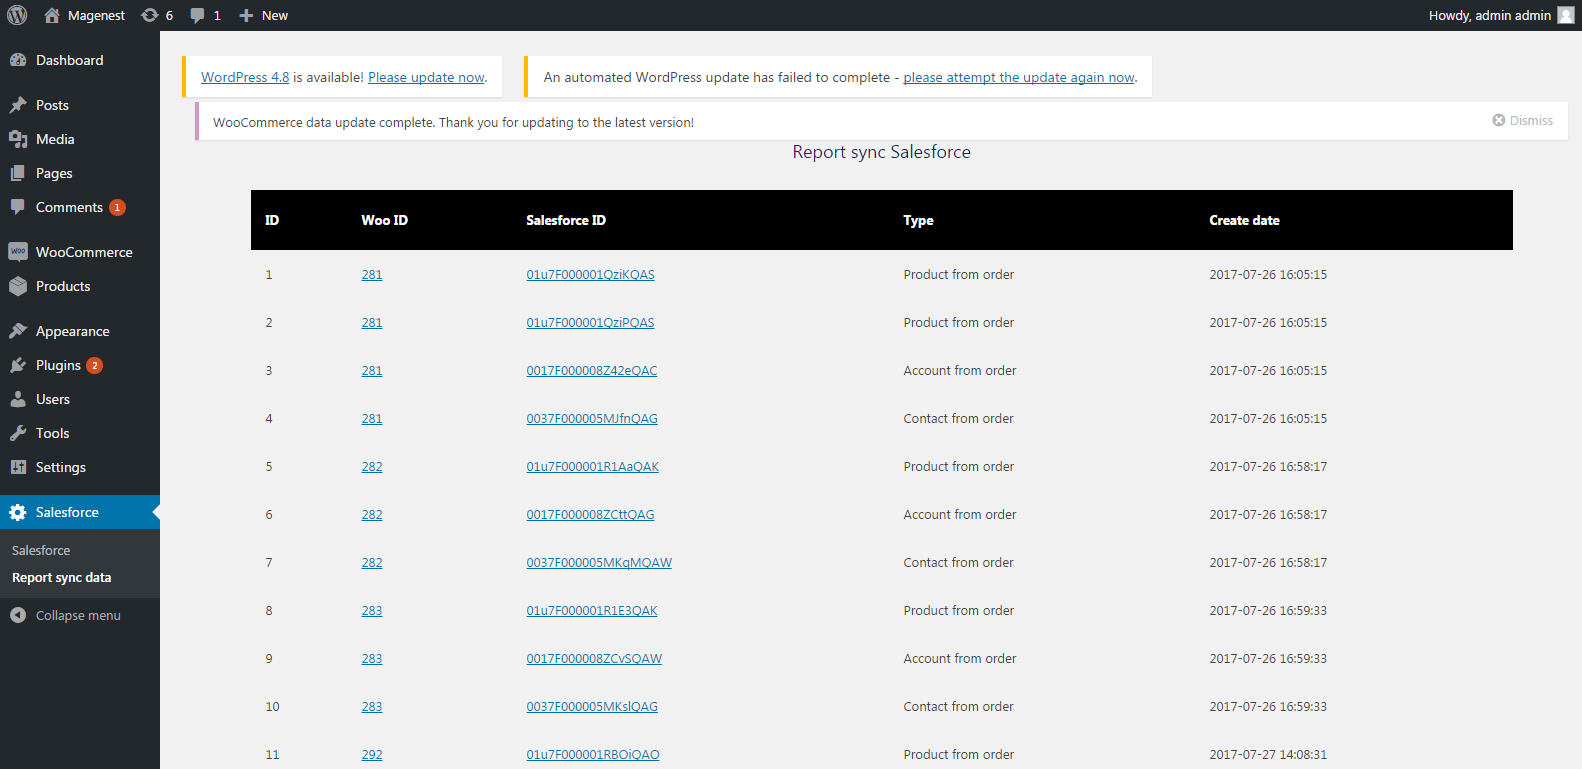
3. Report Sync data
Summary
Once again, thank you so much for purchasing this plugin. As I said at the beginning, I'd be glad to help you if you have any questions relating to this plugin. No guarantees, but I'll do my best to assist. If you have a more general question relating to the plugin on Codecanyon, you might consider visiting the forums and asking your question in the “Item Discussion” section.
If you have want the further features that is not supported in current version, do not hesitate to contact us.